Vegetative Propagation
(veg-e-ta-tive prop a-ga tion)
There are many plants that can be propagated by leaf cuttings. Begonia is a plant that propagates very easily using the whole leaf, sections, or squares of the leaf.
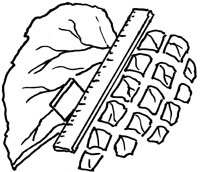
Use a ruler and a sharp knife or X-acto knife to measure and cut 3/4-inch squares from the leaf. Be sure that a part of a vein is in each square.
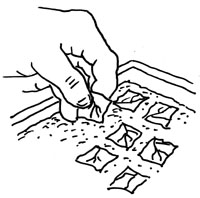
Lay the leaf squares on top of the potting soil about 1/2-inch apart.
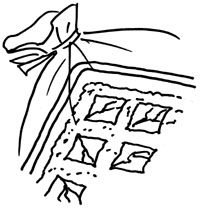
Cover your leaf squares with a clear plastic bag. This will keep them moist and help them to start forming roots.
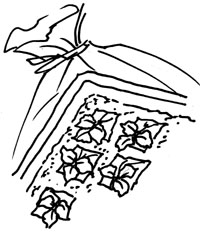
Keep your leaf squares moist by misting them daily with water if needed. After 4-6 weeks, you will see new plantlets forming on the leaf square.
Helpful Hint: Cut small holes in the top of the bag to help your new plants become acclimatized to the outside world, and after a few days, remove the plastic bag. Each new plantlet can be potted into a new container when it has formed a small ball of roots.
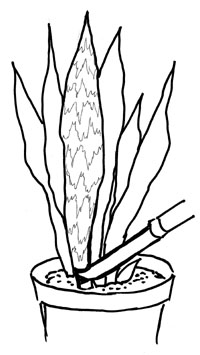
Remove a large leaf from the mother plant with a sharp knife.
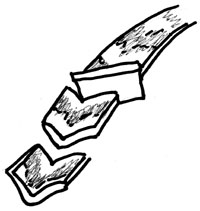
Use a knife or blade to make multiple cuttings as shown. Be sure that the cuttings are always put into the soil in this same position, with the pointed bottom down.
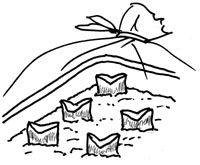
Cover your leaf squares with a clear plastic bag. This will keep them moist and help them to start forming roots.

Plantlets will begin to form at the base of the leaf cuttings. Once the plantlets are big enough to remove easily, remove the plastic and place them into their own container.
Many plants can be propagated using the leaf.
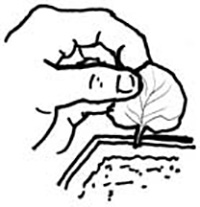
Remove a healthy leaf from the plant, make a shallow hole in the potting soil, and gently firm the soil around the cutting.
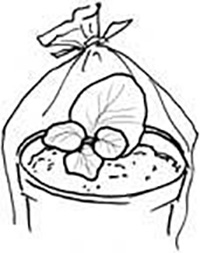
Cover your leaf cutting with a clear plastic bag to keep it moist and encourage rooting. You will begin to see new plantlets forming at the base of the leaf within 4-6 weeks.
Once the plantlets are big enough for you to pick up easily, the plastic can be removed and the plantlets can be put in an individual container.
There are many plants that can be propagated by stem cuttings.
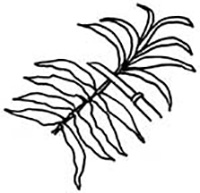
Use a sharp knife to make a stem cutting. Be sure that your cutting has at least 2 nodes (area where the leaf attaches to the stem), and remove any flowers that may be on the cutting.
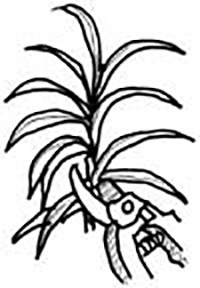
Garden pruners can be used to take a stem cutting on thicker stem plants.
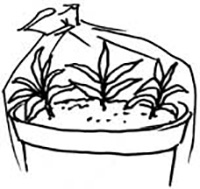
Place the cutting in a container of potting soil, covering the bottom 1/2- to 1-inch of the cutting. Cover the container with a clear plastic bag to keep your cutting moist and encourage your roots to grow!
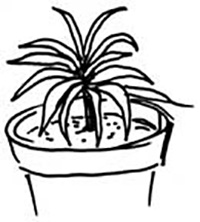
After 3-6 weeks, you should start to have roots form on your cutting. Gently probe the rootball with a pencil. When the roots are about 2-inches long, remove the plastic covering and place the cutting in its own container. You now have a beautiful new plant to enjoy!
Air layering is a fun way to propagate a plant while it is still attached to the mother plant!
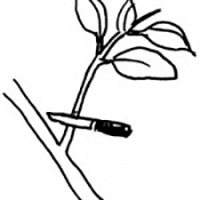
Select a side branch on the mother plant.
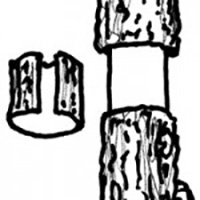
This area can be treated with a rooting hormone if the plant is very woody or difficult to root. Apply a large handful of wet sphagnum moss around the girdled stem. Be sure that the entire area is covered with the wet moss.
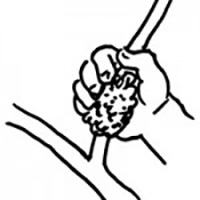
Use a knife to peel off the outer layer of the stem. This “girdling” will encourage roots to form.
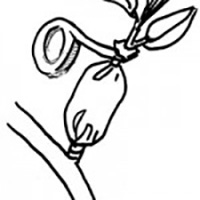
Use foil to cover the moss. Mold the foil around the moss so that it fits tightly. Cover the entire foil area with a clear plastic wrap. The ends can be secured with yarn or tape. This will keep your air-layer dark and moist to encourage new roots to grow.
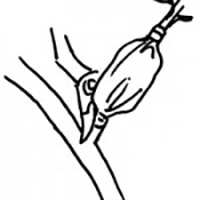
I am text block. Click edit button to change this text. Lorem ipsum dolor sit amet, consectetur adipiscing elit. Ut elit tellus, luctus nec ullamcorper mattis, pulvinar dapibus leo.
Many plants can be propagated by division.
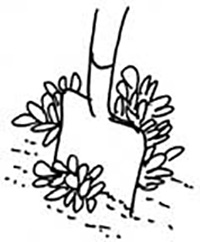
Use a sharp shovel or spade to divide a mother plant.
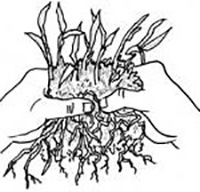
You can also use your hand to divide plants into smaller sections. Each section should have a mass of roots.
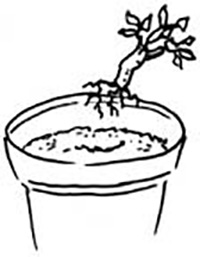
These can be potted into individual containers.
Some plants, like blackberry, can be propagated by a root cutting.
F.Y.I. – This technique does not work with all plants. Have fun experimenting to see what plants can propagate using their roots!
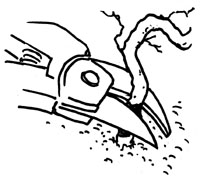
Cut stem at base. Remove a section of the root. Shake off any excess soil, and wash until clean.
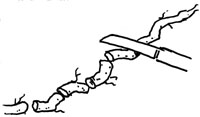
Use a knife to cut the root into 3- to 4-inch sections.
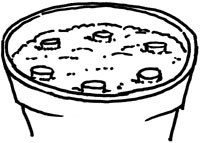
Fill a pot with soil, and use your fingers to make the holes about 1-inch apart. Plant the roots into the holes. Cover your root cuttings with a clear plastic bag to keep them moist and encourage rooting. Be sure to check daily to make sure that they do not dry out.
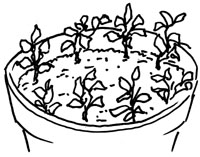
In no time, your new plants will form from the root cuttings. Once the plantlets are big enough to remove easily, remove the plastic and place them into their own container.