Solarizing Your Garden for the Summer

A Little Background Information
12gardenSolarizationSmall efforts now can yield a beautiful, blank canvas in the fall It’s hard to think about returning to school in the fall while the school year comes to a celebratory close. But as many campuses are beginning to wrap up for the summer, consider wrapping up the garden as well.

If possible, solicit families/volunteers to take turns caring for it. But if your school garden will be unattended for the summer, and you plan to begin using it again in August or September, solarizing the beds can be a very simple, inexpensive and green way to reduce some of the most difficult garden work reclaiming weed-choked bed during the hottest time of the year.

Solarizing the garden involves covering the bed with a plastic sheeting and allowing the sun to do the work of eliminating weeds, pests and plant diseases without applying chemicals. Rolls of inexpensive clear plastic sheeting can be purchased at home improvement stores. Thickness of 2 mil is recommended and are sold as rolls of plastic sheeting or plastic “drop cloths” typically used while painting. Although both clear and black plastic sheeting is used for this purpose, research shows the clear plastic sheeting achieves true solarization by allowing a greenhouse effect and trapping the most heat. Scientists at Oregon State have measured temperatures reaching 127 degrees F within the top four inches of soil below clear plastic sheeting.

Steps to Solarize a Garden

Remove Plants

Remove existing vegetation(if not possible, mow the area to the shortest setting). Break up larger clods of soil. The goal is to get allow the plastic covering the garden to be on the surface of the soil.


Water Soil

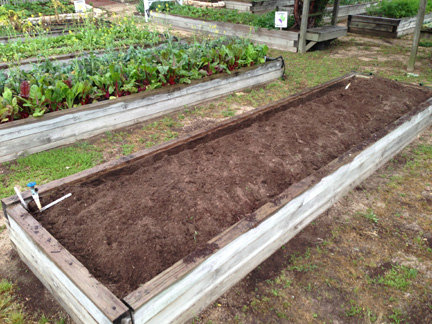
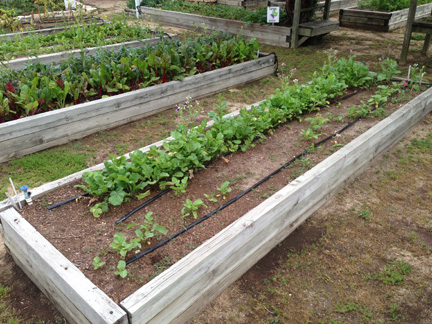
When the vegetation is fully removed, water the soil. Your garden should look something like this…


Prepare Soil

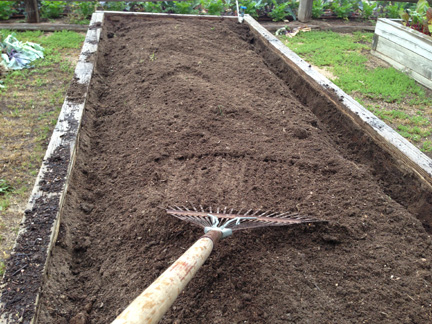
After watering the soil, prepare the soil by using the hoe and rake to mound the soil in the middle so the sides can be covered with plastic.


Cover Soil

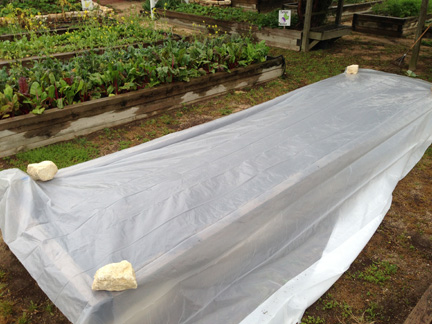
Cover the prepared soil with plastic.


Anchor Plastic

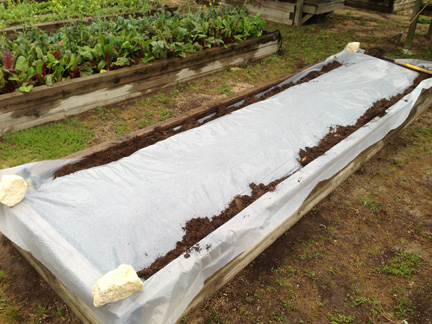
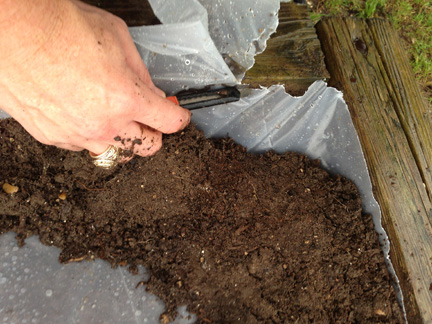
Anchor the plastic by placing soil on top of the plastic, along the sides of the garden.


Cut Plastic

Cut the plastic to fit the size of the garden.


Stabilize Plastic

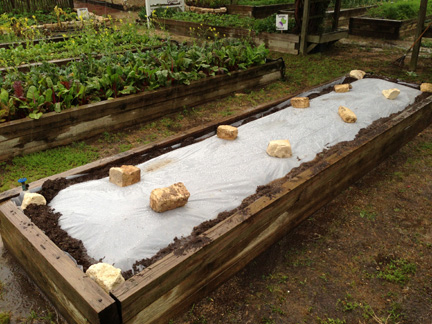
Finally, stabilize the plastic with rocks in the middle. Your garden is prepared for solarization!

More Tips

Allowing at least six weeks of for the solarization to heat the garden will produce the maximum benefit of killing weeds and harmful soil organisms. When you come back in the fall, pull up the covering and you’ll be surprised by the beauty and inspiration of an empty garden canvas that is ready and begging to be planted. At this point little or no soil cultivation will be need. (Tilling the soil, more than a couple inches, increases the chances of bringing viable weed seeds back to the surface.)

Additional benefits to soil solarization include:
– speeding up the breakdown of organic material in the soil.
– releasing of soluble nutrients making them more available to plants.
– faster growing and higher yielding plants.
– improved disease and weed control, the increase in soluble nutrients.
– greater proportions of beneficial microorganisms in the soil.

References:

http://extension.oregonstate.edu/gardening/harness-sun-kill-weeds-plant-diseases-and-pests
http://ucce.ucdavis.edu/files/filelibrary/40/942.pdf
http://www.ipm.ucdavis.edu/PMG/PESTNOTES/pn74145.html
http://edis.ifas.ufl.edu/in856
http://vric.ucdavis.edu/pdf/soil_solarization.pdf