GROWtips
Your weekly GROW tips:
Week 1
GROW tips:
Container gardens can be started in two easy steps:
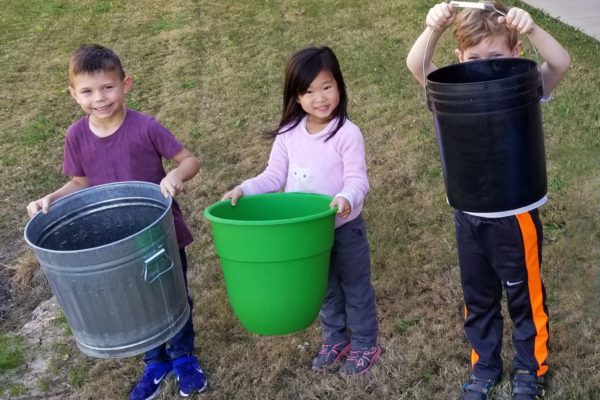
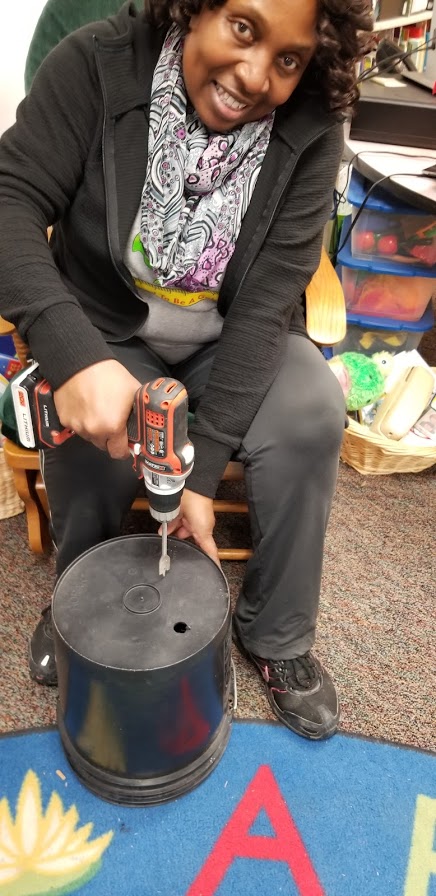
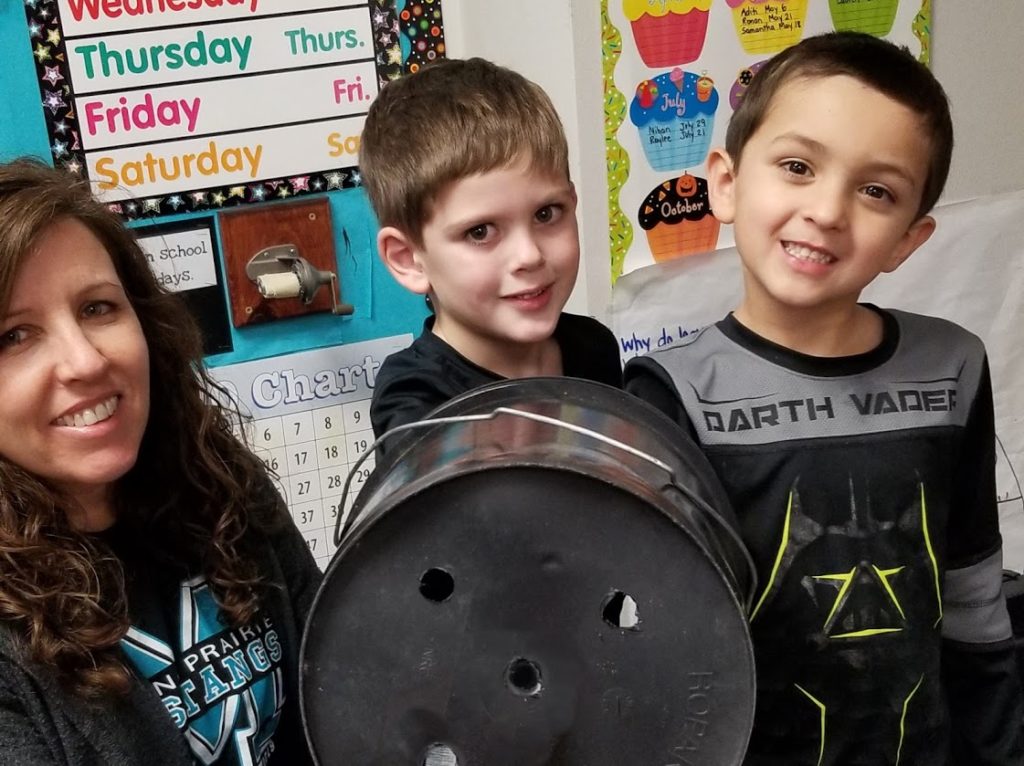
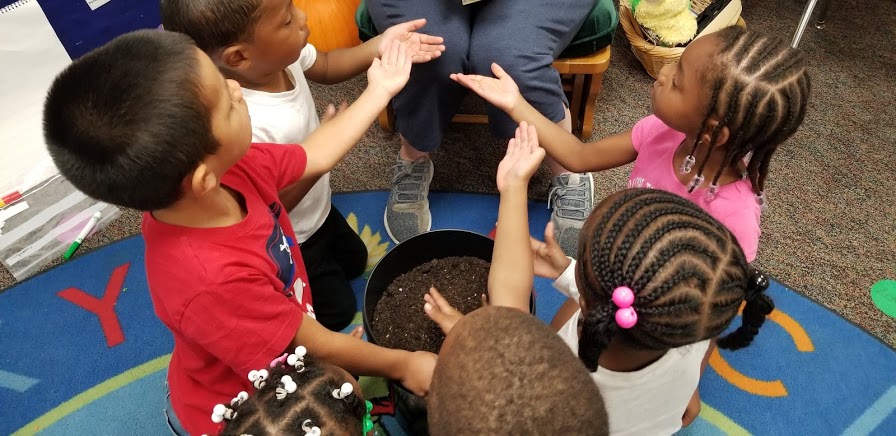
A. Find large containers (3 to 5 gallons in size). Many different containers may be used. Examples include food service buckets, rectangular storage bins, and standard large plant pots. If the container does not have pre-made holes in the bottom, drill several holes to allow for drainage.
B. Fill container with potting soil.* Let your students get their hands dirty by having them help fill the containers. Once filled to the top, have students press the potting soil down into the container to fill in any air pockets and help create ideal conditions for plants’ roots to grow.
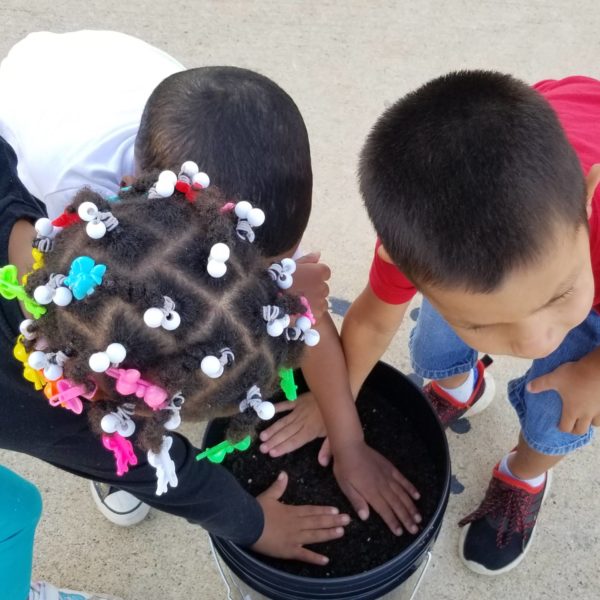
*PRO tip for school gardens: High-quality bagged potting soil is key to growing a garden that thrives.
Week 2
GROW tips:
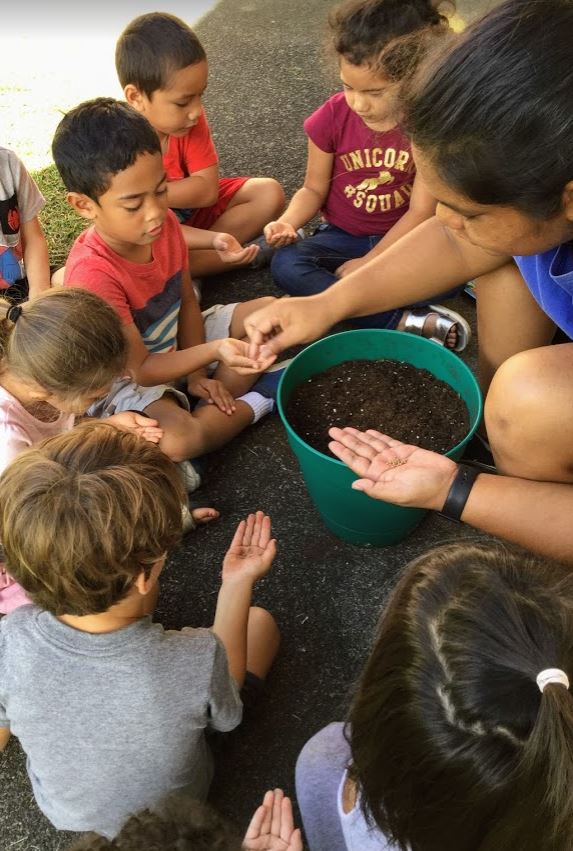
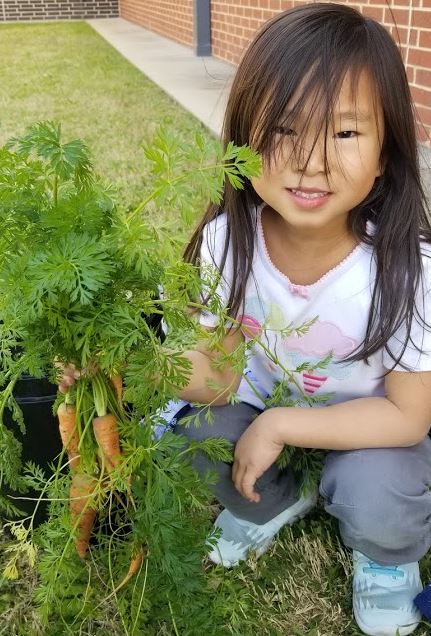
Tips for growing carrots or radishes with your class:
A. Place container in a location that gets at least 6 hours of sunlight per day.
B. If needed, you can lightly water daily to keep the soil and seeds damp for the first 2 weeks.
C. These are cool season crops that grow best in cooler weather. Look on the back of the seed packet to find planting dates for your area, or click to find your local county Extension office (click to www.JMGkids.us/MyCounty) to learn what time of year carrots and radishes can be grown.
Watering your vegetable plants
Keeping the soil damp, but not soaking wet, is important for your garden’s success. The soil in container plants tends to dry out more quickly than in the ground. It is a good idea to leave a water can nearby and have the students check the soil each day. This could be one of the assigned jobs for one or two students in your class.
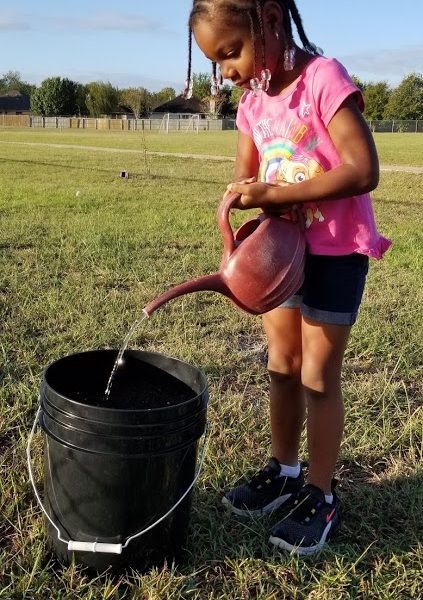
*PRO TiP for SCHOOL GARDENS: Show students how to carefully stick a finger into the top of the soil (being extra gentle to avoid disturbing plant roots). If the soil feels dry, they can use the watering can to give their plants water.
Week 3
GROW tips:
Tips for growing leafy greens with your class:
A. Place container in a location that gets at least 6 hours of sunlight per day.
B. If needed, you can lightly water daily to keep the soil and seeds damp for the first 2 weeks.
C. These are cool season crops that grow best in cooler weather. Look on the back of the seed packet to find planting dates for your area, or click to find your local county Extension office (click to www.JMGkids.us/MyCounty) to learn what time of year carrots and radishes can be grown.
Thinning and fertilizing your vegetable plants
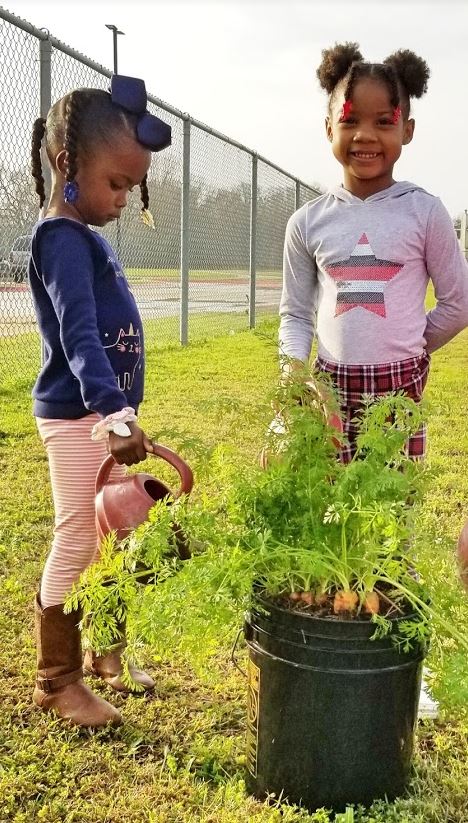
It takes 1 to 2 weeks for spinach seeds to germinate. About 2 weeks after seeds germinate, clip the bases of some of the seedlings with scissors to thin them out to a spacing of 4 inches apart.
After 6 to 8 weeks of growing, you can begin harvesting. As long as the weather is cool, spinach can continue to grow. For continued growth, do not clip more than a third of the leaves away at a time so that the remaining leaves can continue to absorb light and help the plant grow. Harvest by clipping them at the base of the stem.
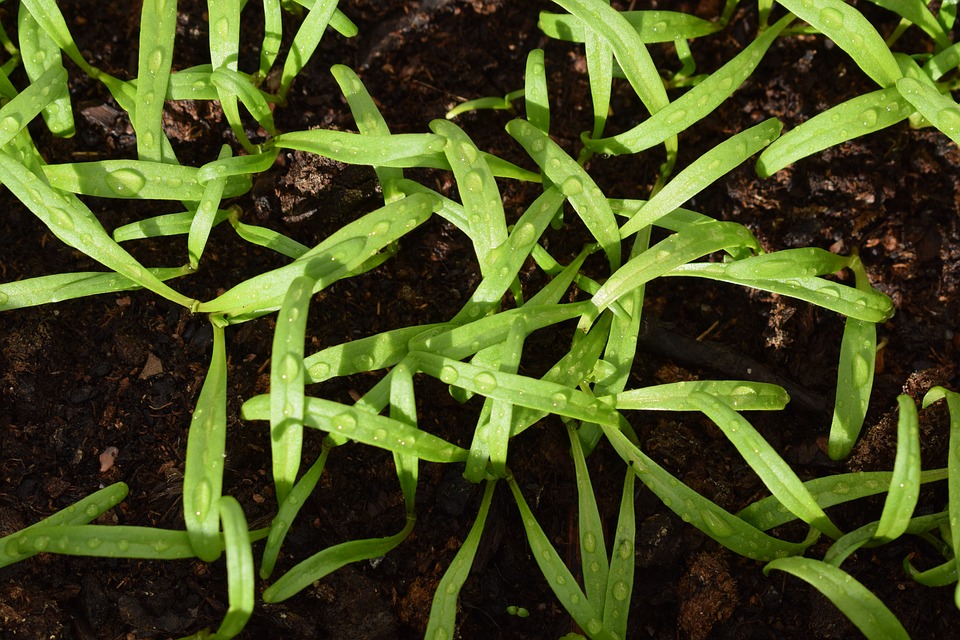
(spinach seedlings 3 weeks after planting.)
*PRO TiP for SCHOOL GARDENS:Leafy greens need fertilizer to grow. You can fill this need using a potting mix that has fertilizer already added. If you notice the plants starting to turn yellow as you harvest leaves from the plant, additional fertilizer may be needed. Water soluble fertilizers can be added to water and poured onto soil, or compost can be placed around the base of your plants.
Week 4
GROW tips:
Growing Vegetables from Transplants
A. Place the container in a location that gets at least 6 to 8 hours of sunlight per day.
* Water them often enough to keep the soil slightly damp. Whenever you need to test if the
garden needs water, stick your finger about an inch into the soil. If the soil feels dry at
your fingertips, it’s time to water!
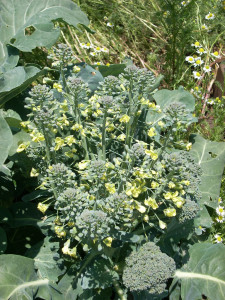
B. Broccoli and cauliflower are cool season crops and grow best in cooler weather. Tomato,
bell pepper, squash, and many other vegetable transplants are warm season crops and
grow best in warmer weather.
C. Look on the back of the transplant tag to find planting dates for your area or contact your
local county Extension office to learn what time of year the crops can be grown. Click to find your local county Extension office (www.JMGkids.us/MyCounty) to learn what vegetable transplant can be grown this time of year.
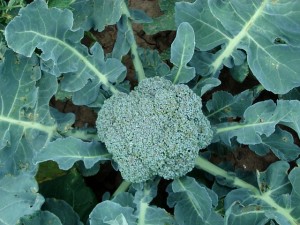
(When the head of the broccoli gets 5-7 inches wide, harvest it by carefully cutting the stem a few inches below the broccoli head.)