

Thought: Here in Texas it won’t be long until new leaves start sprouting from trees and shrubs. There’s always a certain healing magic about the grayish brown structures of trees and shrubs showing those first green leaf buds. It’s all about renewal and another step in the cycle of seasons.
Project: I’d like us to do a celebration of spring by going outside to take in some fresh air and observe the coming of spring. We’re going to use pencil and oil pastels to make a picture of a tree in our neighborhood. This will be done in two parts: the first will be sketching the tree.
NOTE: Timing is essential. You want to catch the tree before it is fully leafed-out, so you can still see the structure. The photograph above shows how difficult it would be to so a fully leaved tree.
Age: This activity is appropriate for grade 2 on up to adult. It can be done in a classroom situation OR at home.
NOTE: If it’s at all possible, put together a Powerpoint slide show of public domain photographs of trees, and of various artists’ renderings of trees. I can never overstate the need for discussions all along the way. Take your time. Art class is one place where kids are guaranteed the opportunity to slow down and reflect.
Materials: 8″ x 11″ sketch paper (newsprint, for example); a pencil (if you’re taking a class outside be sure to bring along extras); a set of clipboards (or something similar to use as a work surface). If the ground is at all moist you can bring out one or two blue tarps for kids to sit on.
NOTE: Be sure you have some way of keeping track of time. At my last school, art periods were thirty minutes, so we had to be careful not to go off schedule.
Steps
1) Before going outside, spend some time modelling how to closely
observe a tree and begin to understand the actual proportions and lines. I always tell my students that whenever they do a tree, they probably do the same tree the always do: “In this project we’re going to do THIS tree. I want t to be able to have a visitor to be able to use your picture to find this particular tree.”
2) How tall is the tree compared to how wide? You can use the strategy of holding a pencil at arm’s length from a distance, with one eye looking at the point of the pencil at the top (or bottom) of the tree. Put the tip of your thumb on the pencil where the opposite end of the tree is. Then turn the pencil horizontally and compare the width (at the widest point). We think of trees as tall, so we always make them tall and skinny. We found, with our wonderfully gnarled oak trees, that they were often as wide as they were tall–sometimes even wider! Have the children try to show this relationship.
3) Children always want to sketch using heavy lines. Eventually they don’t like what they see, get frustrated, erase like crazy, and end up tearing their paper. (Oh, I also use pencils with no erasers; nor do I bring separate erasers out while they’re sketching.) I always have a battle teaching them to go lightly at first. I teach them to use an overhand grip. If your pencil is on a table, how you pick it up is how you hold it. Then I show them how to use the side of the point, keeping their forearm and wrist free to move. Believe me, it takes a long time to get children to do this. When they see the results, however, they see why I make such a fuss.
4) We’re not worried about the leaves as much as getting the form of the tree right. I believe it’s important to teach kids the value of making at least one sketch of something before embarking on the final “draft.” You want students to begin to understand how important it is to note the changes in direction, the zigs and zags, and the tangles of branches. I say this realizing the tree your class is doing may be quite different from the one I’m representing here. Have children note how the size of the trunk diminishes as it goes higher, and that the branches get smaller around as they get farther from the trunk. Your particular tree trunk may actually fork as it moves from from the ground. It’s all in the details!
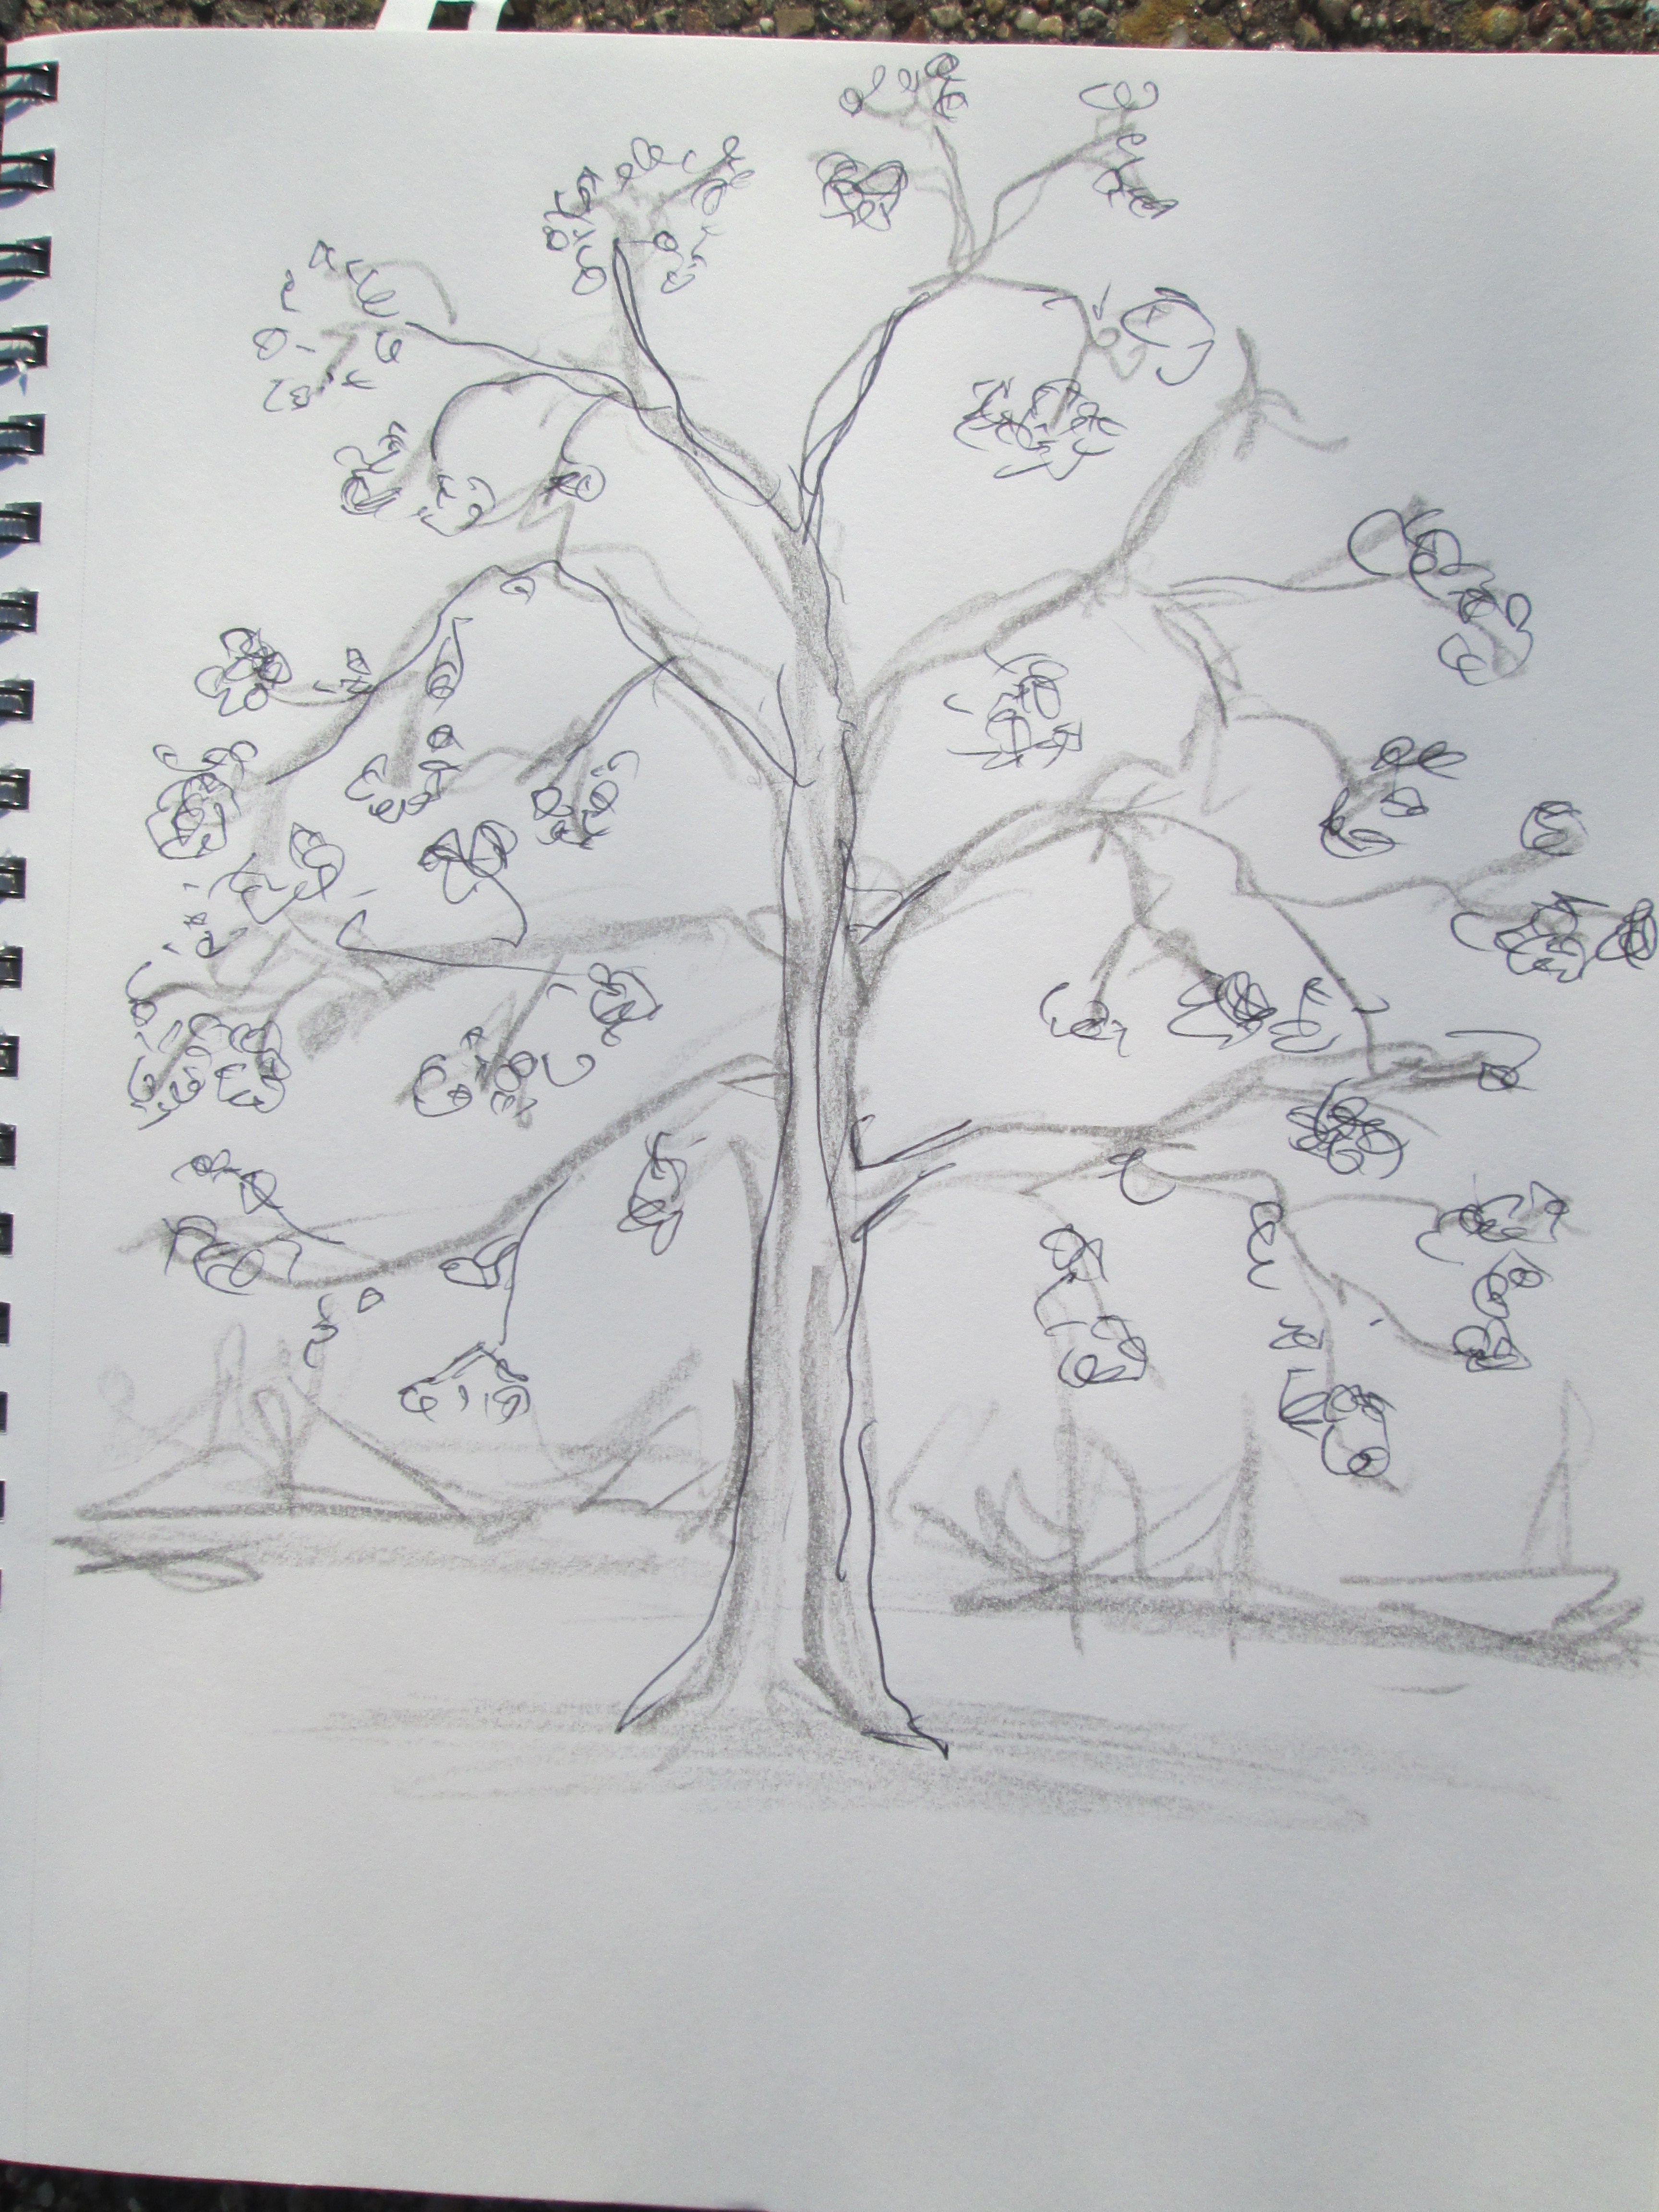 5) If time allows, children can make some quick, small marks representing where the leaves are appearing. The purpose of this is to locate where the clusters of leaves are appearing. You don’t want to hear the relentless tapping of pencil points making dots. Rather, quick, irregular, rounded shapes. In many trees these clusters with be at the ends of the smaller branches and twigs. Again, one of your goals is to have children observe nature and approach it in a thoughtful way.
6) Children will want to put in a bit of background. The horizon will be important. Other background features, such as benches, other trees, etc. should be treated quickly. Remind the children that the main focus (the “main character” of their piece of art is the tree).
NOTE: I always find it useful to take a picture of the tree. If you’re lucky enough to have a computer with a Smart Board, it’s a fantastic way of reinforcing and reviewing things like proportion, line, shape, and color. As it once happened–after we made our sketches the weather turned bad and we couldn’t go outside. We put the image on the board, took out our sketches, and did our final work in the classroom. Of course, it cleared up as soon as we were done.
Such a sketch can be used as a springboard to doing a variety of art projects, emphasizing different styles of well-known artists. Think of what Van Gogh might do…or Seurat…or Paul Klee. The list is endless.
Best of luck with this part of the project! I welcome your comments and pictures of student art work. Spring is on the way!
Recent Comments