

Thoughts: School is beginning soon, which also means that fall is on the horizon. I think autumn is my favorite season: the gradual drop in temperature, the color changes and falling of leaves, Thanksgiving (my favorite holiday), and the great harvest from gardens and orchards. We have been suggesting some at-home projects in June and July, and now I’d like to turn my attention to some classroom projects (for either the art room or the regular classroom). Please note that most of the projects I suggest for either “at-home” or “classroom.” They are not mutually exclusive. In other words, many “at-home” projects could be done in the classroom, whole many “classroom” projects could be tweaked for use in the home. One of the great symbols of fall is the mighty apple. What an incredible gift from Mother Nature! It used to be (it still happens) that an apple was given to a teacher. This ingratiating behavior was supposed to put a child in good stead with his teacher. In my case, I don’t think the apple made much of a difference in my grades or anything else. Of course, I never took into account the fact that some of my teachers wore dentures, in which case the gift could have put me in the doghouse.
Project: Making Apple Prints Ages: Grades K-2
Materials: tempera or acrylic paint (in a variety of colors)–or block-printing ink if you have it in a variety of colors; 4″ squares of colored construction paper; a few fresh apples; strips of backing paper (colored construction paper, newspaper, old wallpaper, or gift wrap paper) cut into strips of 5 1/2″ x 16″; an old cookie sheet or piece of corrugated cardboard for holding the paint; newspaper for covering the work area; old tee-shirts or smocks will help keep kids clothing nice. A tub of warm soapy water and a tub of rinse water for the cleanup station. Make sure your apple is small enough to fit comfortably on the page. Also, a smaller apple is easier to handle for a small child.
Management: Especially for younger children, you want to plan carefully how many kids are going to be printing at a time. I would have some parent volunteers and have them help the children who are waiting with an easy, alternate project. That frees me to call children up one at a time to make their prints. If you’re careful to show them the routine, it goes pretty quickly.
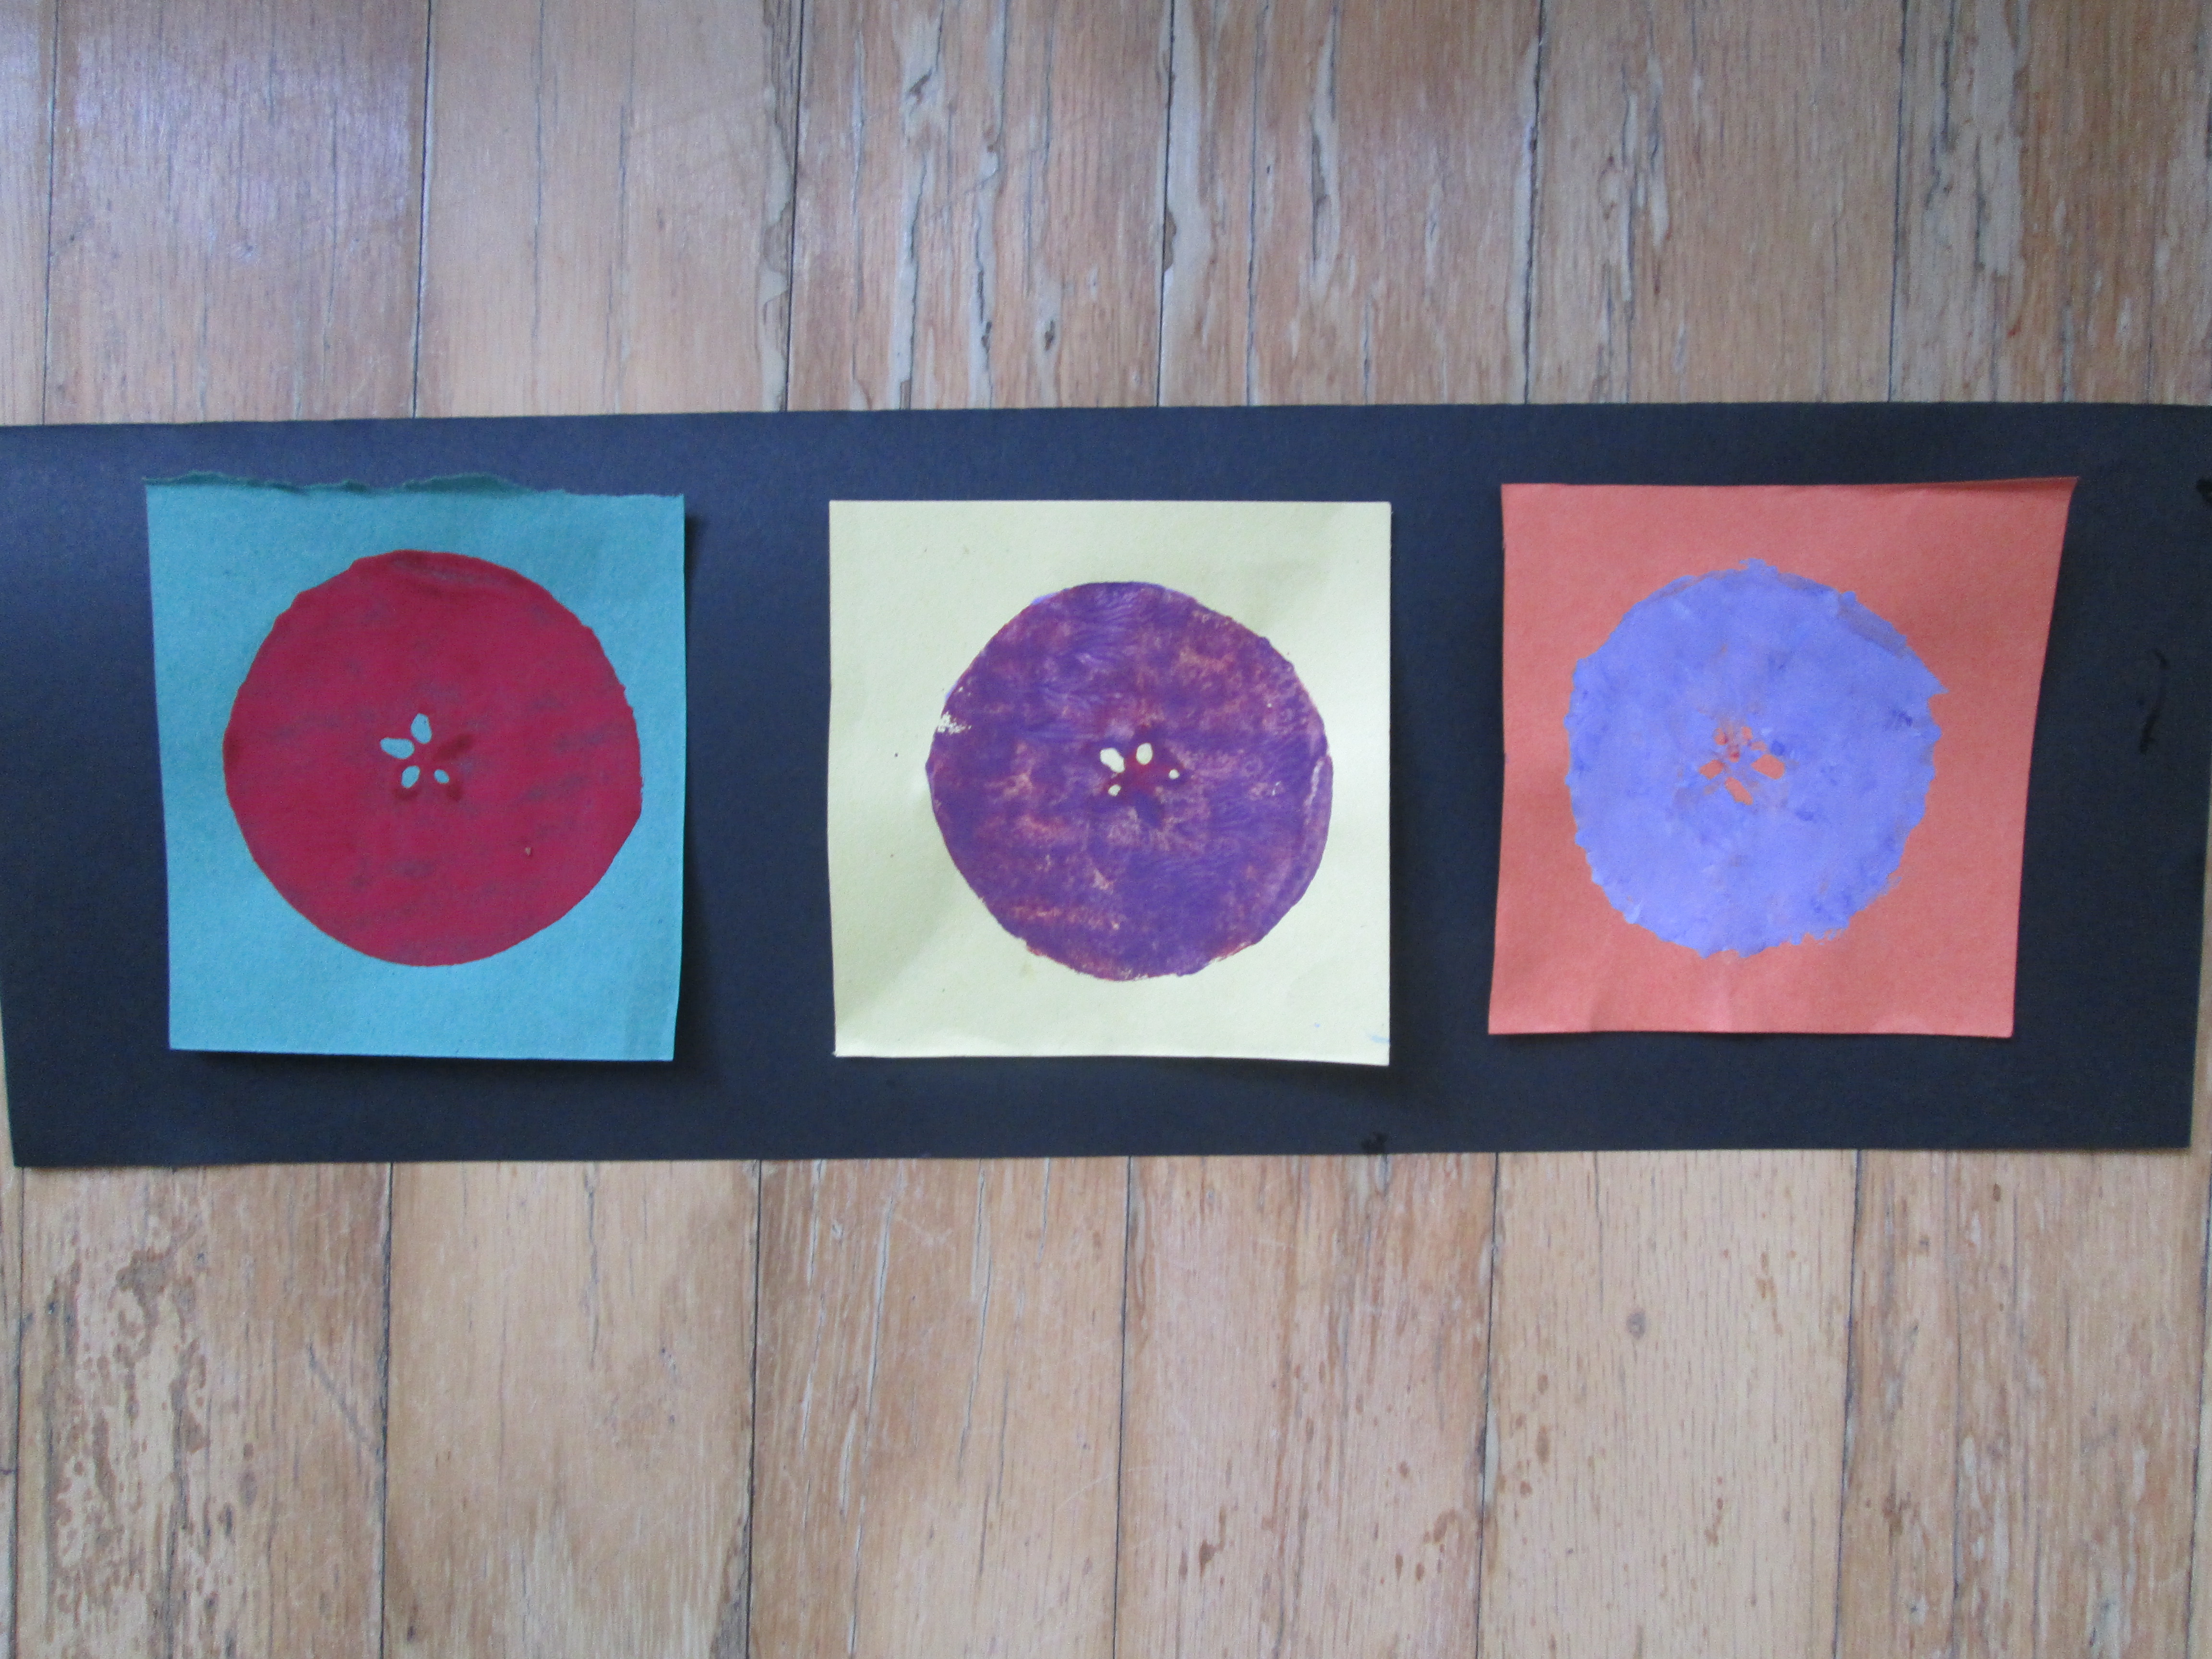
Suggestion: I had the children do print color and paper color in complementary pairs. That is, red paint on green paper, orange paint on blue paper, yellow paint on violet paper. Of course, you could reverse the colors in each pair if you wish. This was a great way of introducing the concept of complementary colors to my younger students.
Be Careful: You want your paint thick enough to color the colored paper, but you want it thin enough to show the star on the apple. A lot of this has to do with how much paint gets on the apple. You might even want to apple the paint with a sponge or brush. Trying this out ahead of time really pays off. So much of the color contrast depends on the paints and the paper you use. The green paper I used in my first print was a bit dull, so I’m trying some origami paper instead. You may want to scoop out the seed holes a bit with a sharp tool, just so paint doesn’t get into them so much and clog them up.
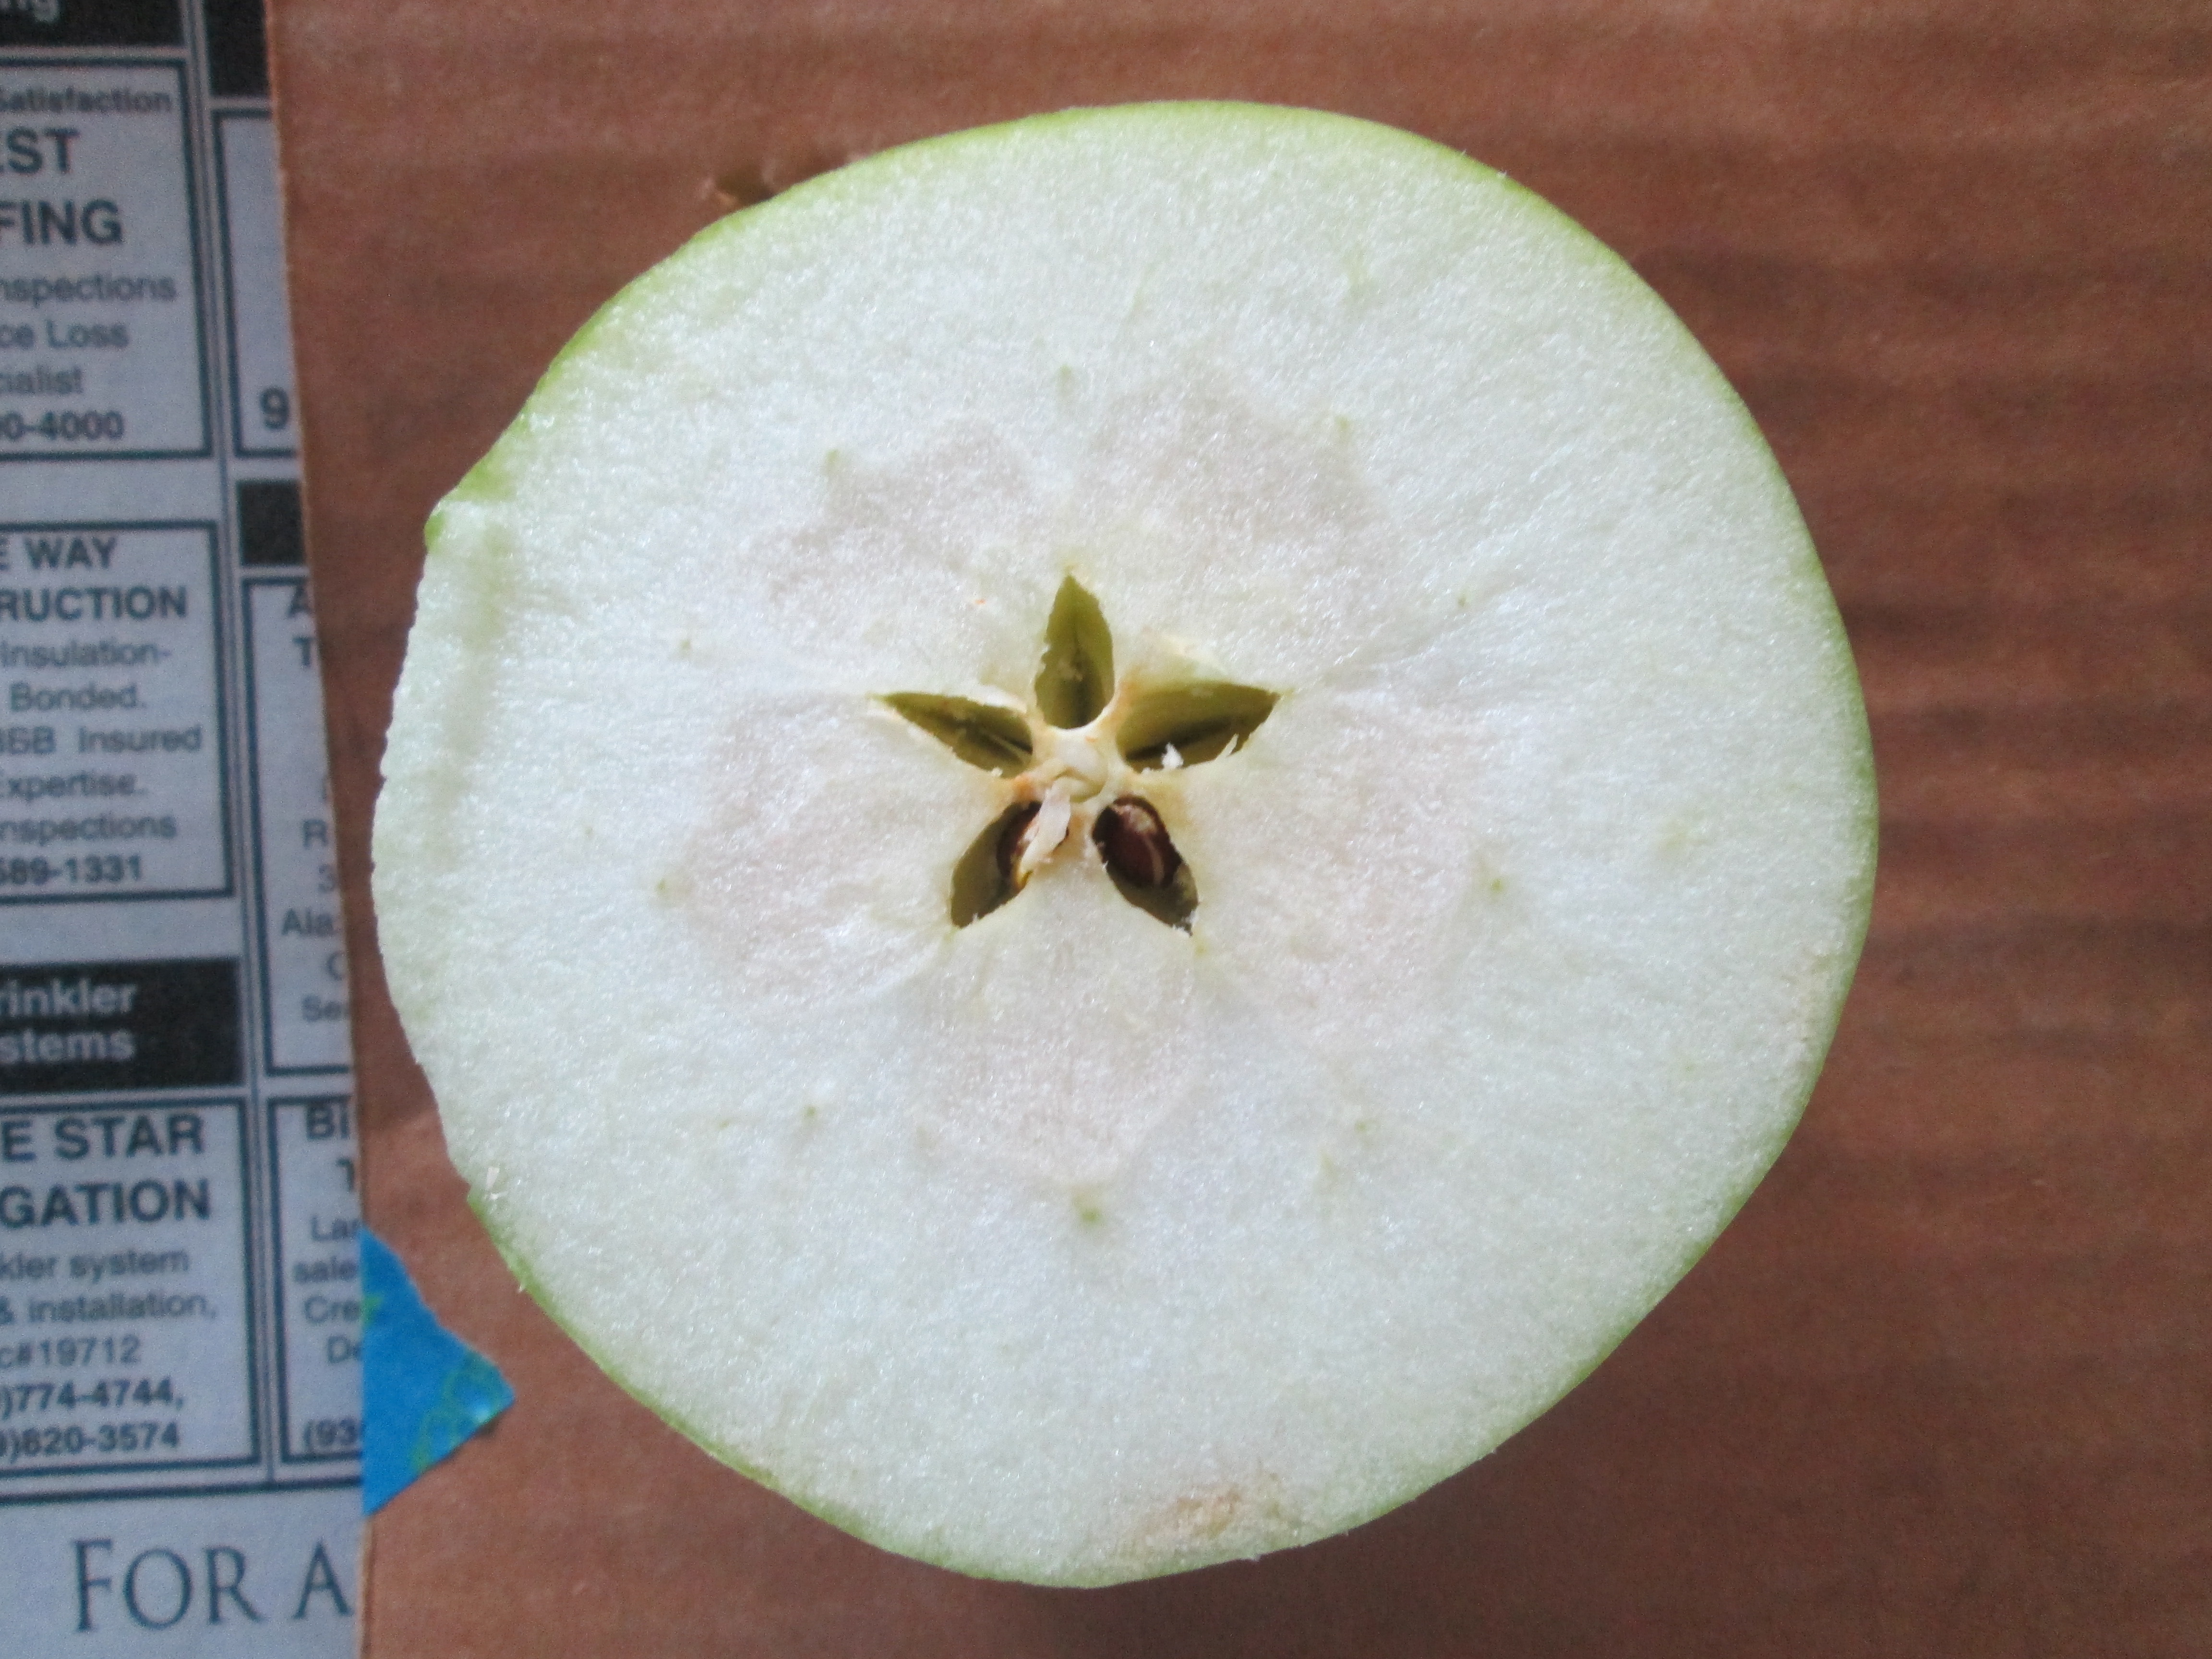
Step 1: Cut an apple through the middle on a horizontal axis, so the “star” in the middle is visible. Your “printing station” should be close to a drying rack so you can put the prints there to dry. Have all of the children write their name legibly on the back of their 4″ square. This is where parent help comes in handy, especially for K kids. If their square is a dark color, have them use a Sharpie marker so their name shows up. Collect the squares and call the children one at a time, according to whose paper is on top of the pile.
Step 2: Show each student how to hold the apple and make sure they get it close to the center of the paper. The apple should go straight on, pushed down, and straight back up. Make sure the kids don’t twist or wipe the apple on the page, because that will wreck any detail. I would have your station set up so that you can model how its done.
Step 3: Clean up hands, take off smocks, keep rotating. Depending on the length of your art period, I would just do one color per day.
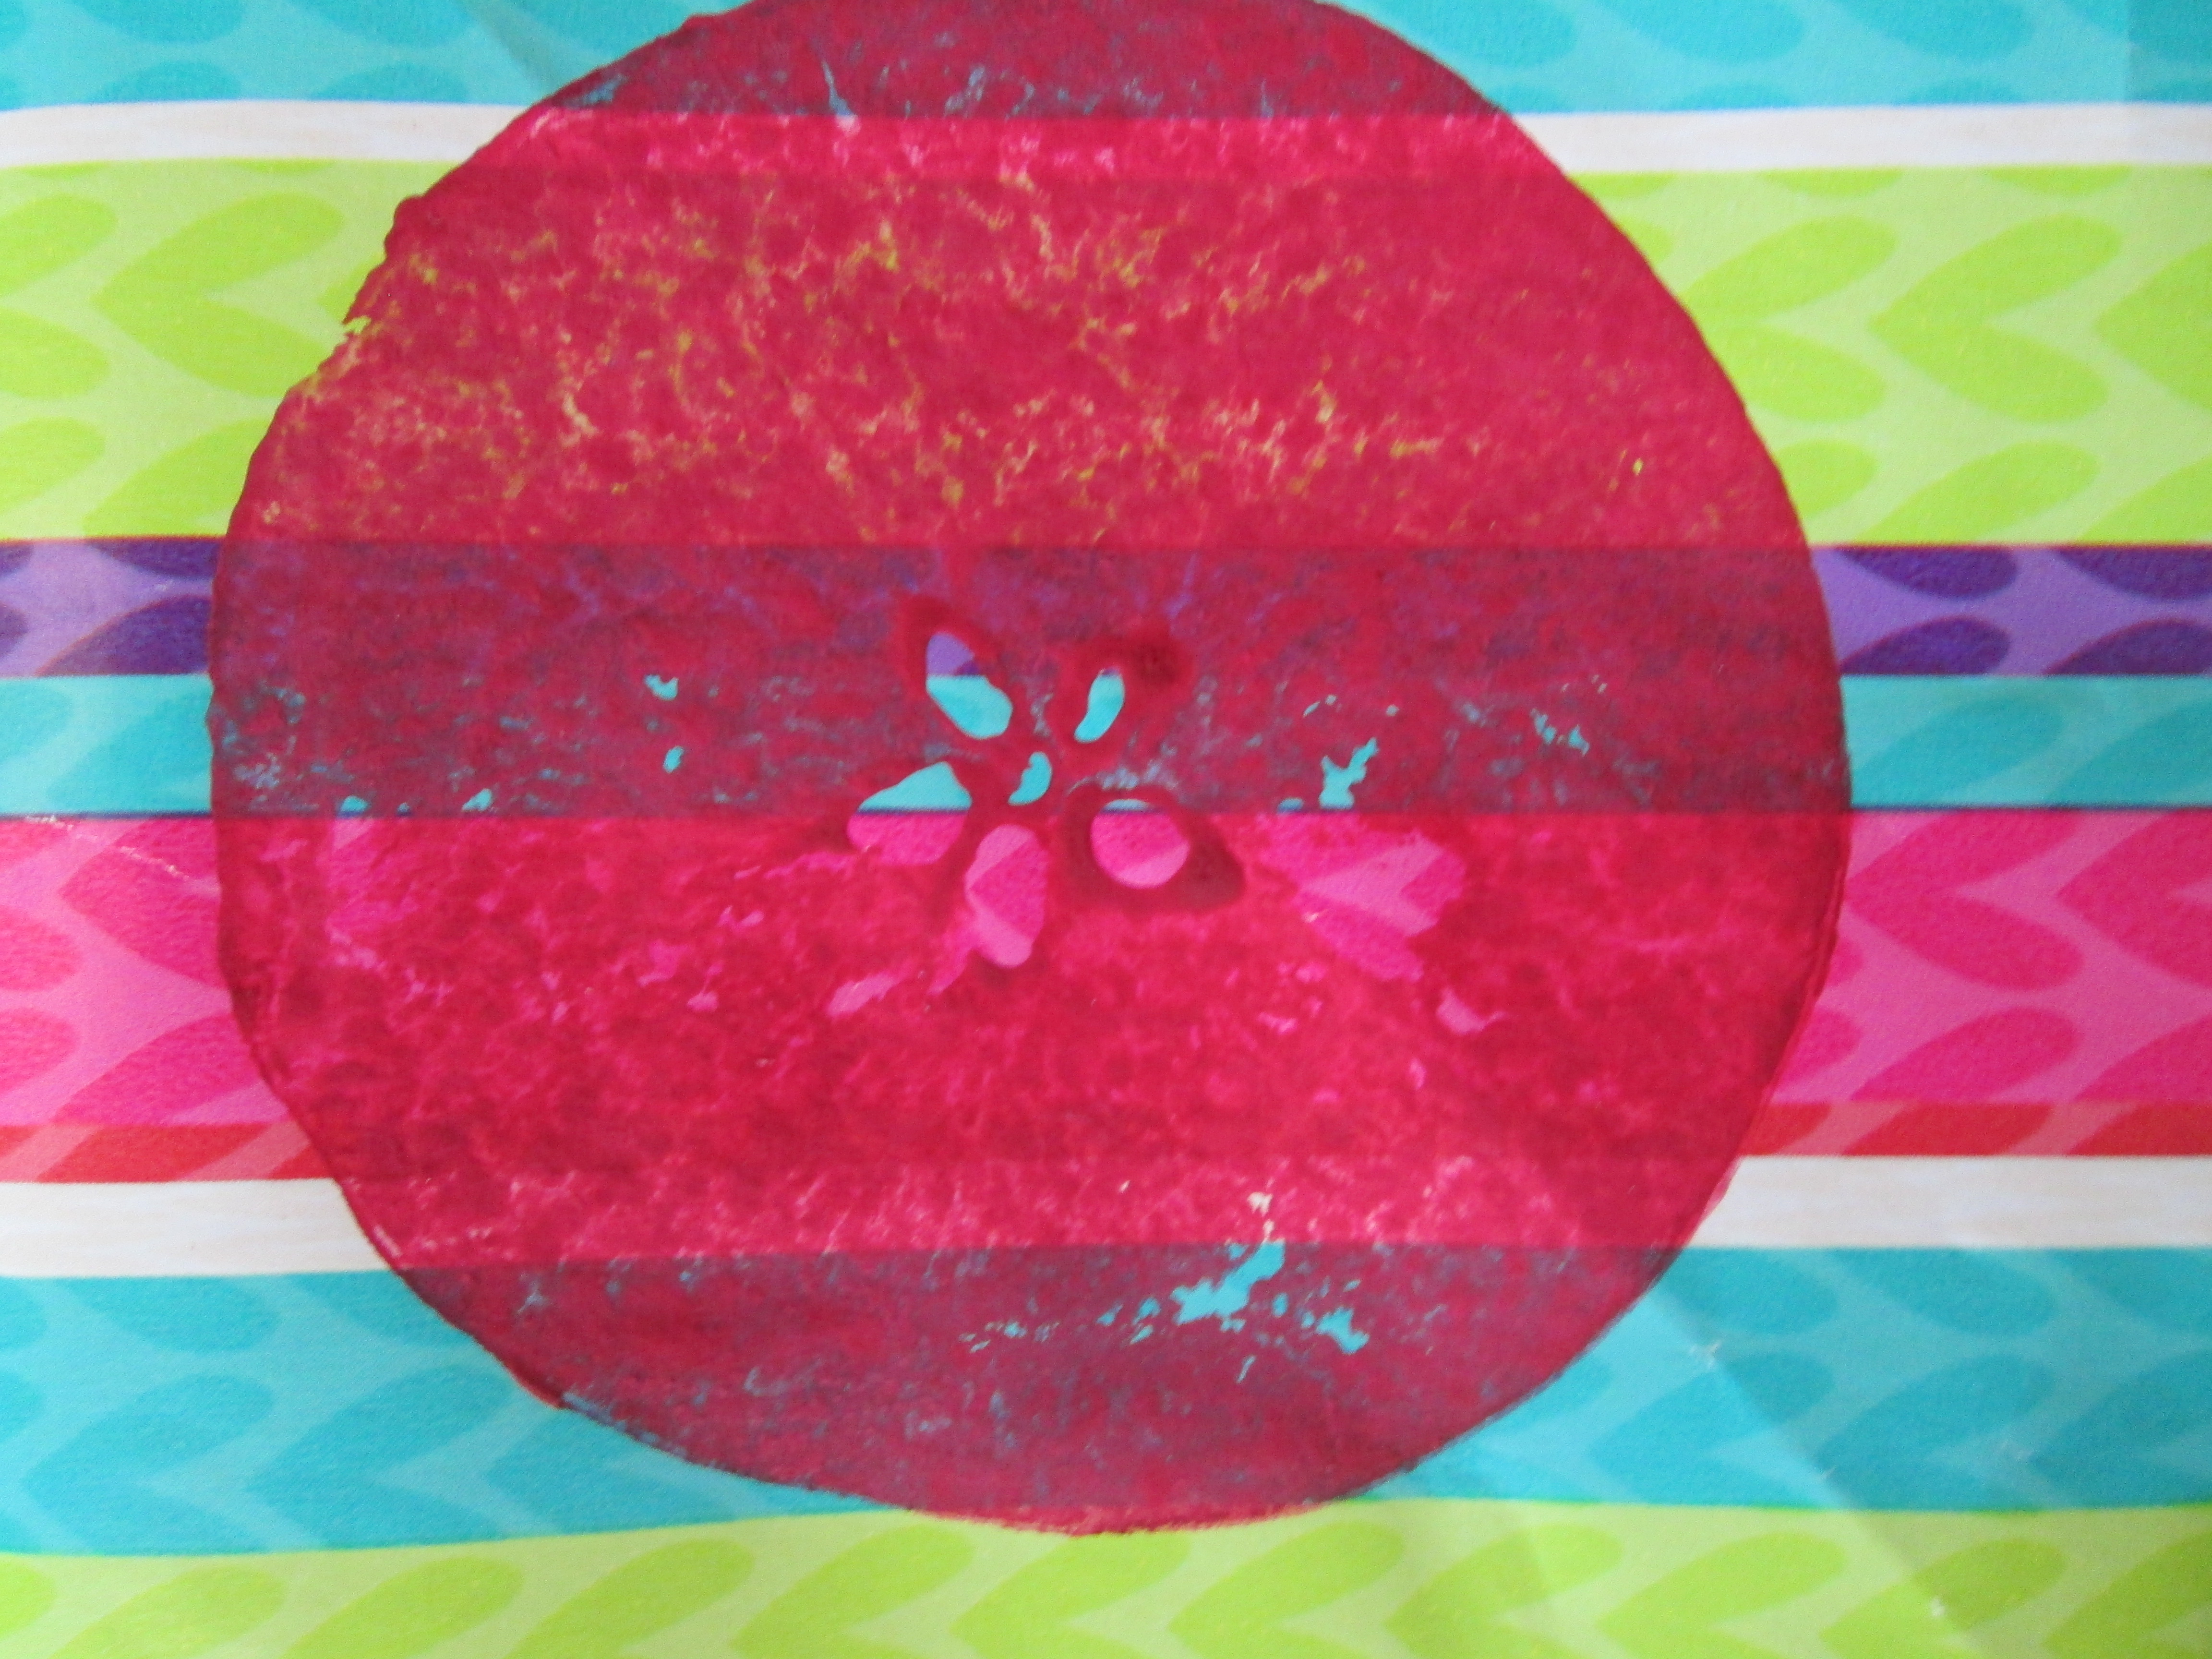
Teacher’s Choice: If you want to keep it simple, just do one print and mount that on an interesting backing sheet, cut so that it frames the print nicely. You do have the option, as I did, to do three prints, each print representing a pair of complementary colors, mounted nicely on a strip which can be displayed either vertically or horizontally. The example on the upper right was printed on a scrap of old gift-wrapping paper. It IS one of nature’s gifts, after all.
Don’t Forget!: Once you mount the prints ion the backing paper, make sure the student’s name is on the backing paper! This project always turns out nicely, with a high rate of student success. Getting the extra hands to help you, plus spending the time teaching the children the routine are the keys to its success.
As always, you may be inspired to take this idea and go in a different direction. Great! Let me know what you did and how it goes!! Good luck!
Recent Comments