
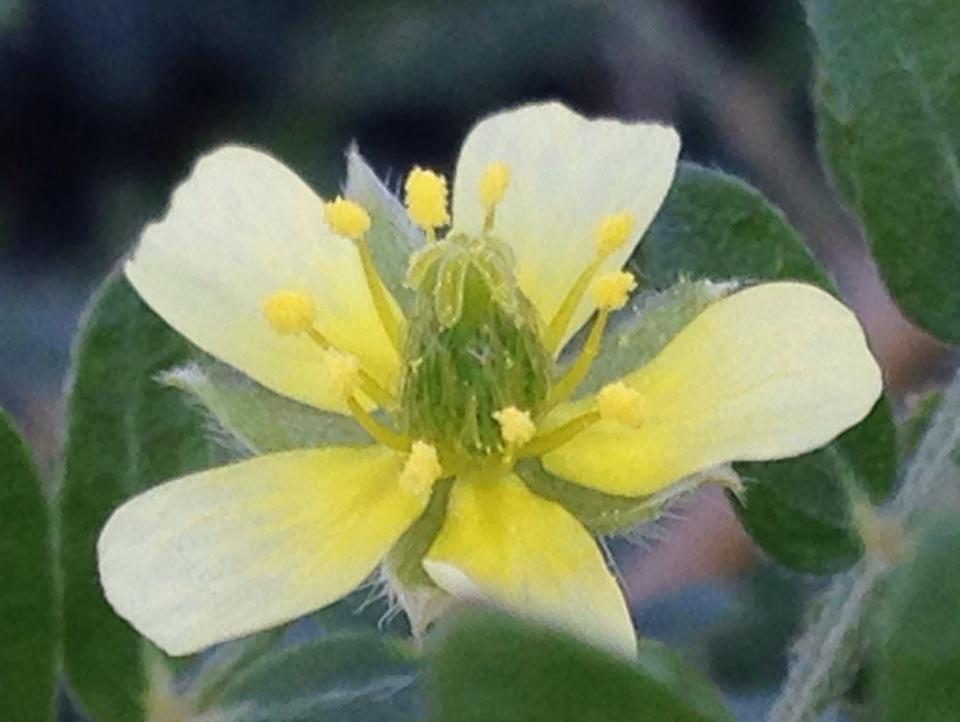

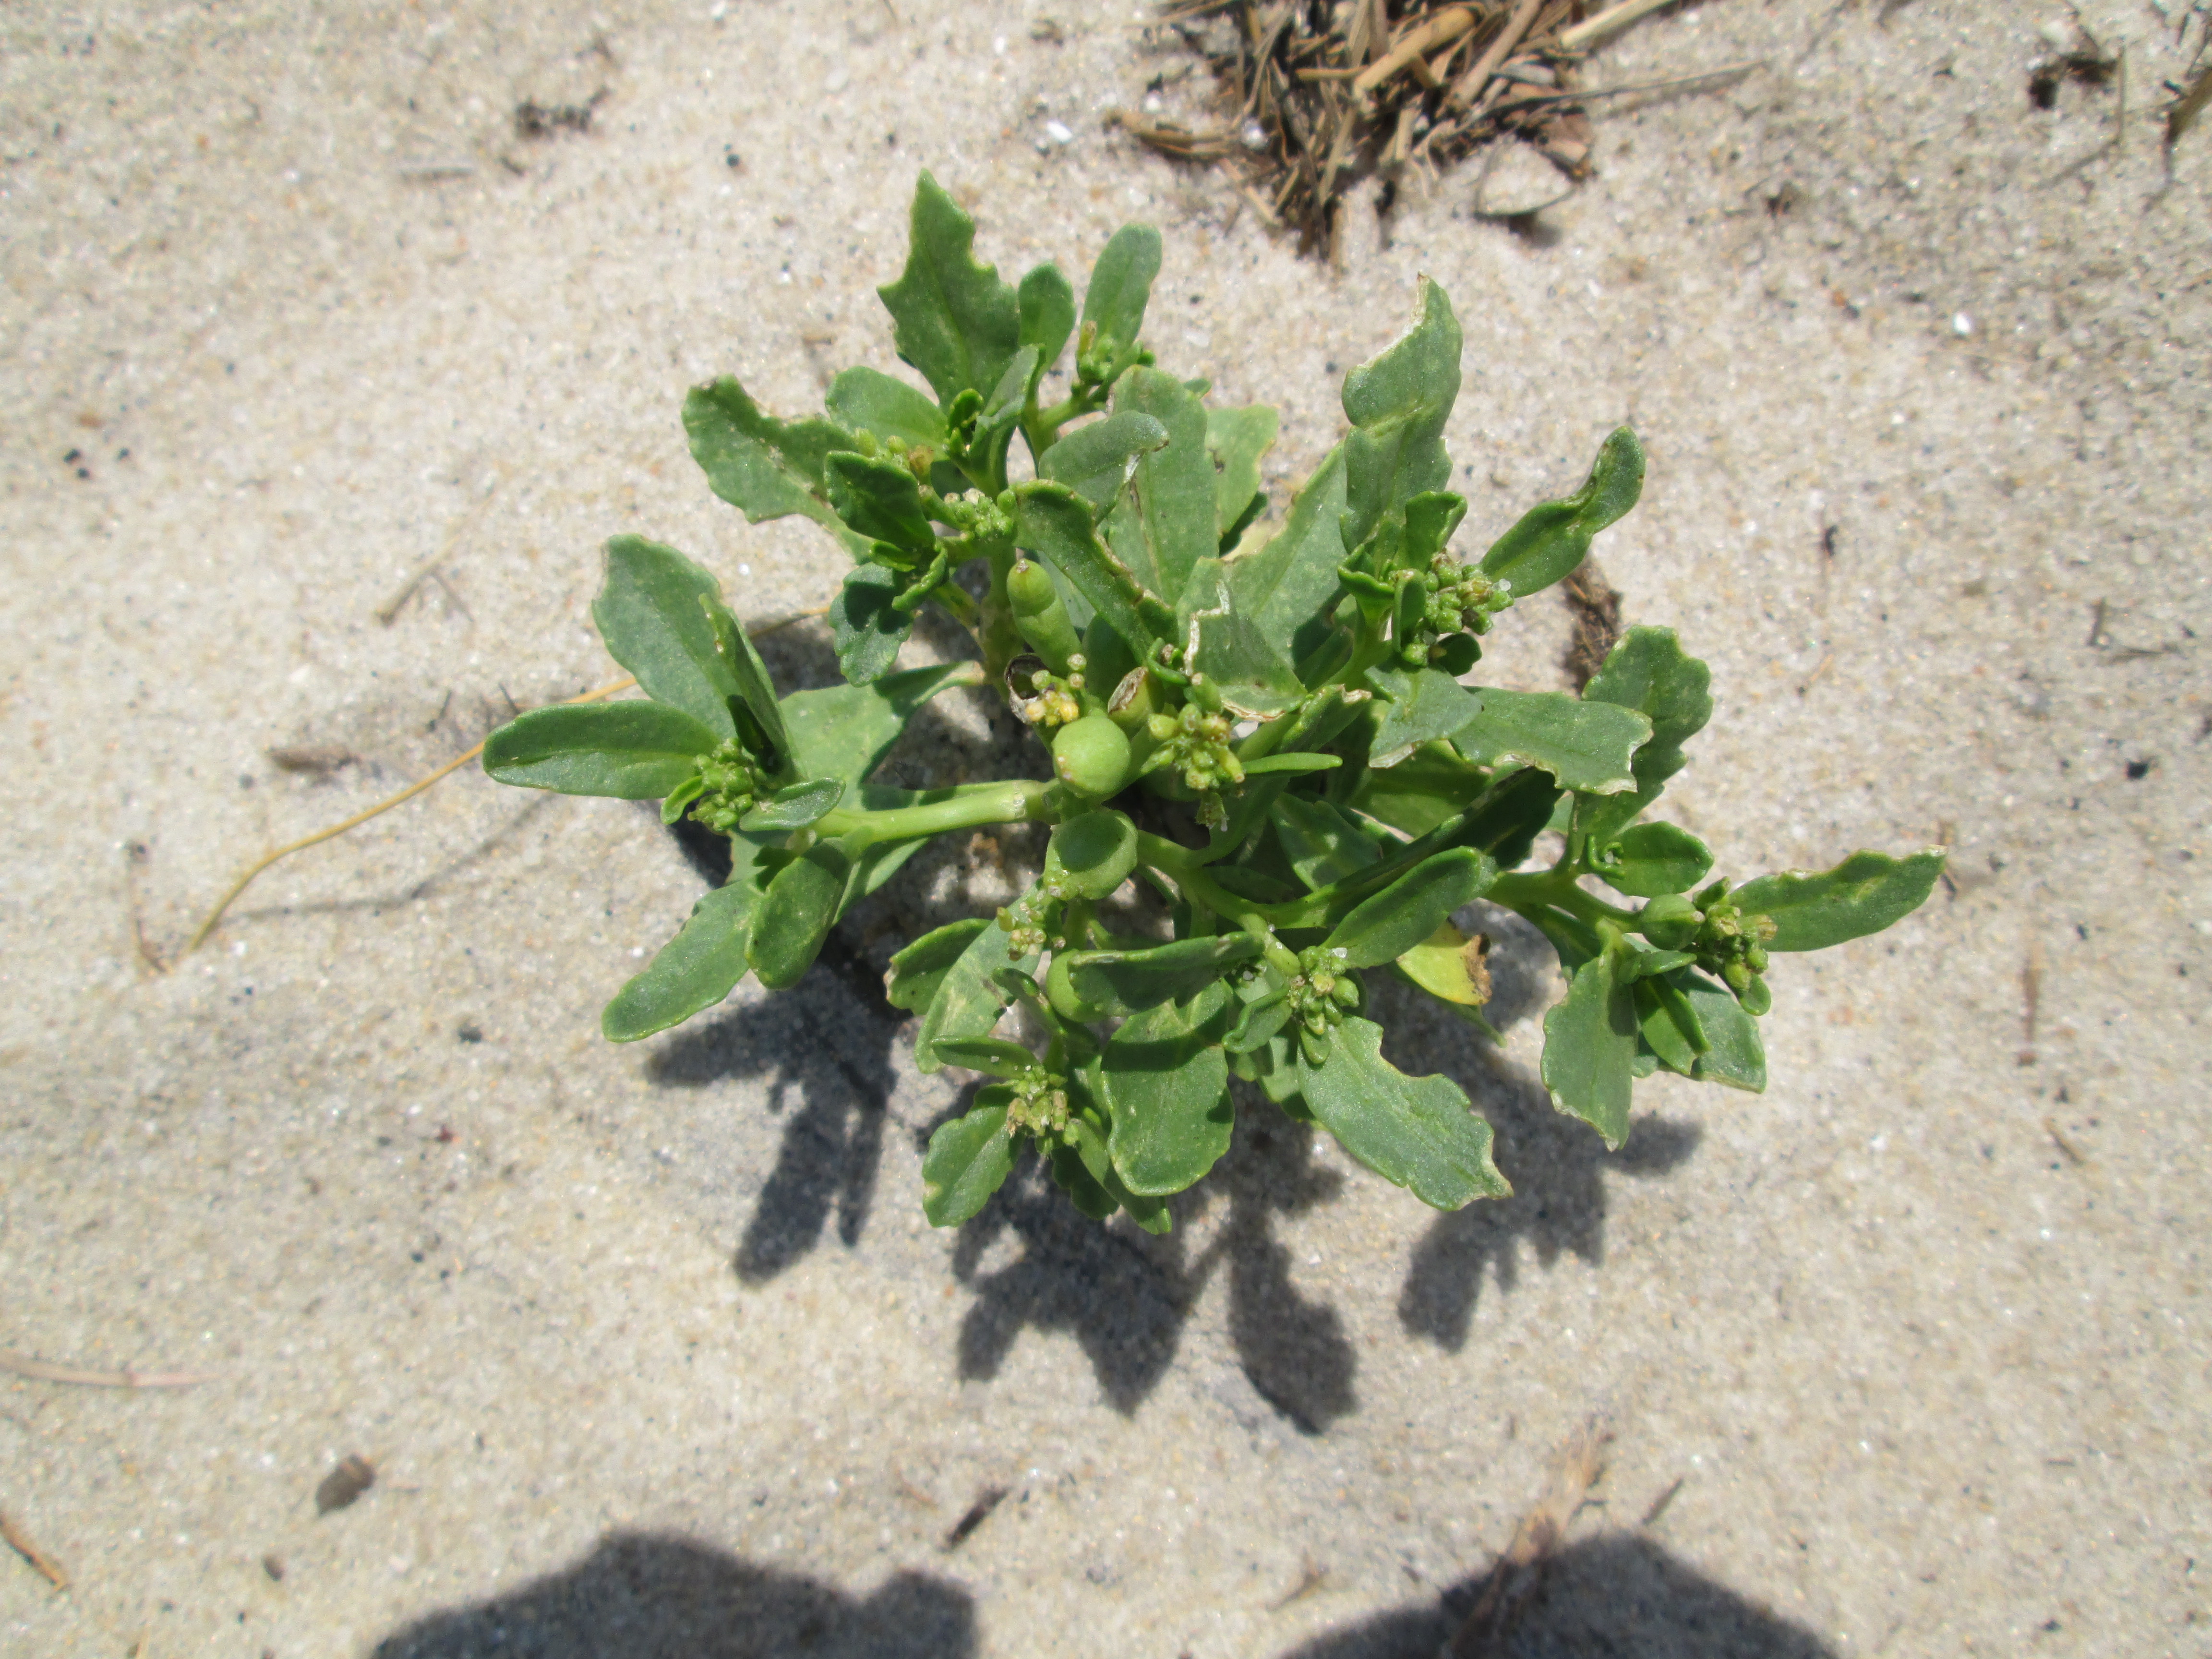
Thought: Today I was reminded of plants’ ability to survive even in the most unusual places. A friend of mine, Elizabeth Summer, took a number of photographs of plants growing in the tiny cracks of a restaurant parking lot in Abilene. The yellow flower at the left was found at the base of a sign in this location. The picture on the right was one I took at the beach on Nantucket. On my many walks this summer I noticed plants growing in sidewalks, stone walls–even in pure white sand on a beach. Idea: Now would seem to be a perfect time to celebrate the plant kingdom’s ability to survive in the harshest, most impossible conditions.
Ages: grades 1-4; can be adjusted for different age groups. This project can easily be adapted for the classroom.
Materials: a sheet of 100 grit sandpaper (60 grit will be more coarse); some white tempera paint (and a paintbrush with a cup of water for rinsing); a set of oil pastels or cray pas; if you don’t have these you can substitute tempera paints which can be thickened a bit with liquid starch).
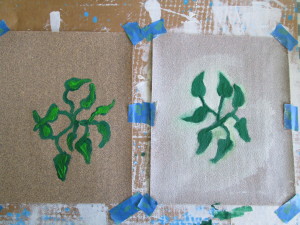

Each of these two photos show 60 grit on the left, 100 grit on the right. The 60 grit is quite a bit darker. In the right hand picture, the sandpaper has been painted with a thin (watered-down) coat of white paint.
Step 1: Prepare sandpaper with a very light coat of white tempera paint. You may choose to leave the “sand” the same color without painting over it. If you do paint, you want to add a little water so that the sandy texture and some of the coloration of the sandpaper shows through. To prevent paper curling you’ll want to tape the corners down on a flat surface. I like to recycle corrugated cardboard by making rectangular work boards for purposes such as this. Note: Very often, when kids color beaches, they color sand yellow. It might be a good time to look at pictures of different beaches. Some sand is actually black. Most beaches I’ve visited have been anything from almost a creamy white to a light tan.
Step 2: If you painted your sandpaper, be sure it’s totally dry before you proceed. Lightly draw your plan onto the dry surface with a pencil, then color in the leaves and any flowering parts with either oil pastels or paints. I would lean toward using oil pastels because they cover over a variety of surfaces really well, plus you can blend the colors nicely. If you do use paints, you can try mixing in a bit of liquid starch to get that thicker “Van Gogh-y” texture. You should end up with a gorgeous piece of art celebrating plant survival. You may want to create your own beach plant, or you may want to do a web image search to find a good subject. Remember how important it is to be a good observer!
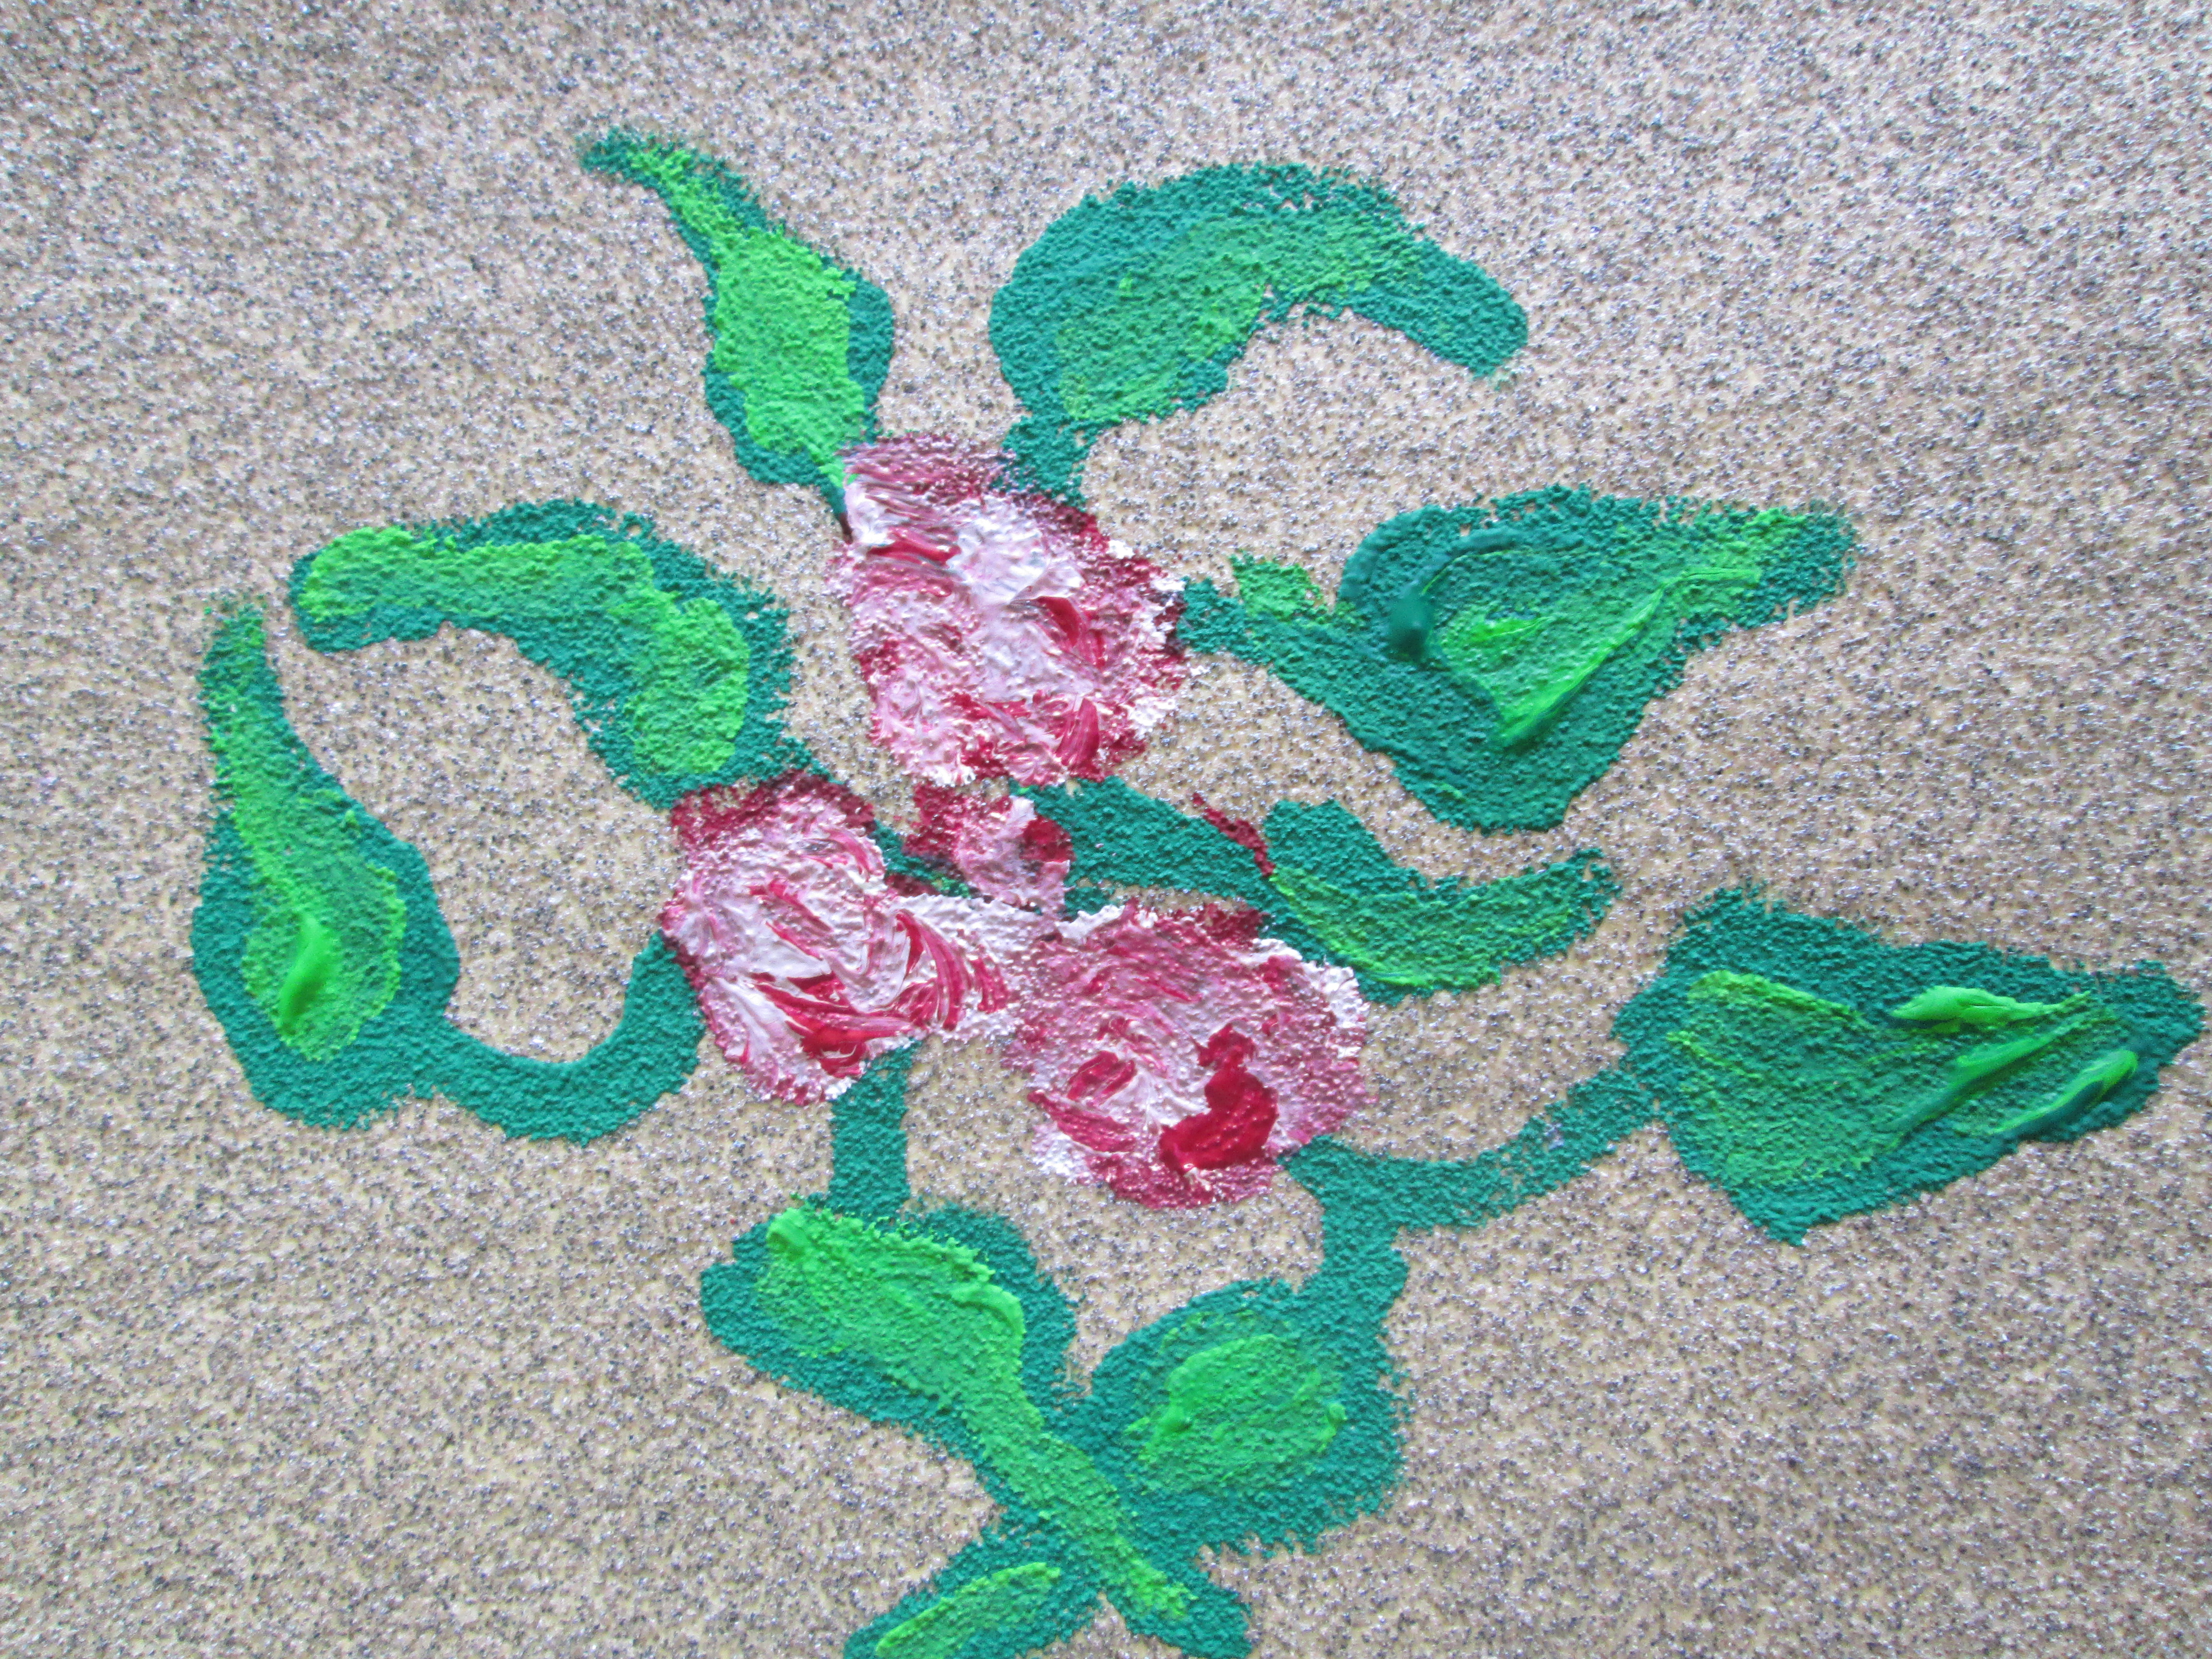
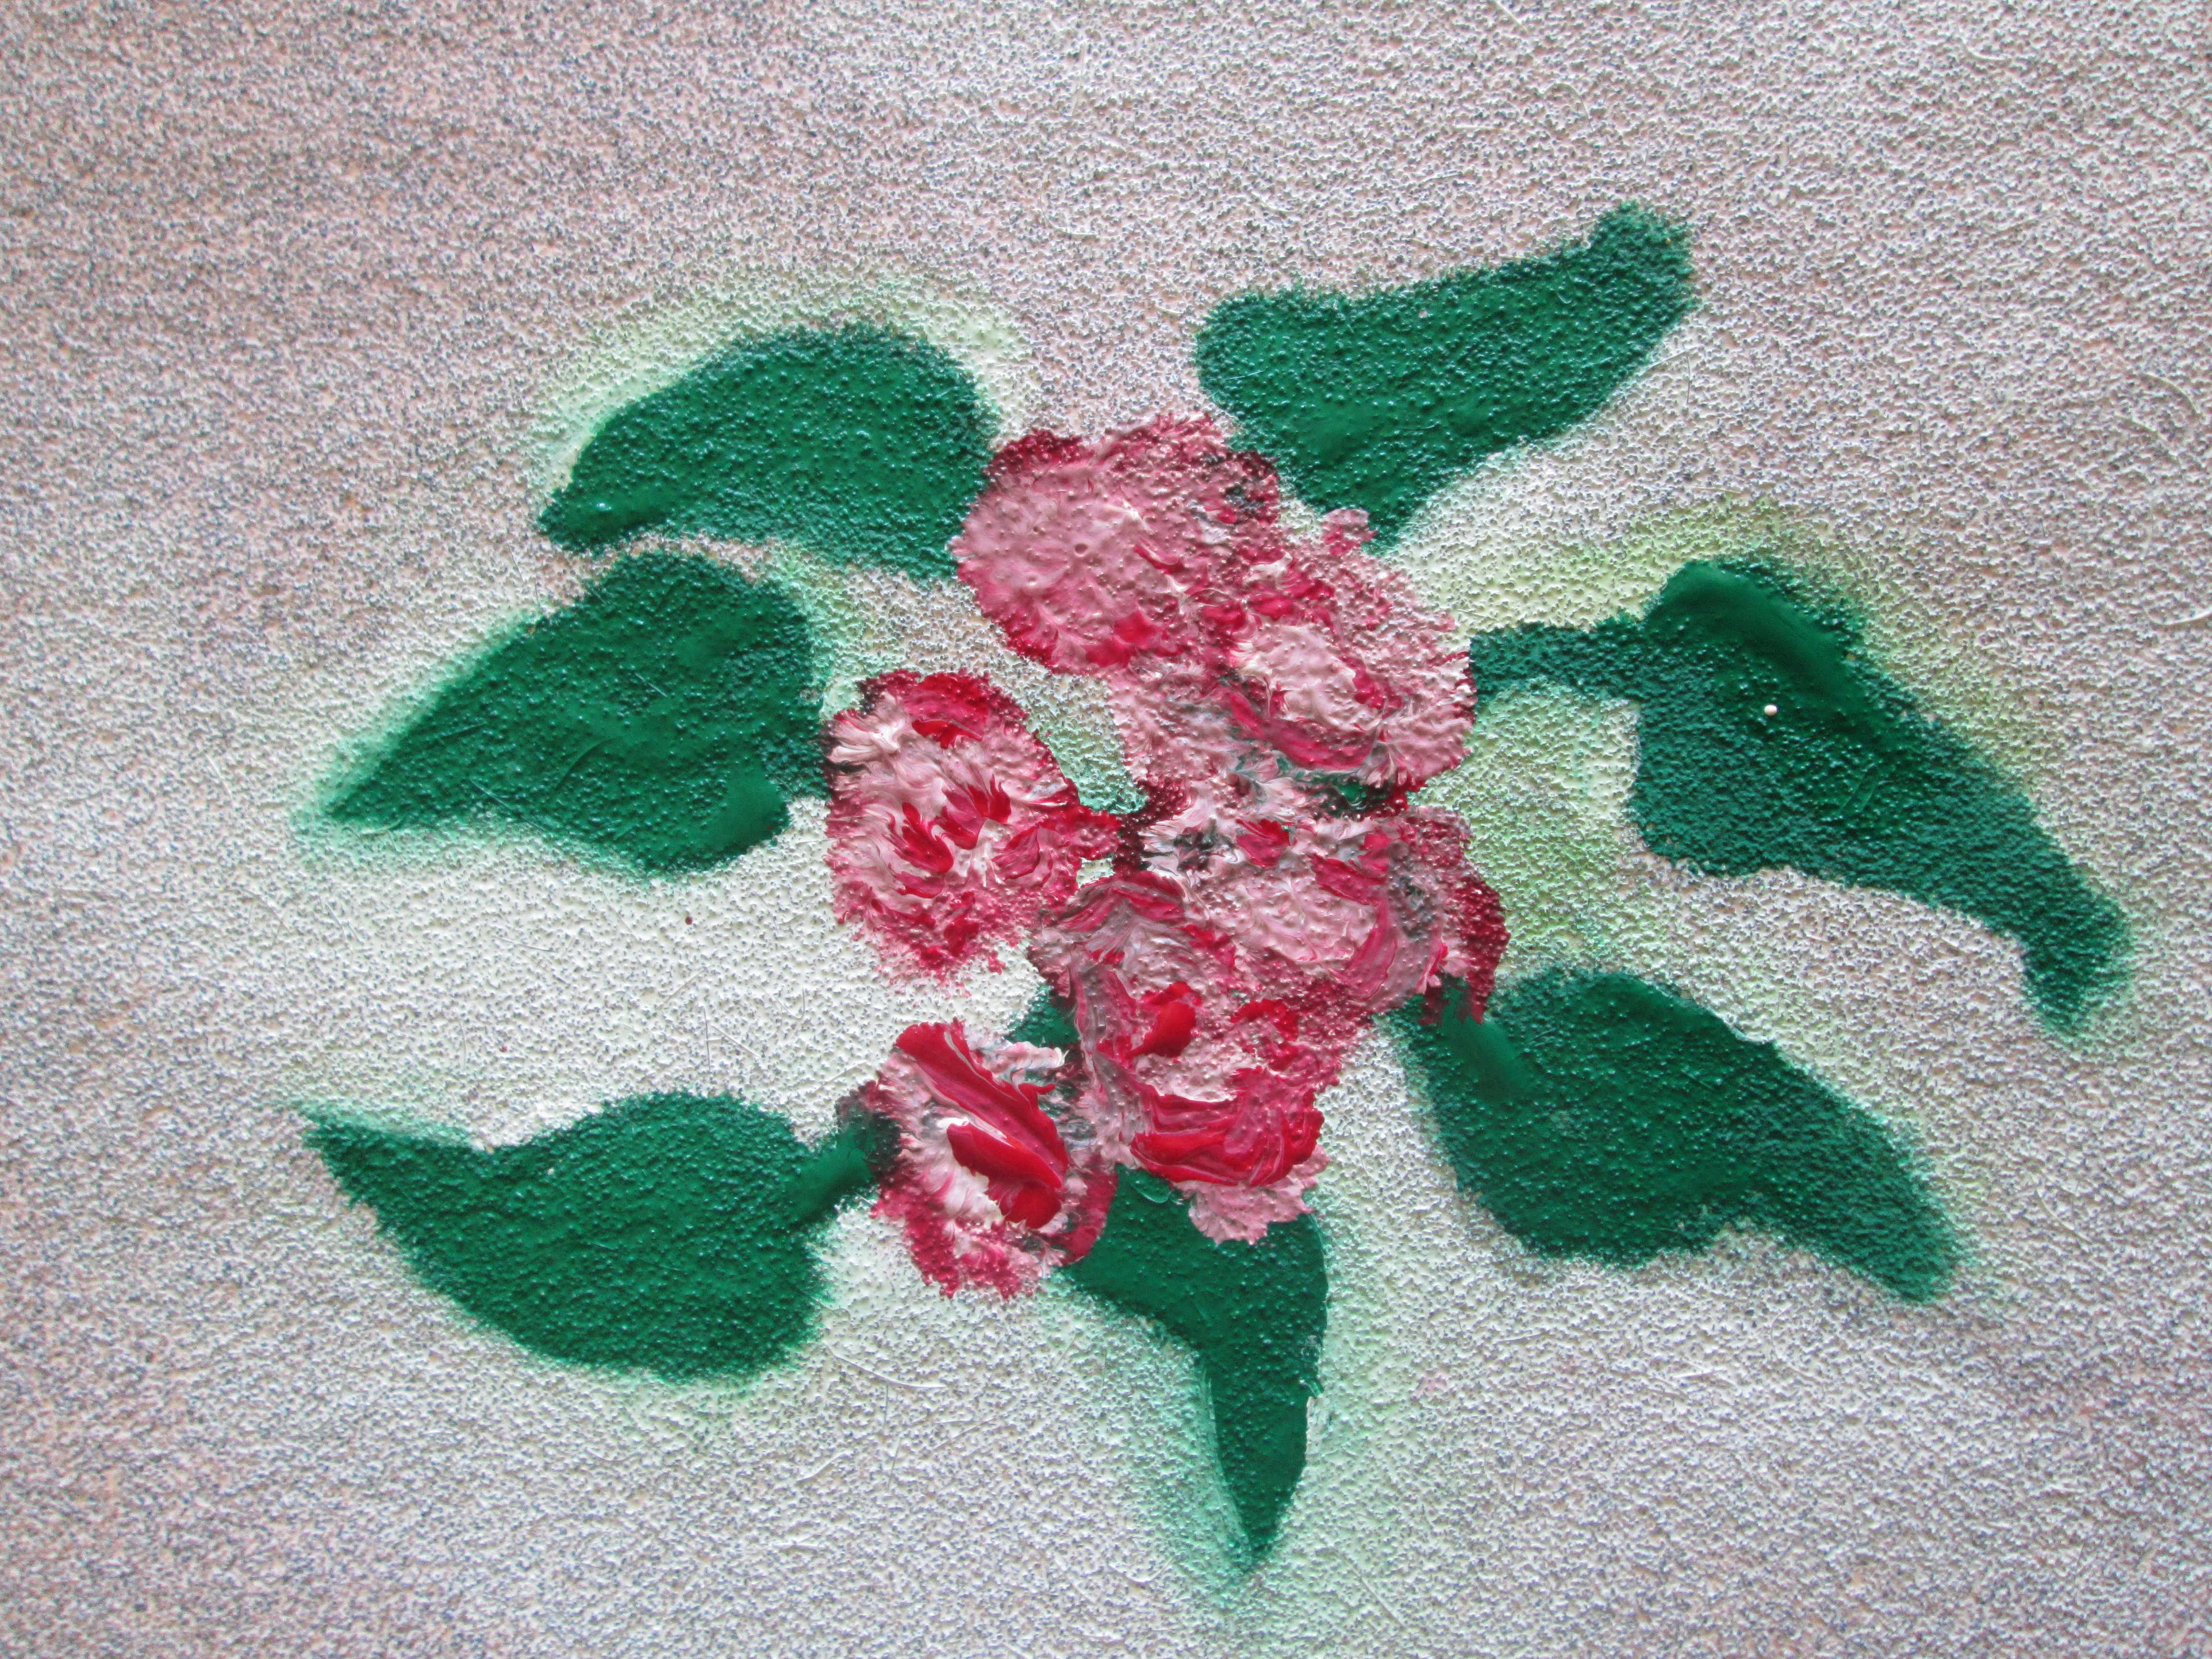
Discoveries: the 60 grit sandpaper (on the left) showed up the texture of sand much better, but the color was a little dark; I would use an off white, perhaps a very pale gray to lend some color to the background. I didn’t have any oil pastels, so I used paint to do these examples. I’m going to retry it with the oil pastels. I’m also thinking that a quick spray of white paint on the sandpaper might do the trick.
I ask that you try this, tweak it, see what improvements you can make and let me know how it goes. I would love to post some examples from any of these projects. For more information on how plants adapt to harsh conditions, see if you can find David Attenborough’s BBC video called The Secret Life of Plants. One of the discs addresses in the set this area specifically and very thoroughly.
Recent Comments