
 Thought: While teaching art I came across some beautifully colored textiles from the Kuna Indians, who live on some islands off the coasts of Panama and the northern part of South America. For years, teachers have been using mola art to inspire children to create their own wonderful designs. Many of the original mola designs use the forms of animals that are indigenous to that part of the world (small mammals and fish, mostly). A few do show parts of the plant kingdom.
Project: We will make a mola design, using a plant motif.
Age: This is ideal for grades 2 through 4 (or older). A simplified version can be done for grades K and 1. As always, this project can be adapted for an at-home project. The example shown was done by a fourth grader.
Materials: The key here is bright colors with some fine details. This means that you should either be using bright paints with smaller brushes, or bright oil pastels. Third graders (and older) should have enough control over a brush to have some success. Another good choice would be bright thin tipped markers. You have to be careful to watch for markers drying out, though. Students should use a pencil for sketching. Newsprint (or something similar) for sketching; your choice of oil pastels, markers, or paints and brushes. A piece of good 9″ x 12″ art paper for the final project would be good.
Step 1: It is crucial to show your students many examples of actual mola art. In your discussion, make sure children note that no large areas are left without some sort of enclosed deign or pattern. Animal molas almost resemble imaginative and colorful x-rays showing bone structure. You should leave an example up for children to look at– a piece that shows a combination of the elements we’re talking about. In the student example above, you can see both curved and angled spirals, parallel lines, dots, circles with dots, checkerboard patterns…
Step 2: Model for your students. Show them how do to a preliminary sketch, just getting ideas down. Show them how to fill in open areas (negative space) with designs and patterns. One easy way to fill in an oddly-shaped area is to draw an outline of the shape in black, then draw a smaller line inside it, following the contour exactly. Keep going until you have no more room left in the middle!
Note: Outlines can be made in any color. The key is to create as much contrast between neighboring colors.
Step 3: Let the students go ahead and make a preliminary sketch using pencil on newsprint. Encourage students to think about what colors they’re going to use. I find it very useful to share student ideas with the rest of the class during any part of this process.
Step 4: Final project. What follows is a sequence I did over the weekend.

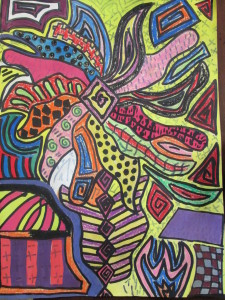
This is a pencil sketch. I’m afraid I went a little overboard in making this potentially complicated (you’ll see what I mean). As a rule of thumb, the younger the student, the simpler (and larger) a child should be able to work.
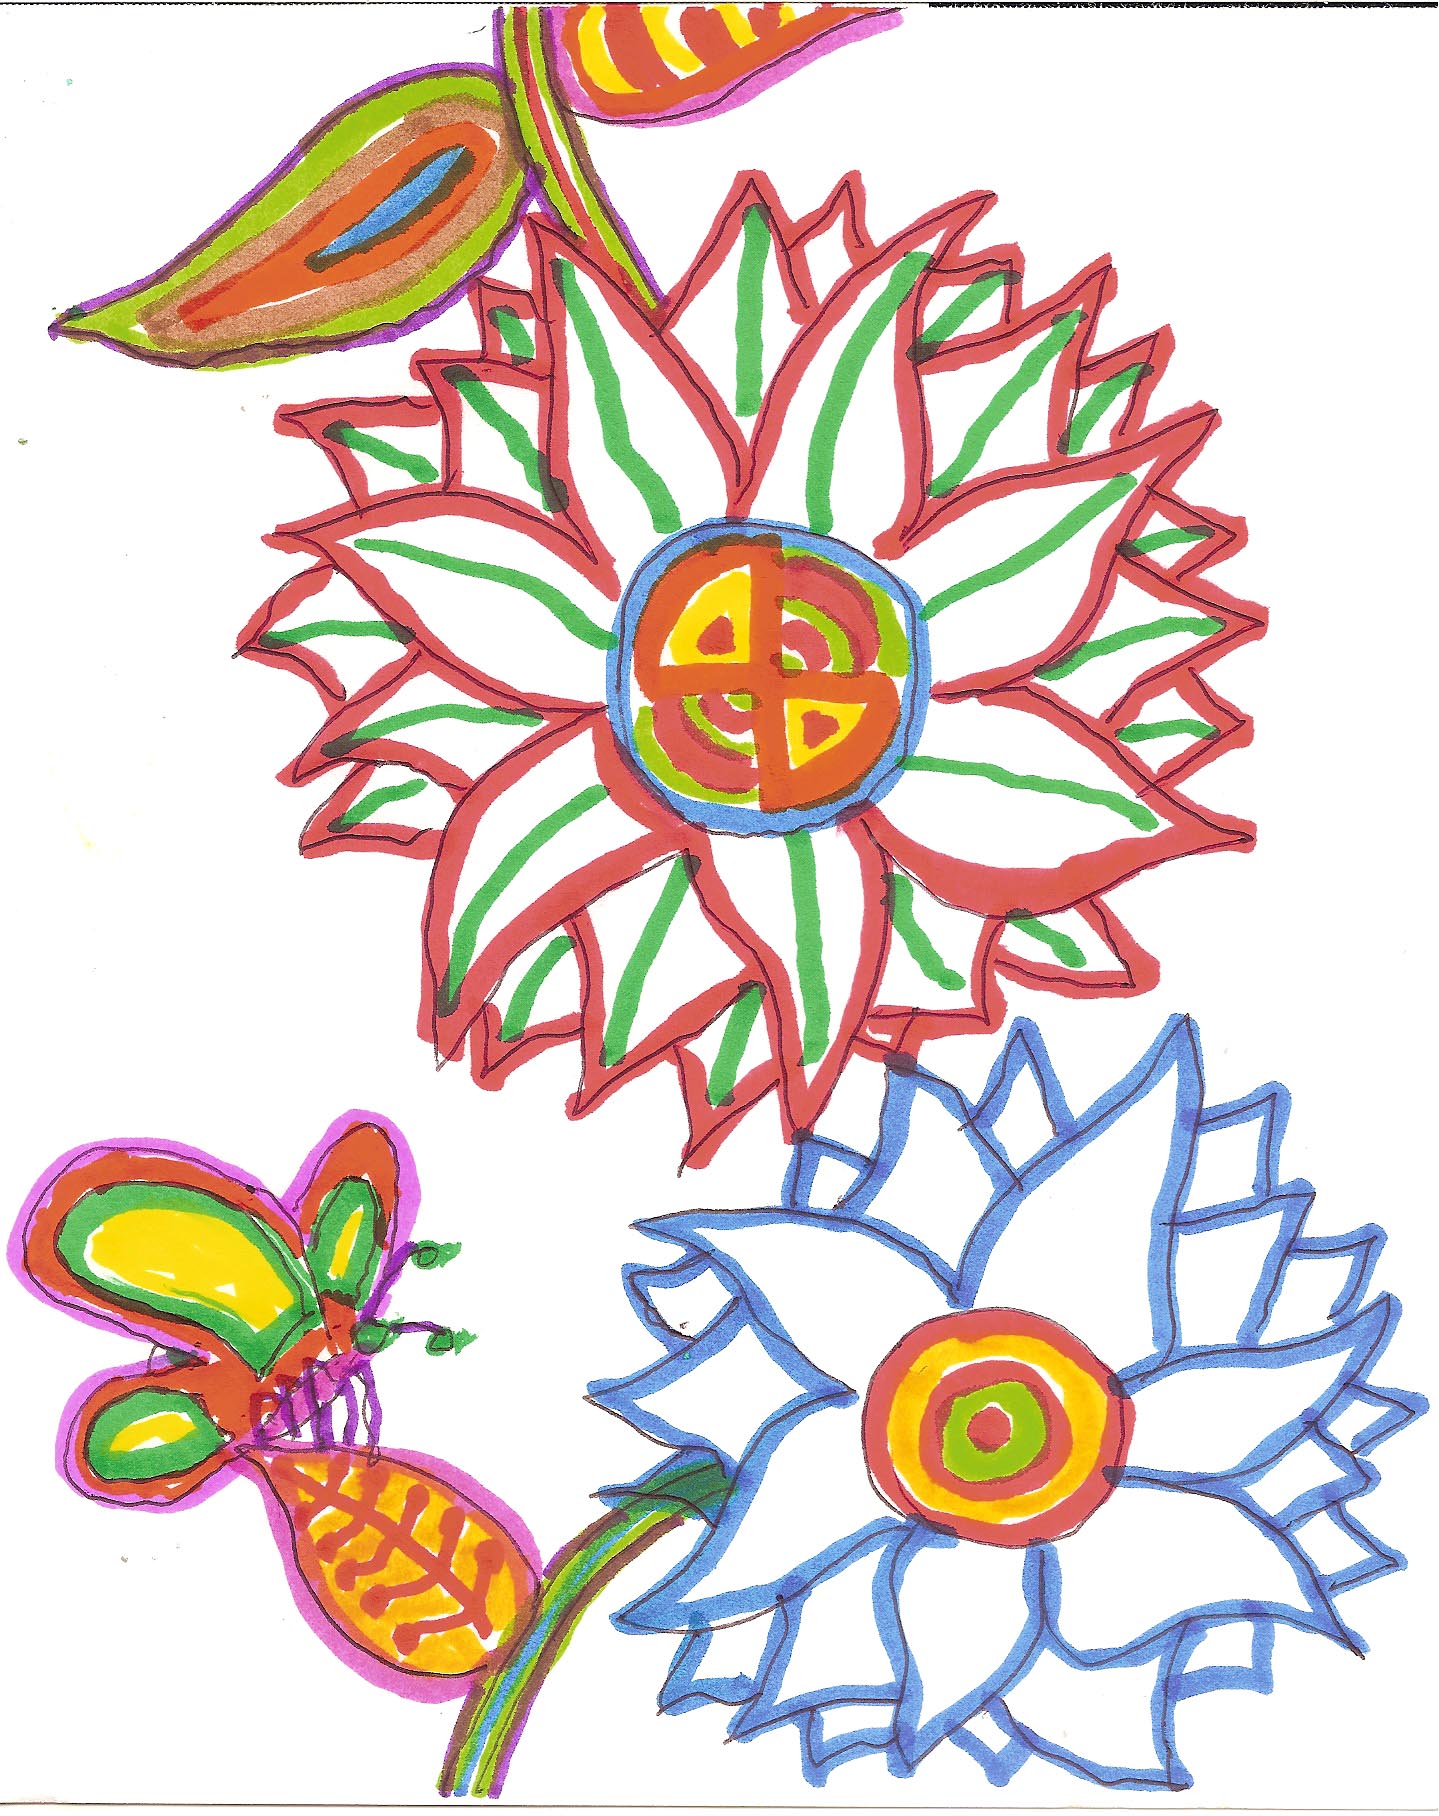
Here I’ve begun outlining (using bright, thin-tipped markers). I’ve begun filling in the leaves and the butterfly with color patterns and designs. No area of the project will be left without a colorful pattern!
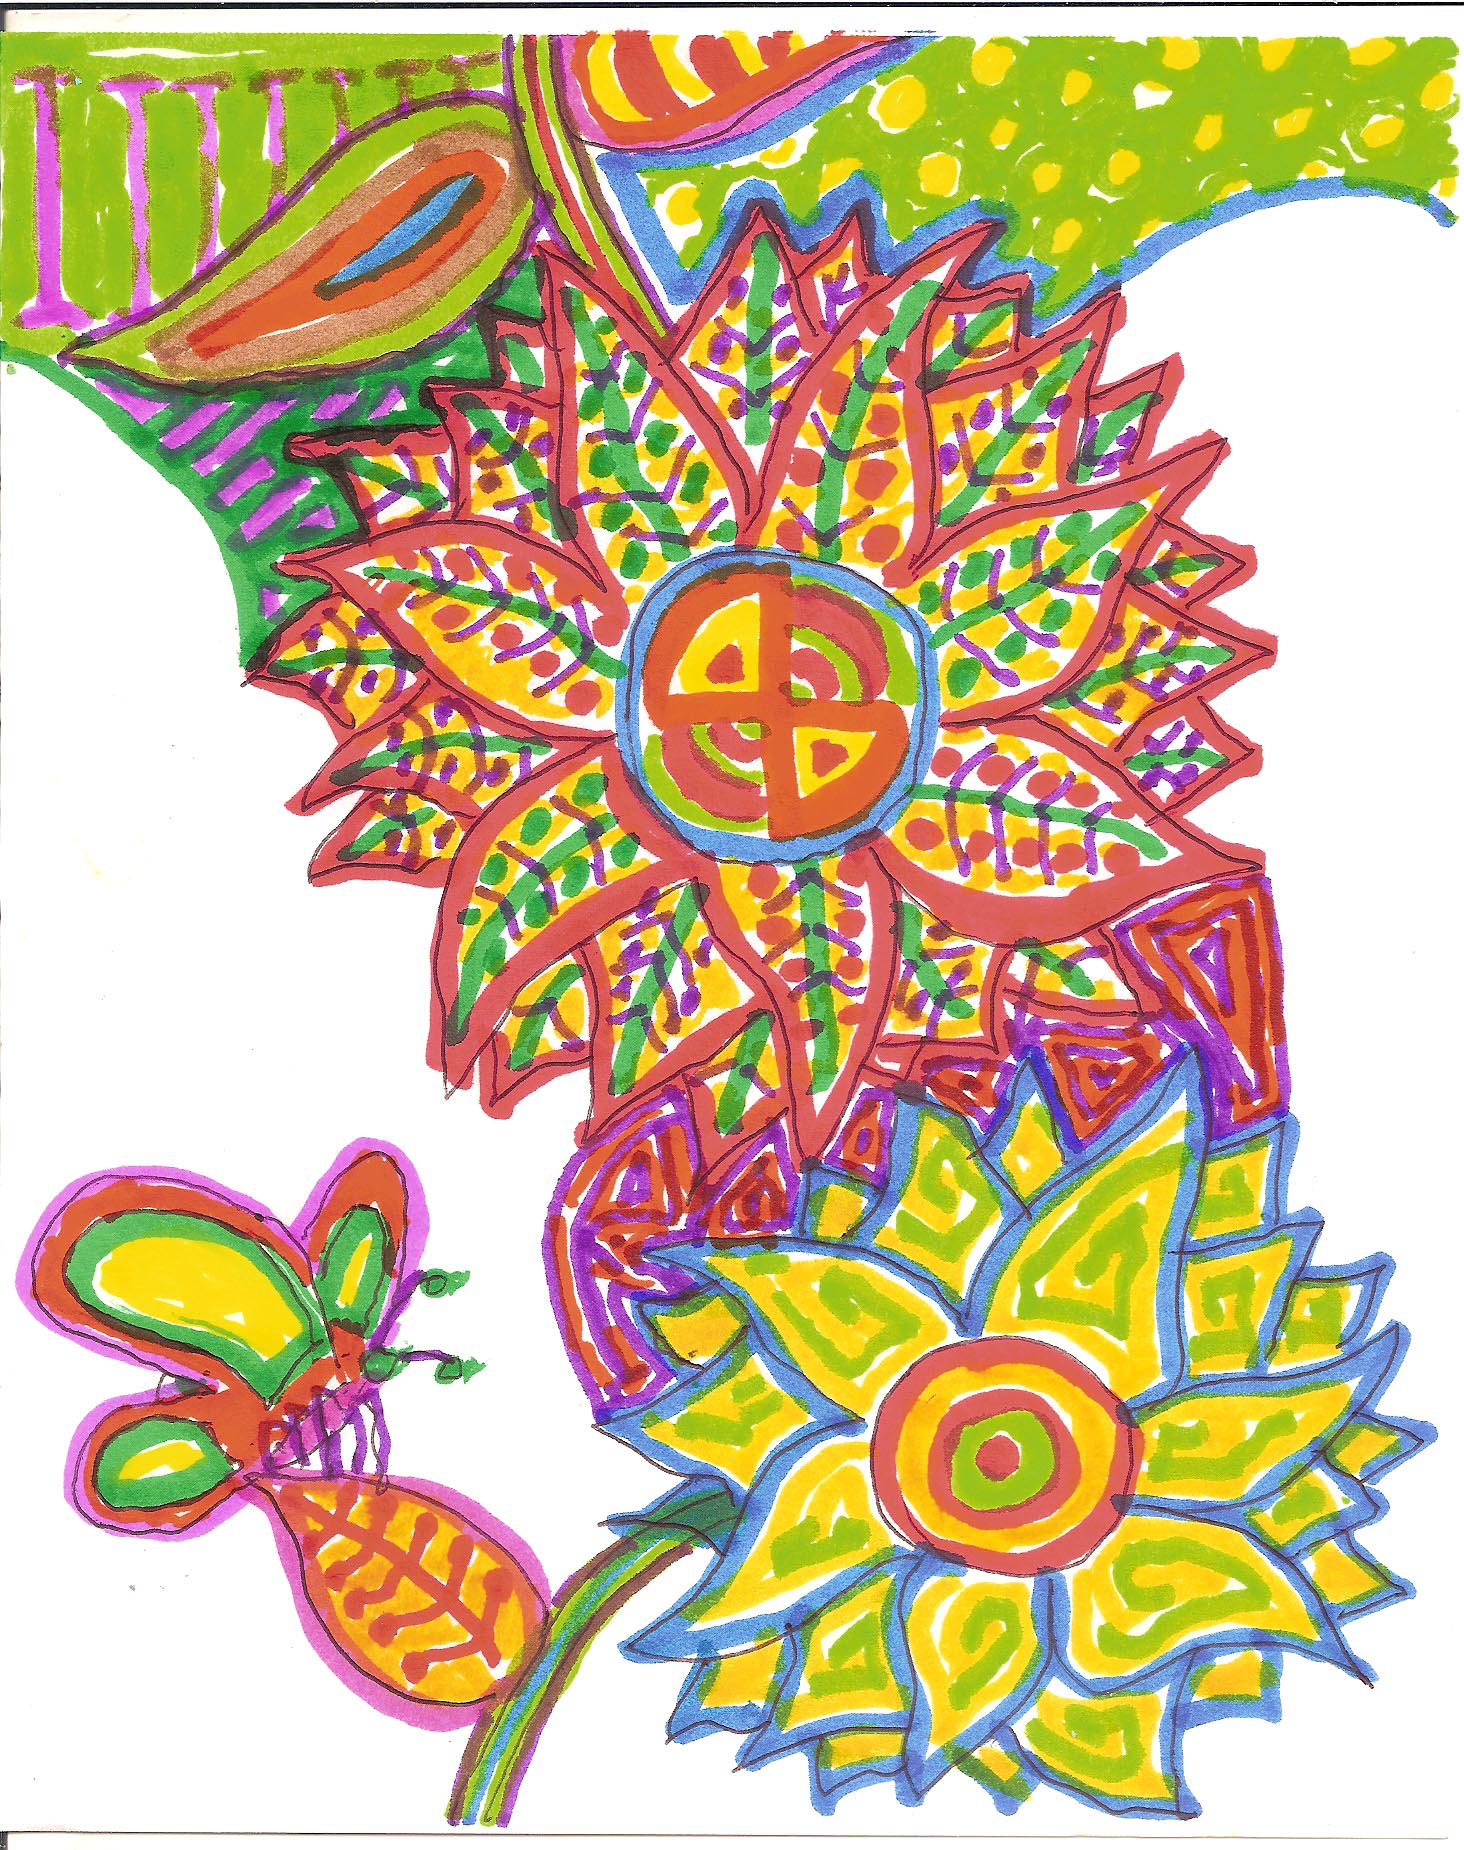
Flower petals have been filled with colorful designs. Important: Note that some of the background areas (the negative spaces) have been divided into smaller areas, each with it’s own set of colors and patterns.
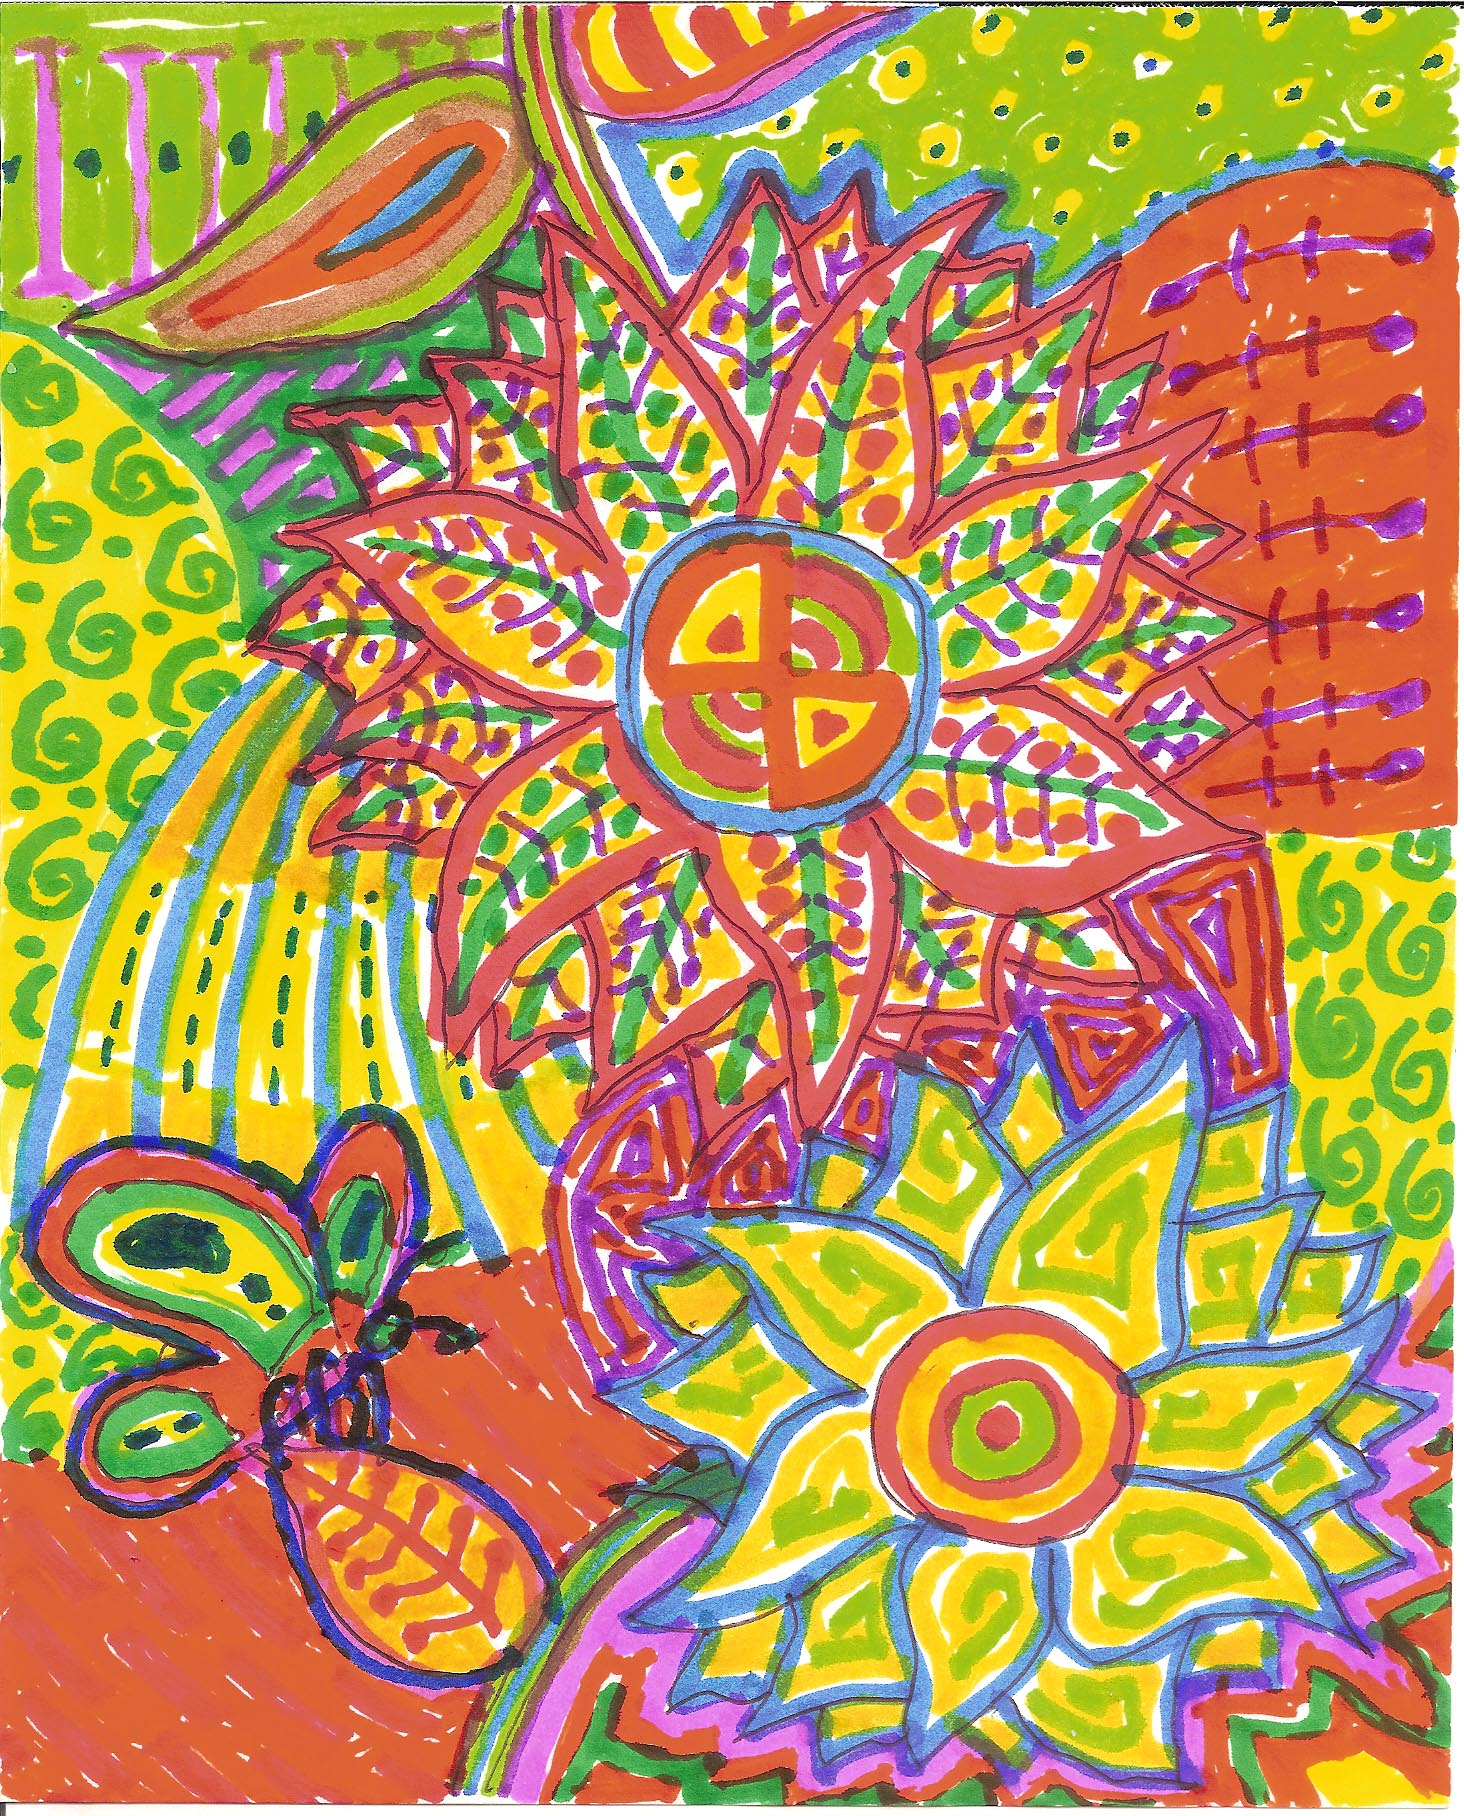
This shows a finished project. I think you can see the potential. If I had it to do over again, I would outline the dark pink blocks in the lower left hand corner. There is obviously not enough contrast between the orange and the dark pink. This is a great illustration of what I meant by highlighting strong contrasts!
Step 5: Cleanup and discussion.
As always, we welcome comments and photos.
Recent Comments