

Thoughts: Leaves are a fascinating part of the plant world: their variety in shape and line appeals to an artist at any stage of her development. As an art experience, intersecting shapes always provide a lot of visual interest, no matter what shapes you’re using.

Project: We will use tracings of collected leaves to create a pleasing design with leaf shapes intersecting each other. This should be suitable for grades 1-4. It is possible to do something like this with K, however the leaf shapes would have to be very simple. Tracing templates may have to be provided by the teacher. While this is written as a classroom activity, it can be easily adapted for an at-home project.
Materials: A collection of leaves from the school grounds or local neighborhood. In order to facilitate tracing leaves should be fairly flat. This can be expedited by pressing the leaves under a heavy, flat object a couple days prior to tracing. Each child will need a pencil (or pen for older students), an eraser, a sheet of paper, and colored pencils. I use colored pencils because some of the spaces that will need to be colored will be quite tight and difficult. Markers are okay, too, but sometimes color selection can be limited.
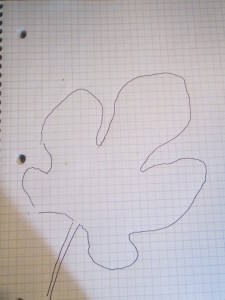
Step 1: Model how to use a leaf to trace a shape onto paper. This involves some dexterity–holding the pen or pencil upright while trying to hold the leaf steady. It may be advantageous to work in partner groups. Encourage children to place the leaf on the paper at an angle, rather than straight up and down. It’s amazing how wedded children can be to the idea of straight up and down, straight lines, etc. Once the leaf is removed, close up any gaps in the outline.
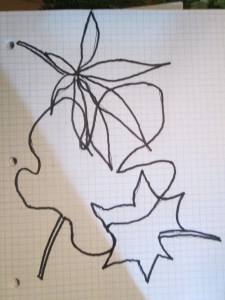
Step 2: Take a second leaf and place it on the page so that part of it intersects the first leaf. Follow the same procedure for creating an outline of the second leaf. Notice that the second leaf is oriented quite differently than the first.

Step 3: Take a third leaf and follow the same procedure. Again, try to make the composition interesting by having each leaf oriented differently on the page.
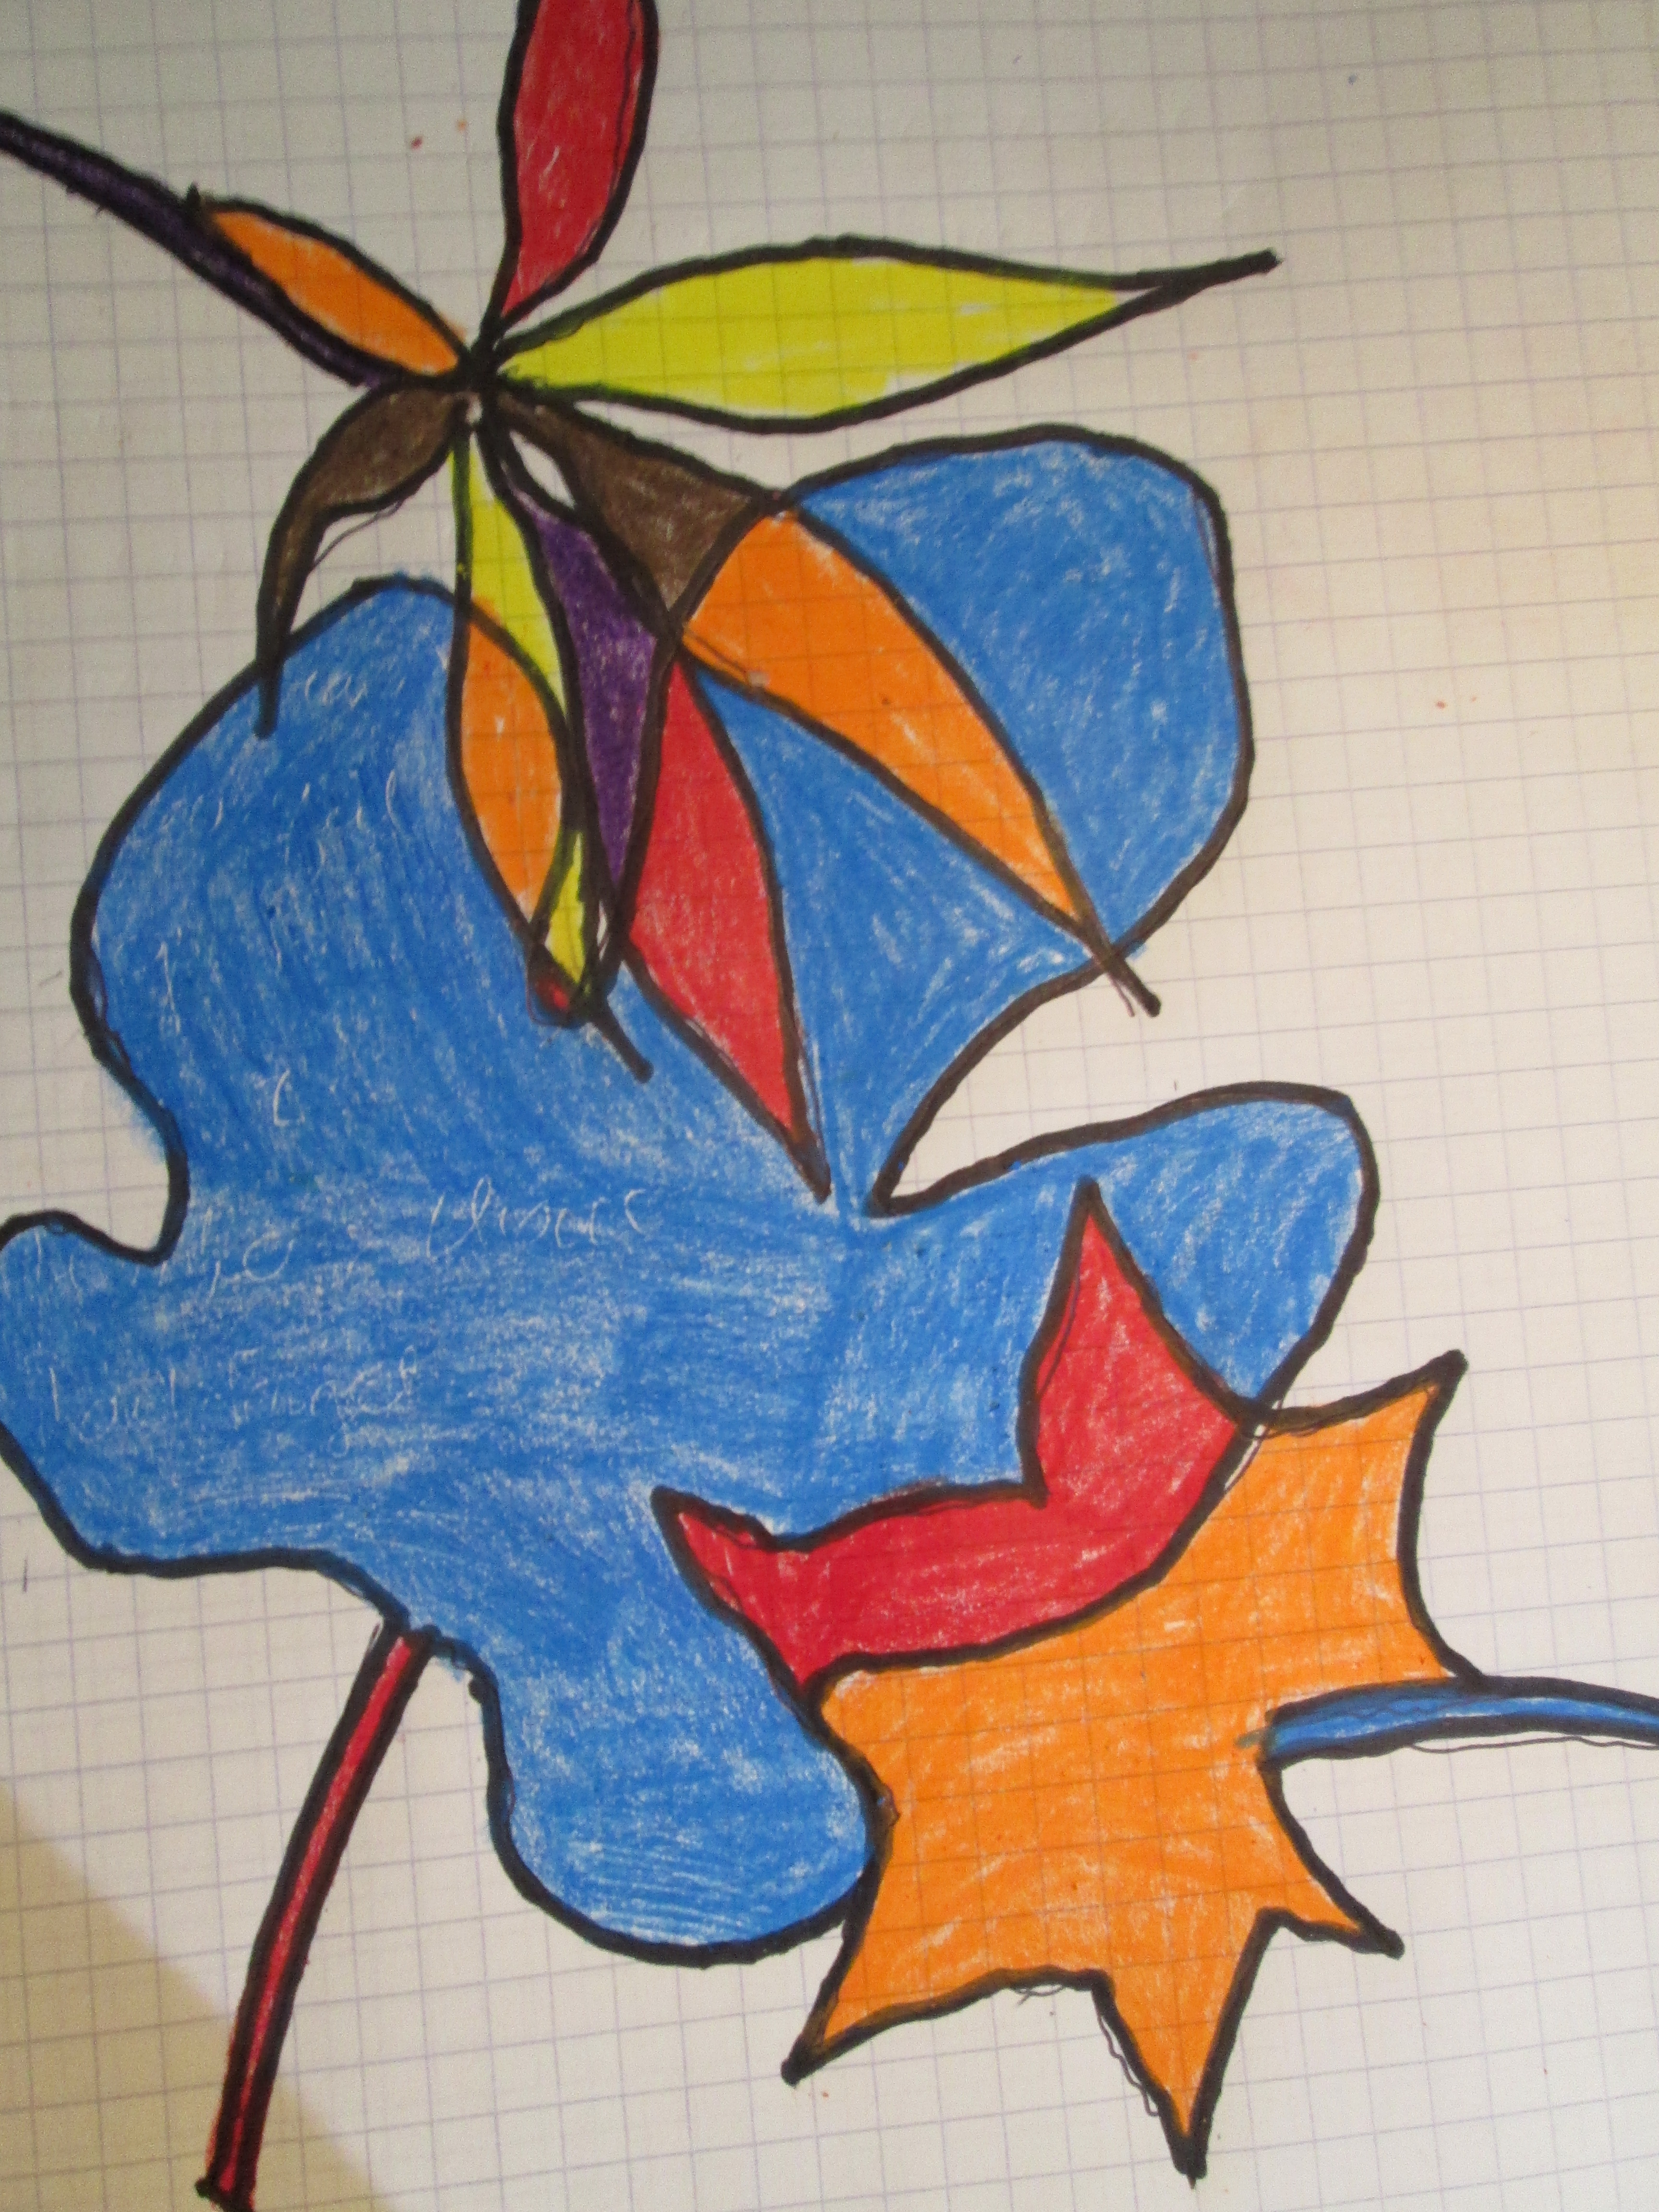
Step 4: Notice that, instead of creating simple leaf outlines, you have created new areas within each leaf. Model coloring some of the different areas and then turn the children loose. I would discourage children from coloring the background.
Management: You might do well to have a collection of leaves at each table that the children can share. Some children tend to scribble when they color. Model how to color using smaller strokes to make the colored areas look more solid.
Teacher’s Choice: You may want the children to go back over their outlines with black Sharpie markers. This could help “clean up” some unsteady lines. You could also have the children use either warm or cool colors, if that is something you want to teach them at this point.
You should end up with a very attractive, interesting, and colorful design.
Don’t forget: These ideas are just starting points. I like to leave it open so you can make your own adjustments to fit your group. I love to get your feedback on how things went.
Recent Comments