
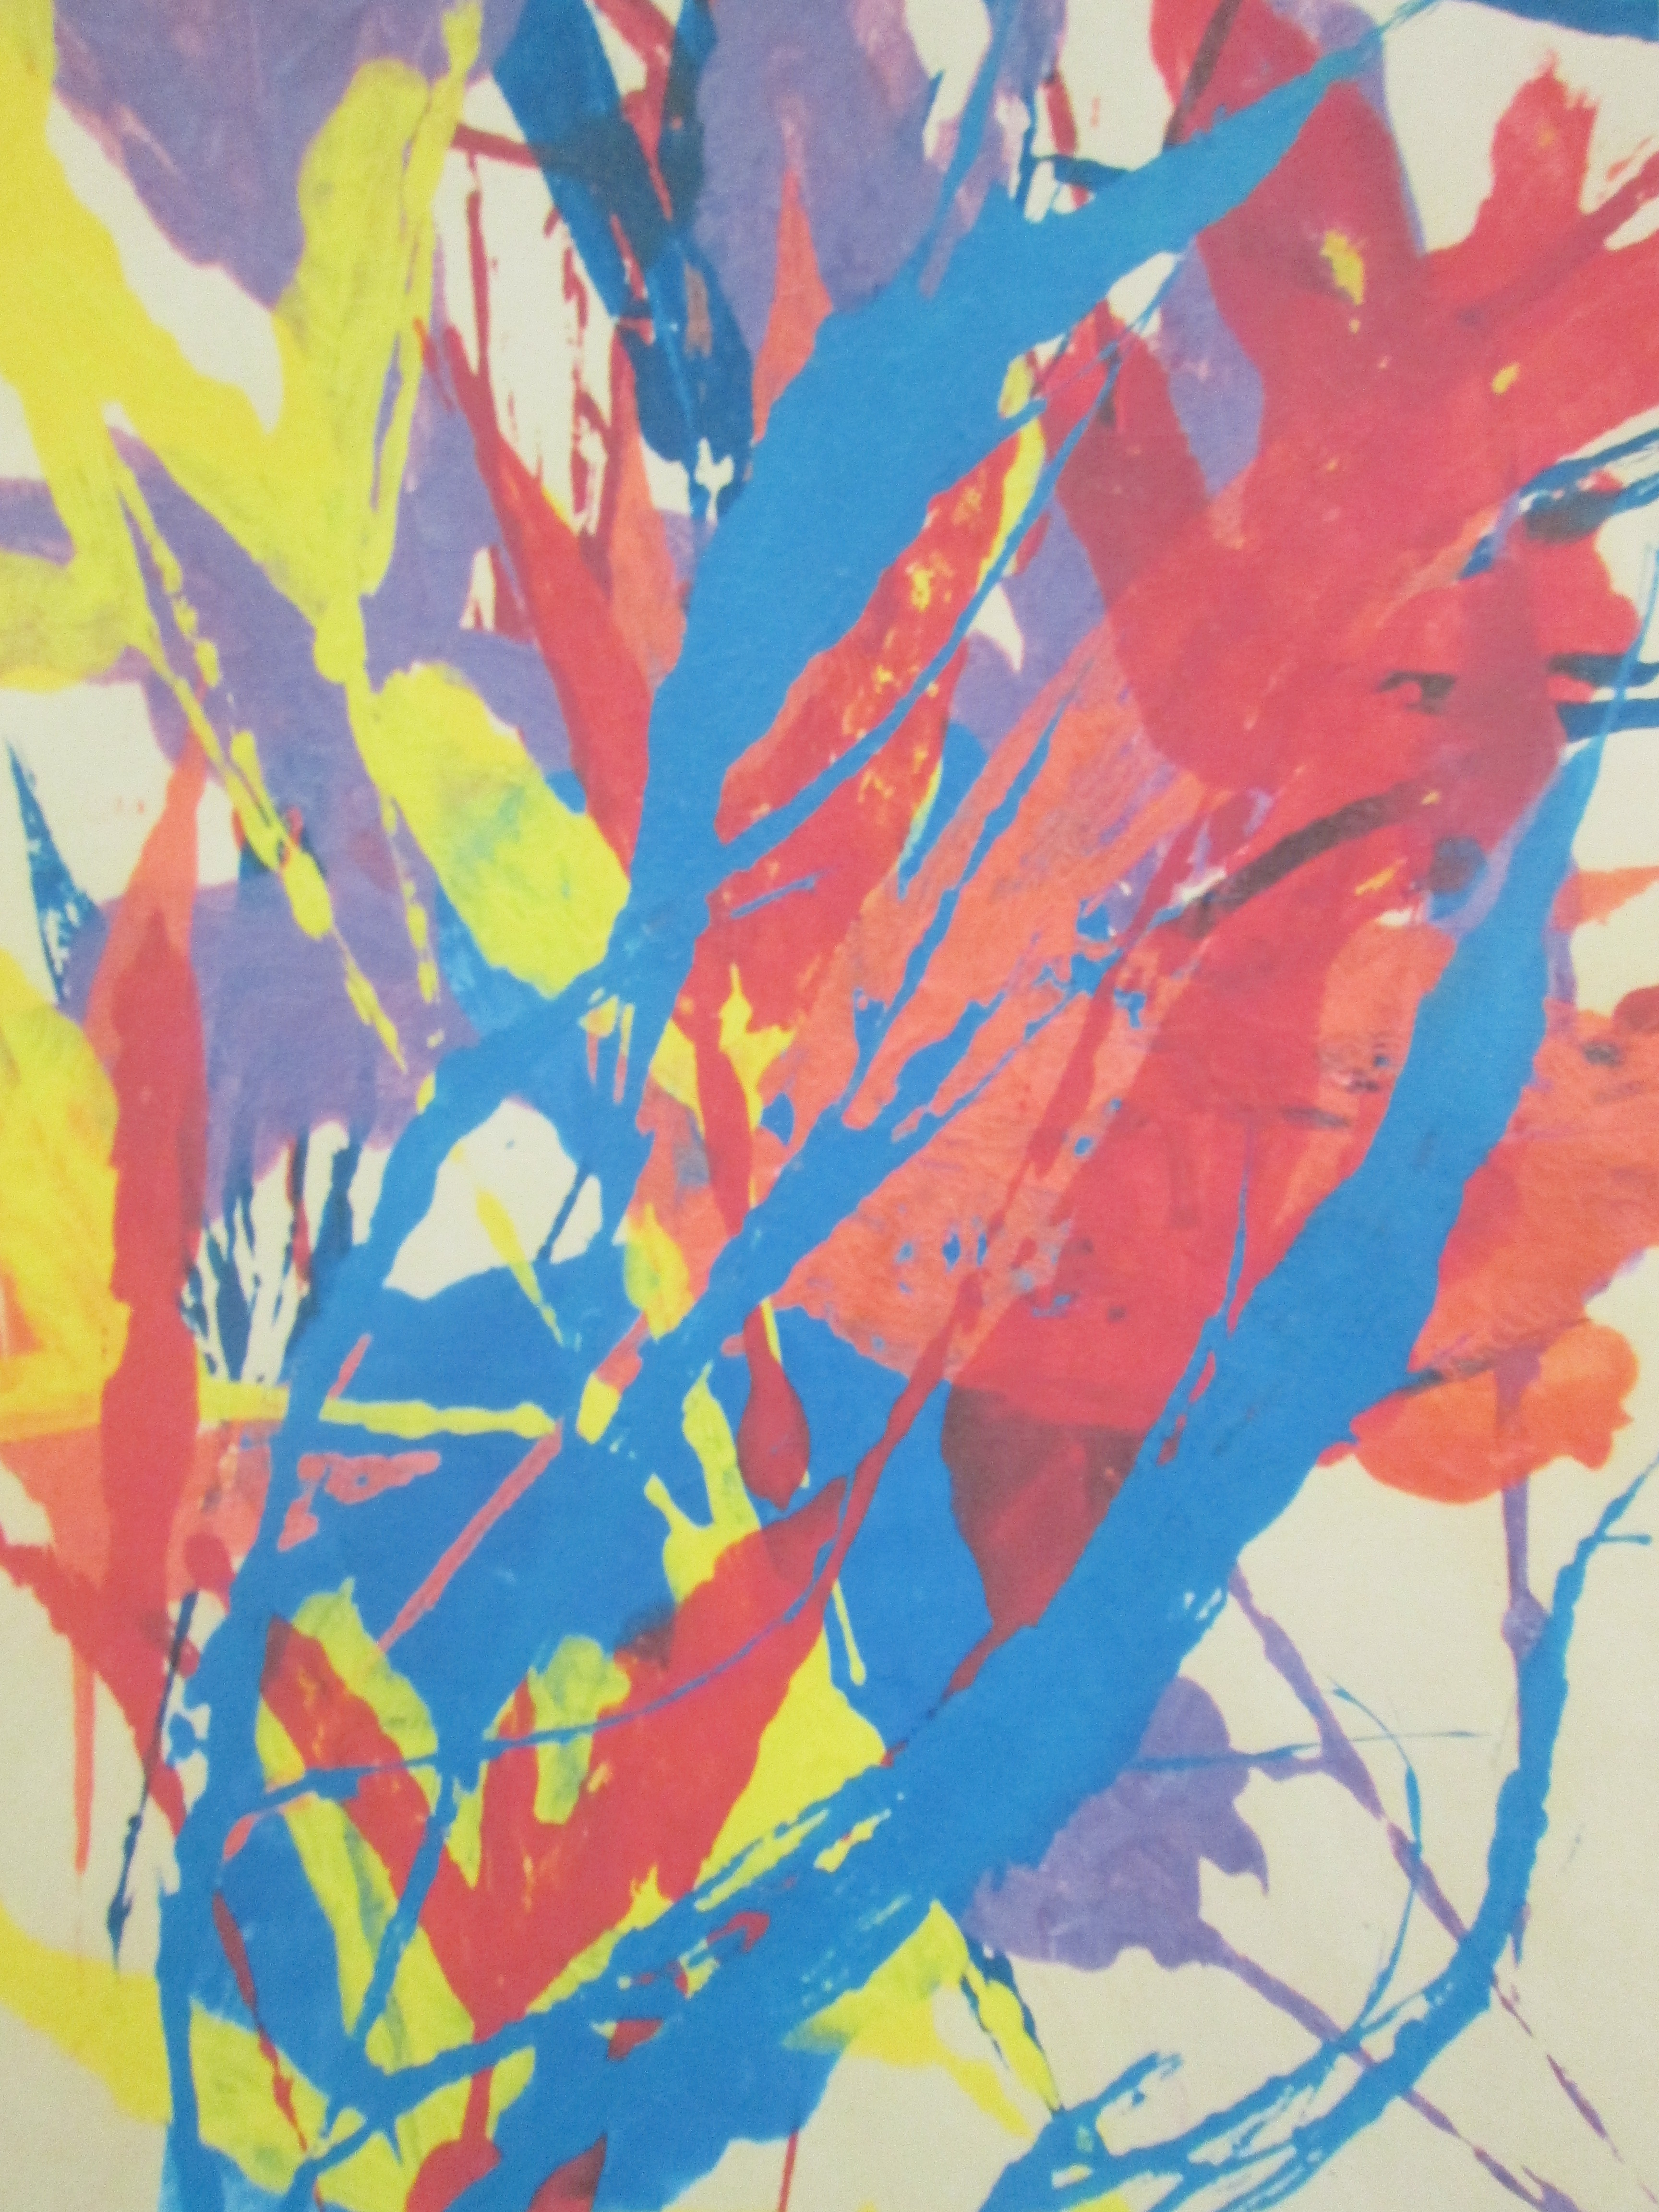
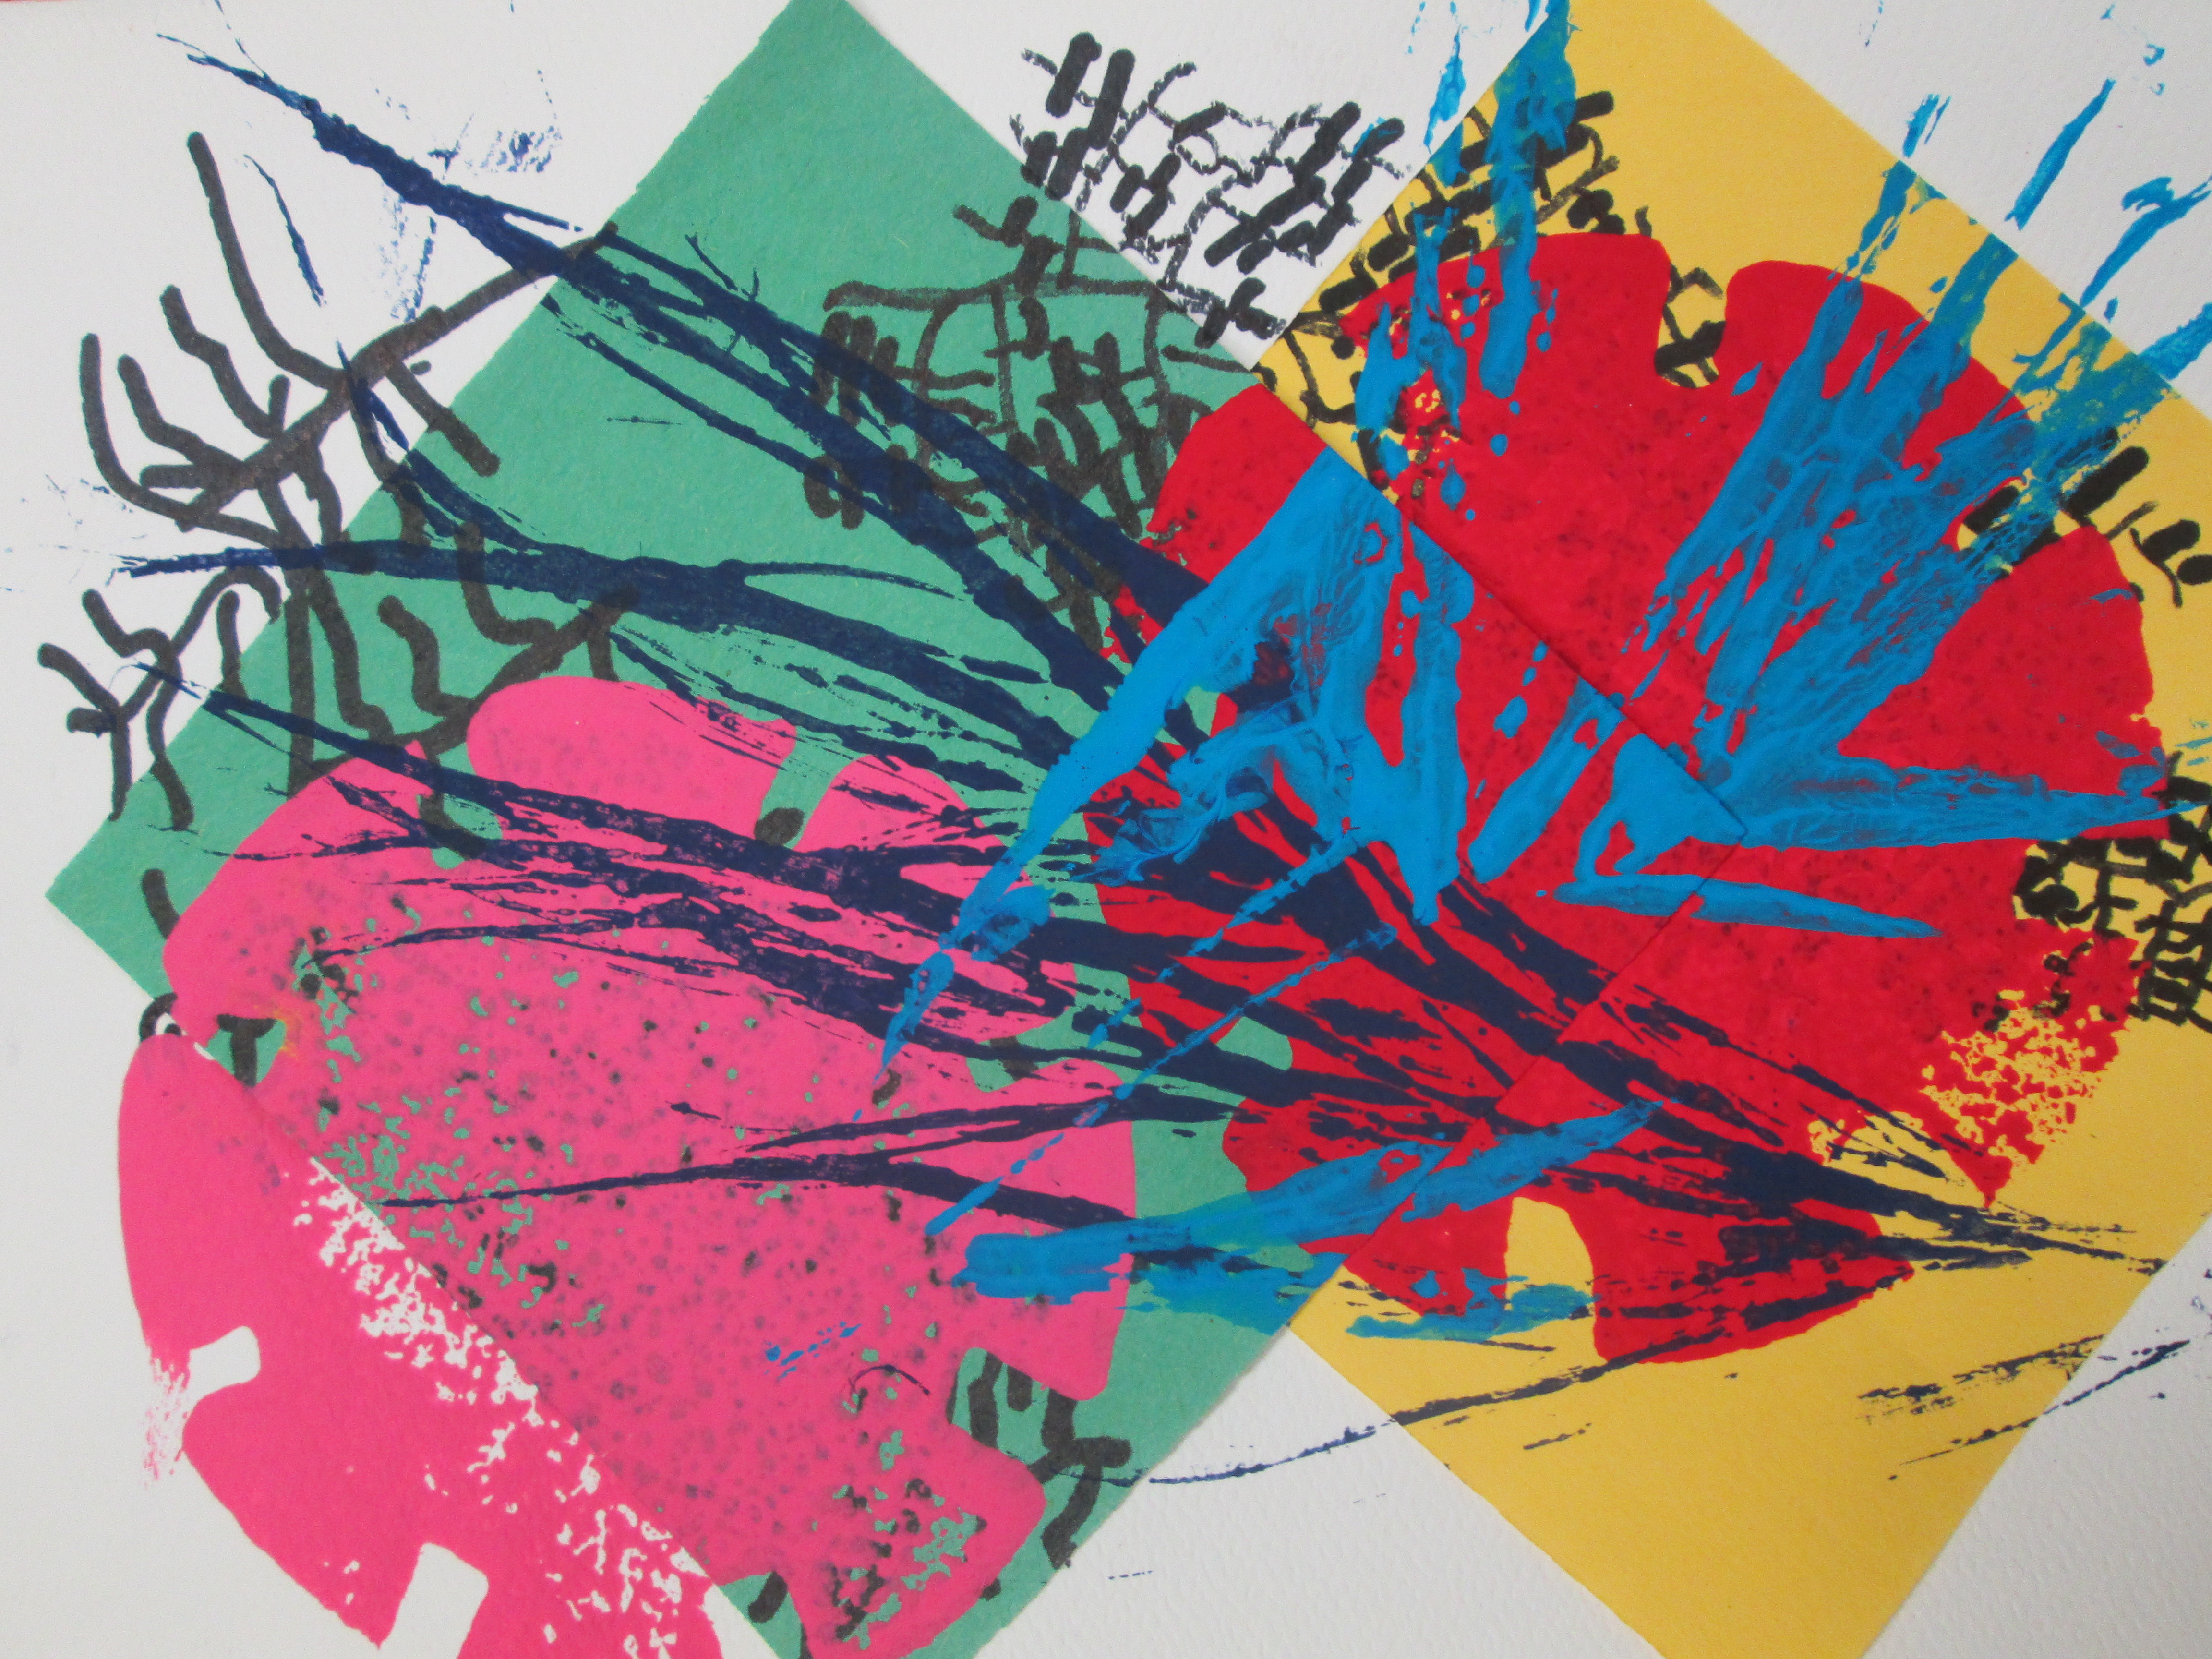
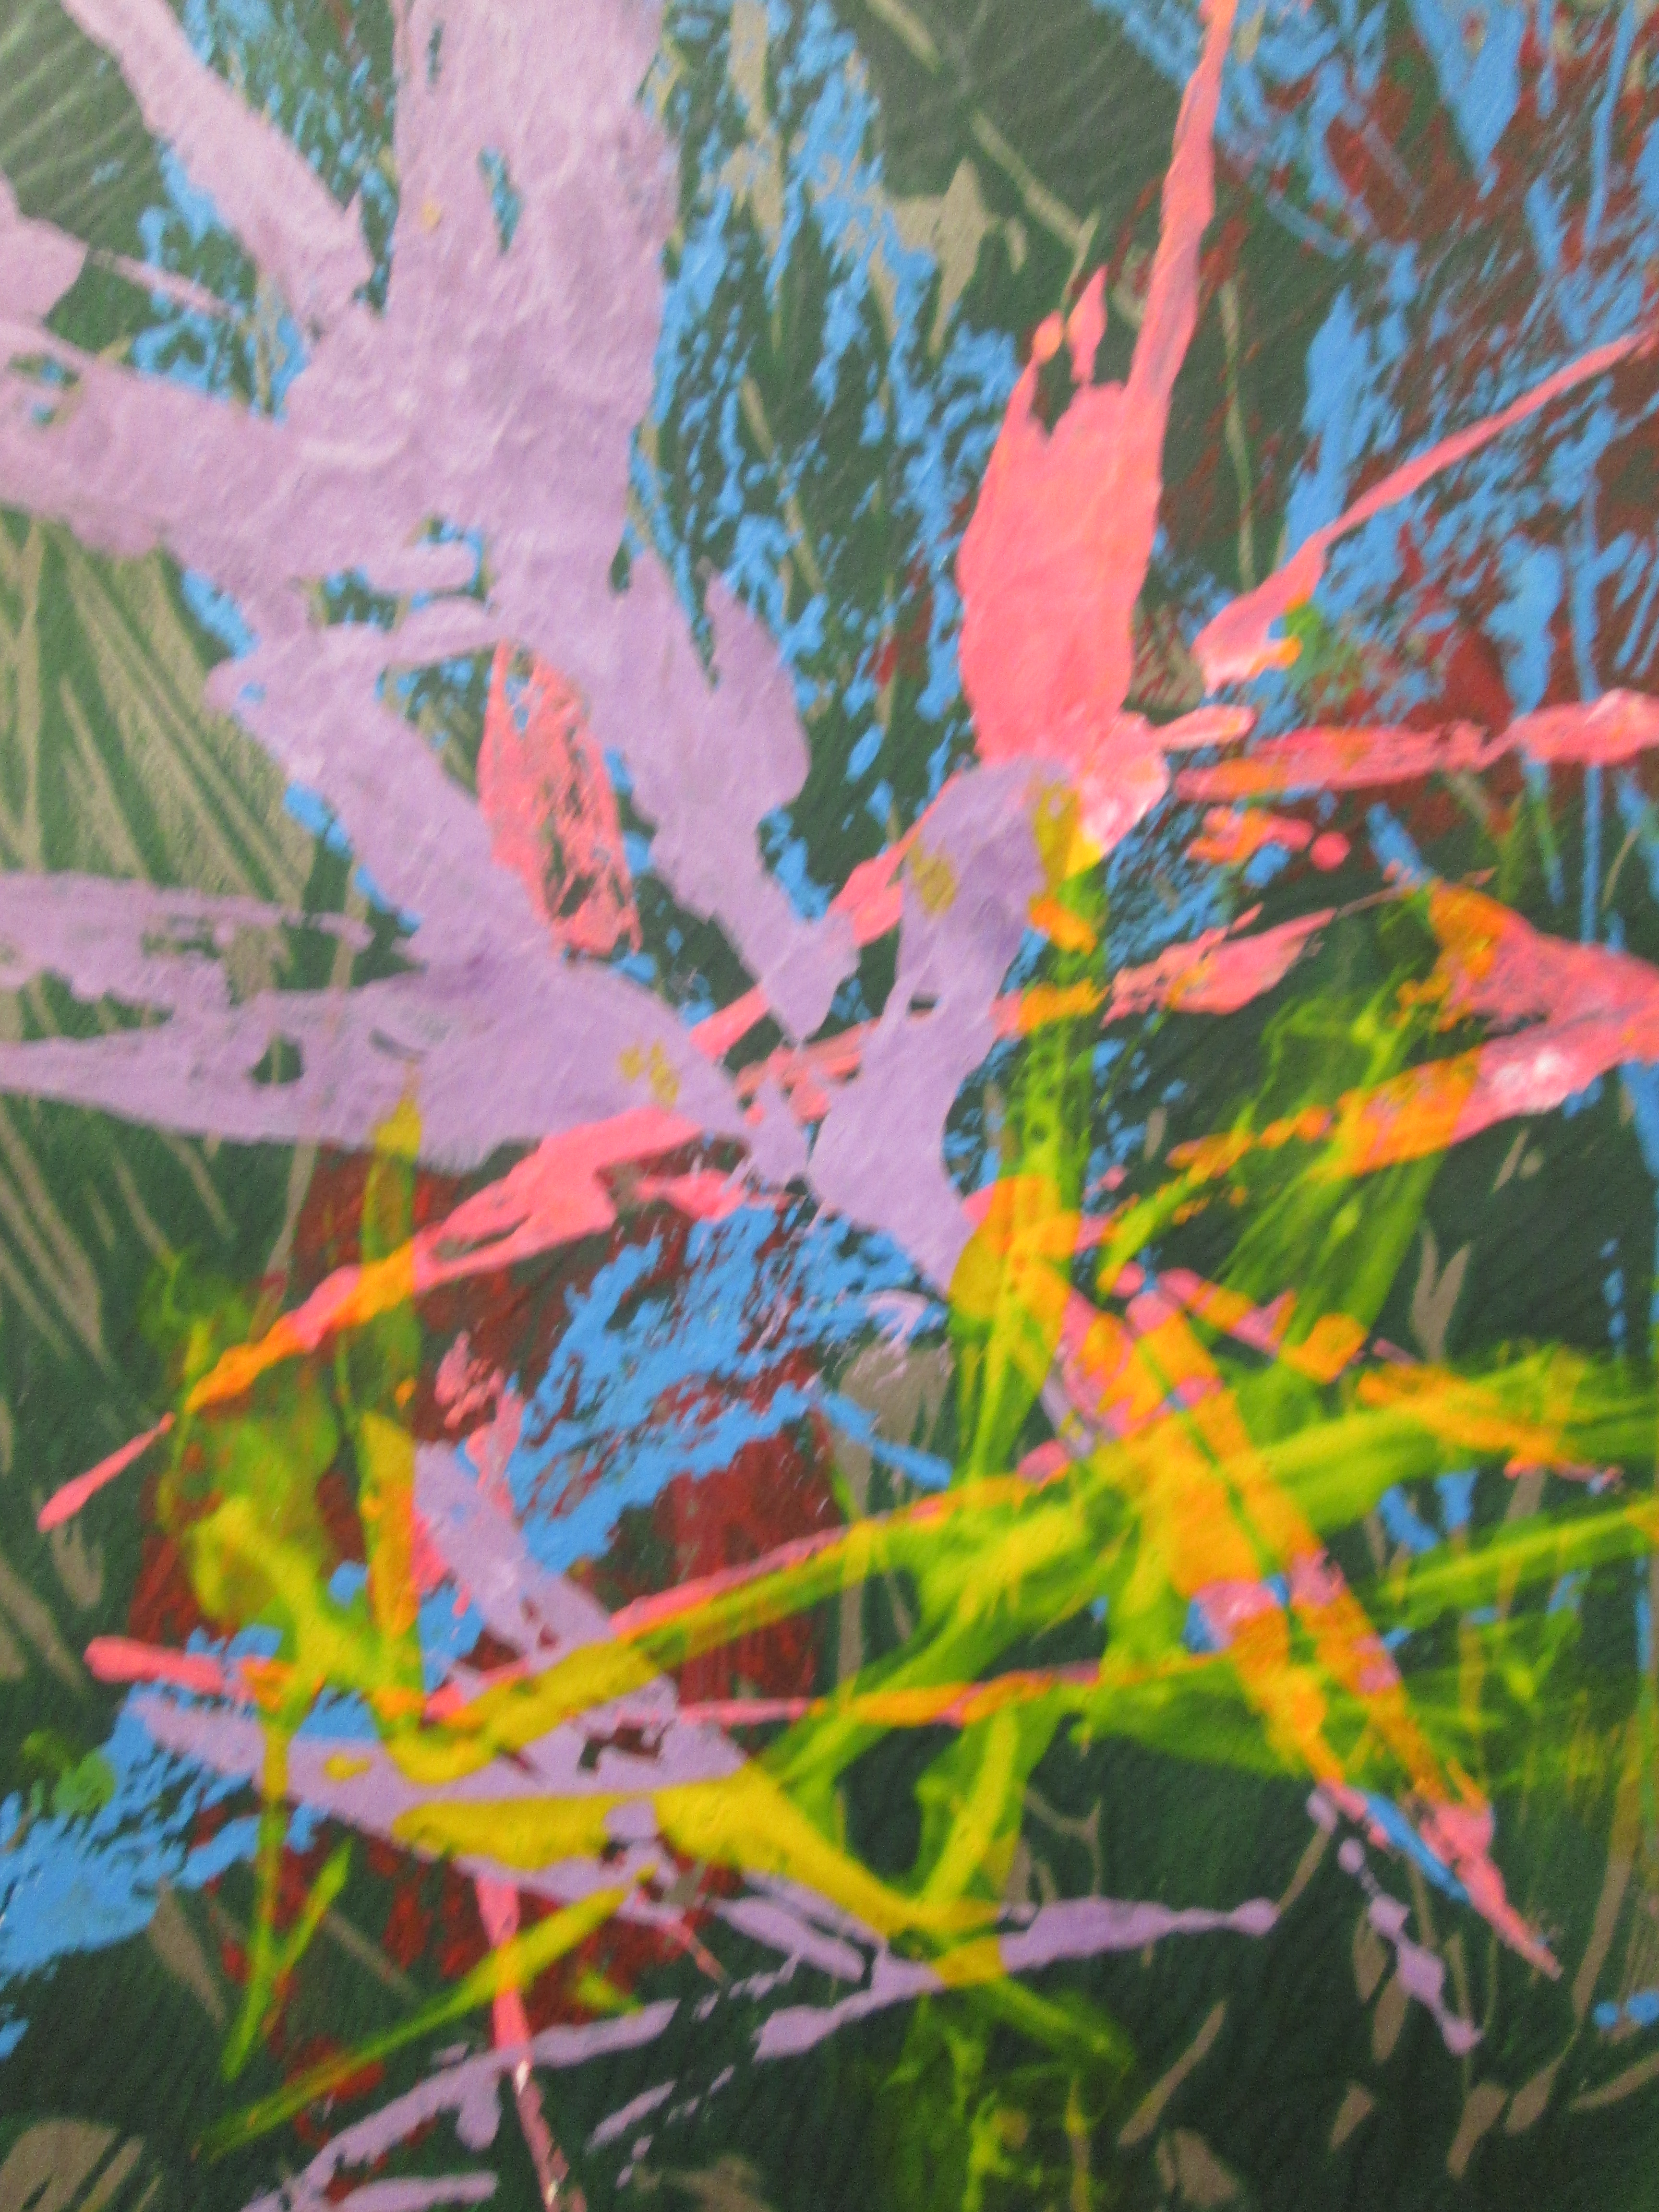
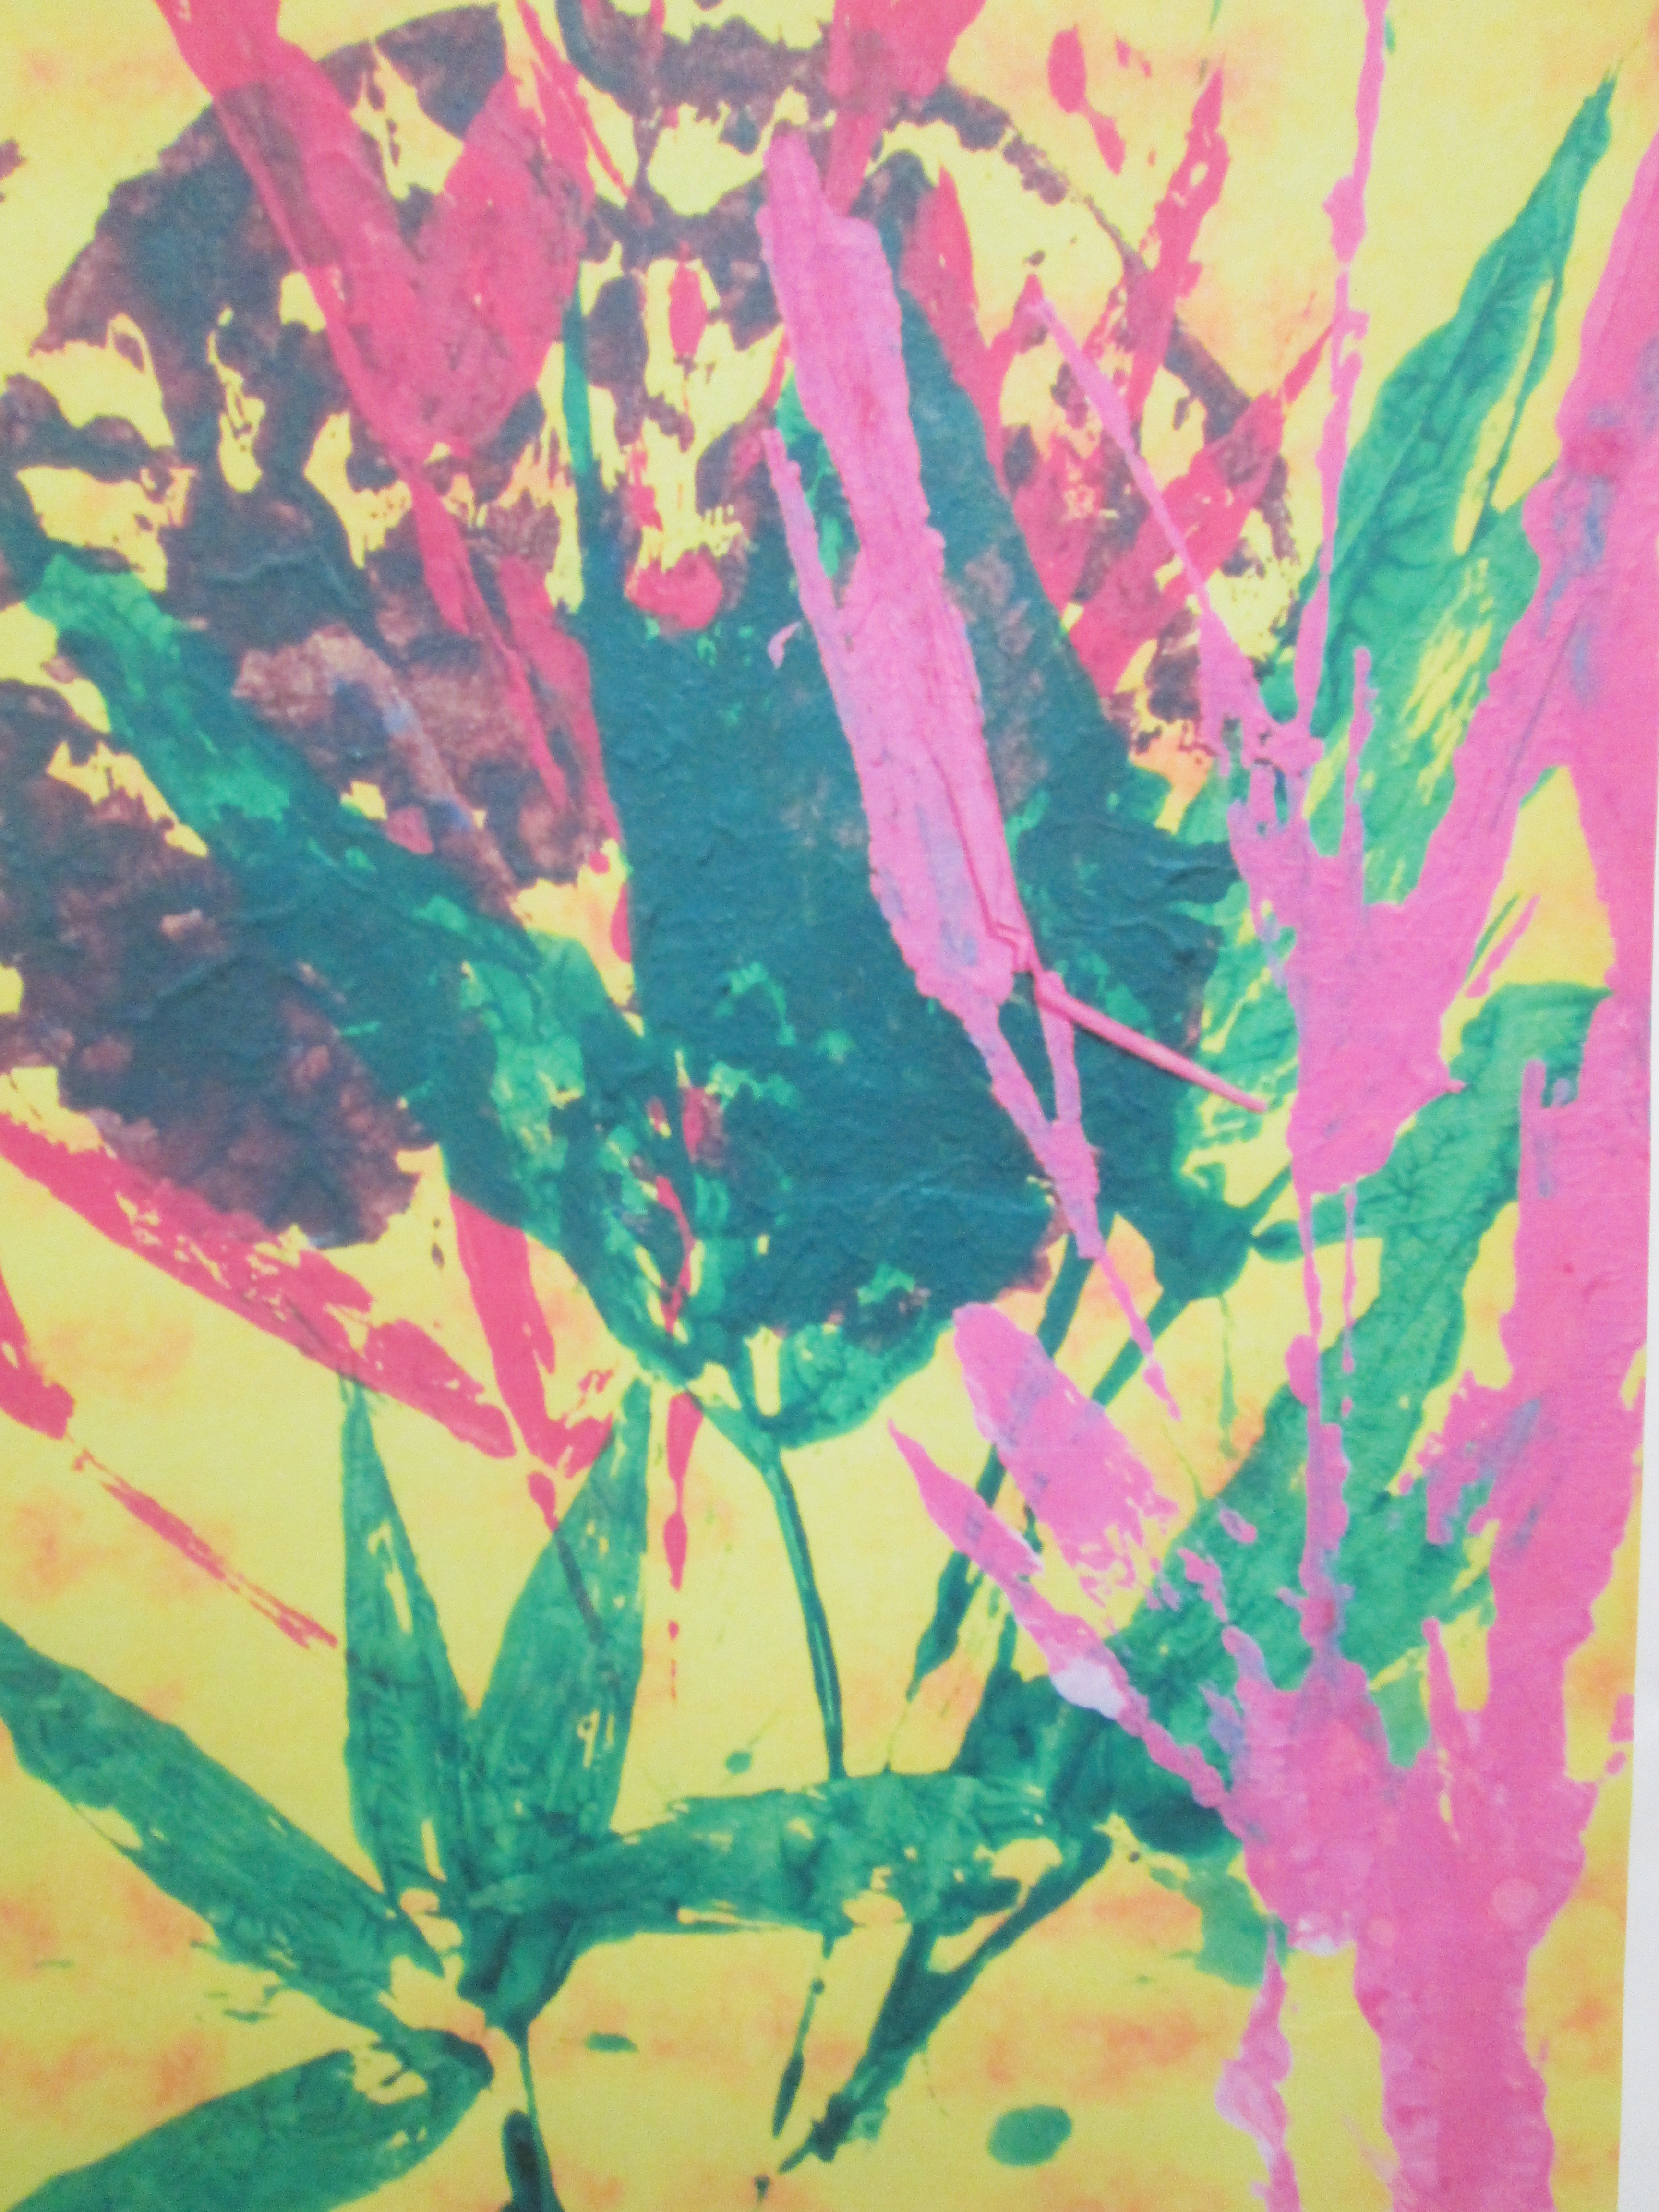
Thoughts: One of my most successful projects with first and second graders was leaf prints. As I hope you’ll see from the art work I’ve posted, the results can be stunning. I began looking into doing leaf prints different ways, trying many kinds of leaves along the way. I finally settled on bamboo leaves. I found that after repeated uses, the leaves did a good job holding onto the stem–or maybe it was the other way around. I also found that certain ornamental grasses worked very well, adding their own unique texture to the compositions. I have found bamboo growing in many different locations around the country. If you aren’t able to locate bamboo, perhaps you can find something that works equally well. One requirement is that the leaves and stems need to lie nearly flat.
Project: We will make leaf prints over the course of several days. We will try using different color choices each day.
Age: Great for first and second graders, but would be great for third and fourth grade as well. Keep in mind that the younger the student, the more close guidance she will need.
Materials: bamboo (or other) leaves; old cookie sheets (at my school it was easy to get such things donated); paper for printing (experiment with different kinds); acrylic paints; a 3/4″ to 1 1/2″ paint brush; plenty of newspaper.
Management: I found it easier to call children up one at a time to a “printing station” that I had set up to one side of the room. Be sure you have an activity for children to do while they are waiting–an activity that is least likely to require your being interrupted. I have found it very helpful to have a parent volunteer to circulate and help kids at their tables.
Preparing the paper: You can prepare the paper in many different ways prior to actually printing the leaves. I’ve printed a background using donated sponges printing in overlapping colors. When I had a surplus of different shades of brown construction paper, I had the kids tear strips of different colored browns which they glued onto their background paper to represent layers of soil. On many of those same pieces I had them use Sharpie markers to make branching root systems. With other classes I used scrap pieces of a variety of colors of construction paper. The striking example on the right was printed on black construction paper.
When making sponge prints or leaf prints I use the same process–
1) Put down a layer or two of old newspaper or plastic sheeting to protect your table. Place three different colors on a cookie sheet. For sponge prints I use a separate sponge for each color. I let each child decide where to put his prints and which colors to use. I suggest allowing each child to make three prints before we put the print on the drying rack to be ready for the next day. I also urge each child to think carefully about where to put the print. Some kids seem to have an innate sense of composition. Others make their prints in a nice, neat, straight row. I also suggest that they keep all of the sponge on the paper. If the paint goes off the page, it goes onto the layer of newspaper underneath.
Note: With sponge prints, it helps to tap the sponge into the paint and tap any extra paint onto an area of the cookie sheet. This helps prevent overloading the sponge with paint and ending up with blobs of color.
And now for the leaf prints–
2) Again, provide three different colors for kids to choose from. On a second cookie sheet, have child place leaves and stem face up. Take a brush and brush color onto stem and leaf from stem outward to each leaf tip. The child needs to be holding the bottom of the leaf stem with their non-painting hand.
Note: Brushing the paint on in the other direction (toward the stem) will shorten the life of your bamboo twig.
3) Pick up the painted leaves and flip them over so the painted side is down. Make sure the child knows that his leaf can be oriented in any direction. Also, the stem can be made to be coming from “off the page,” or may be placed toward the middle of the project.
4) Place the leaf on the page. Make sure leaf isn’t moved (dragged) once it is on the paper.
5) I take a folded up piece of newspaper (big enough to cover the entire leaf easily), place it over the leaf, hold it in place while rubbing in different directions with the other hand. Make sure all of the leaf has been rubbed. Make sure them stem prints as well as the leaves!
6) Off comes the newspaper (sometimes the leaf will come with it) and voila! There is your leaf print!
Each child can make one leaf print per day. Hopefully, each new print will be a different color and will show a variety of placements on the page. As the composition evolves make sure each child knows his / her different options as far as color and placement.
Option: For one class I set up a station with a spray bottle filled with watered down acrylic paint (using a color we hadn’t previously used). Just a quick spray over the finished composition gave a suggestion of pollen blowing through the air!
There are so many possible adaptations that you can make to this project. Start simple and then try new things. See what works best for you and the children.
You need to design a plan for hand cleanup and materials cleanup. Also, it helps save time if you have a pile of newspaper ready for print-rubbing, as well as a handy place to put used pieces.
Have fun! Let me know how it goes. Send pictures!!
Recent Comments