
 Well, I recently discovered what life is like without a working computer. It took us six weeks, including three trips, to get it fixed. Other than falling behind with my music and the JMG for Kids blog, I discovered that, all of a sudden, I was getting a lot more done. There’s a lesson in there somewhere.
So now I’m going to try to catch up with a couple more blogs in the next few weeks.
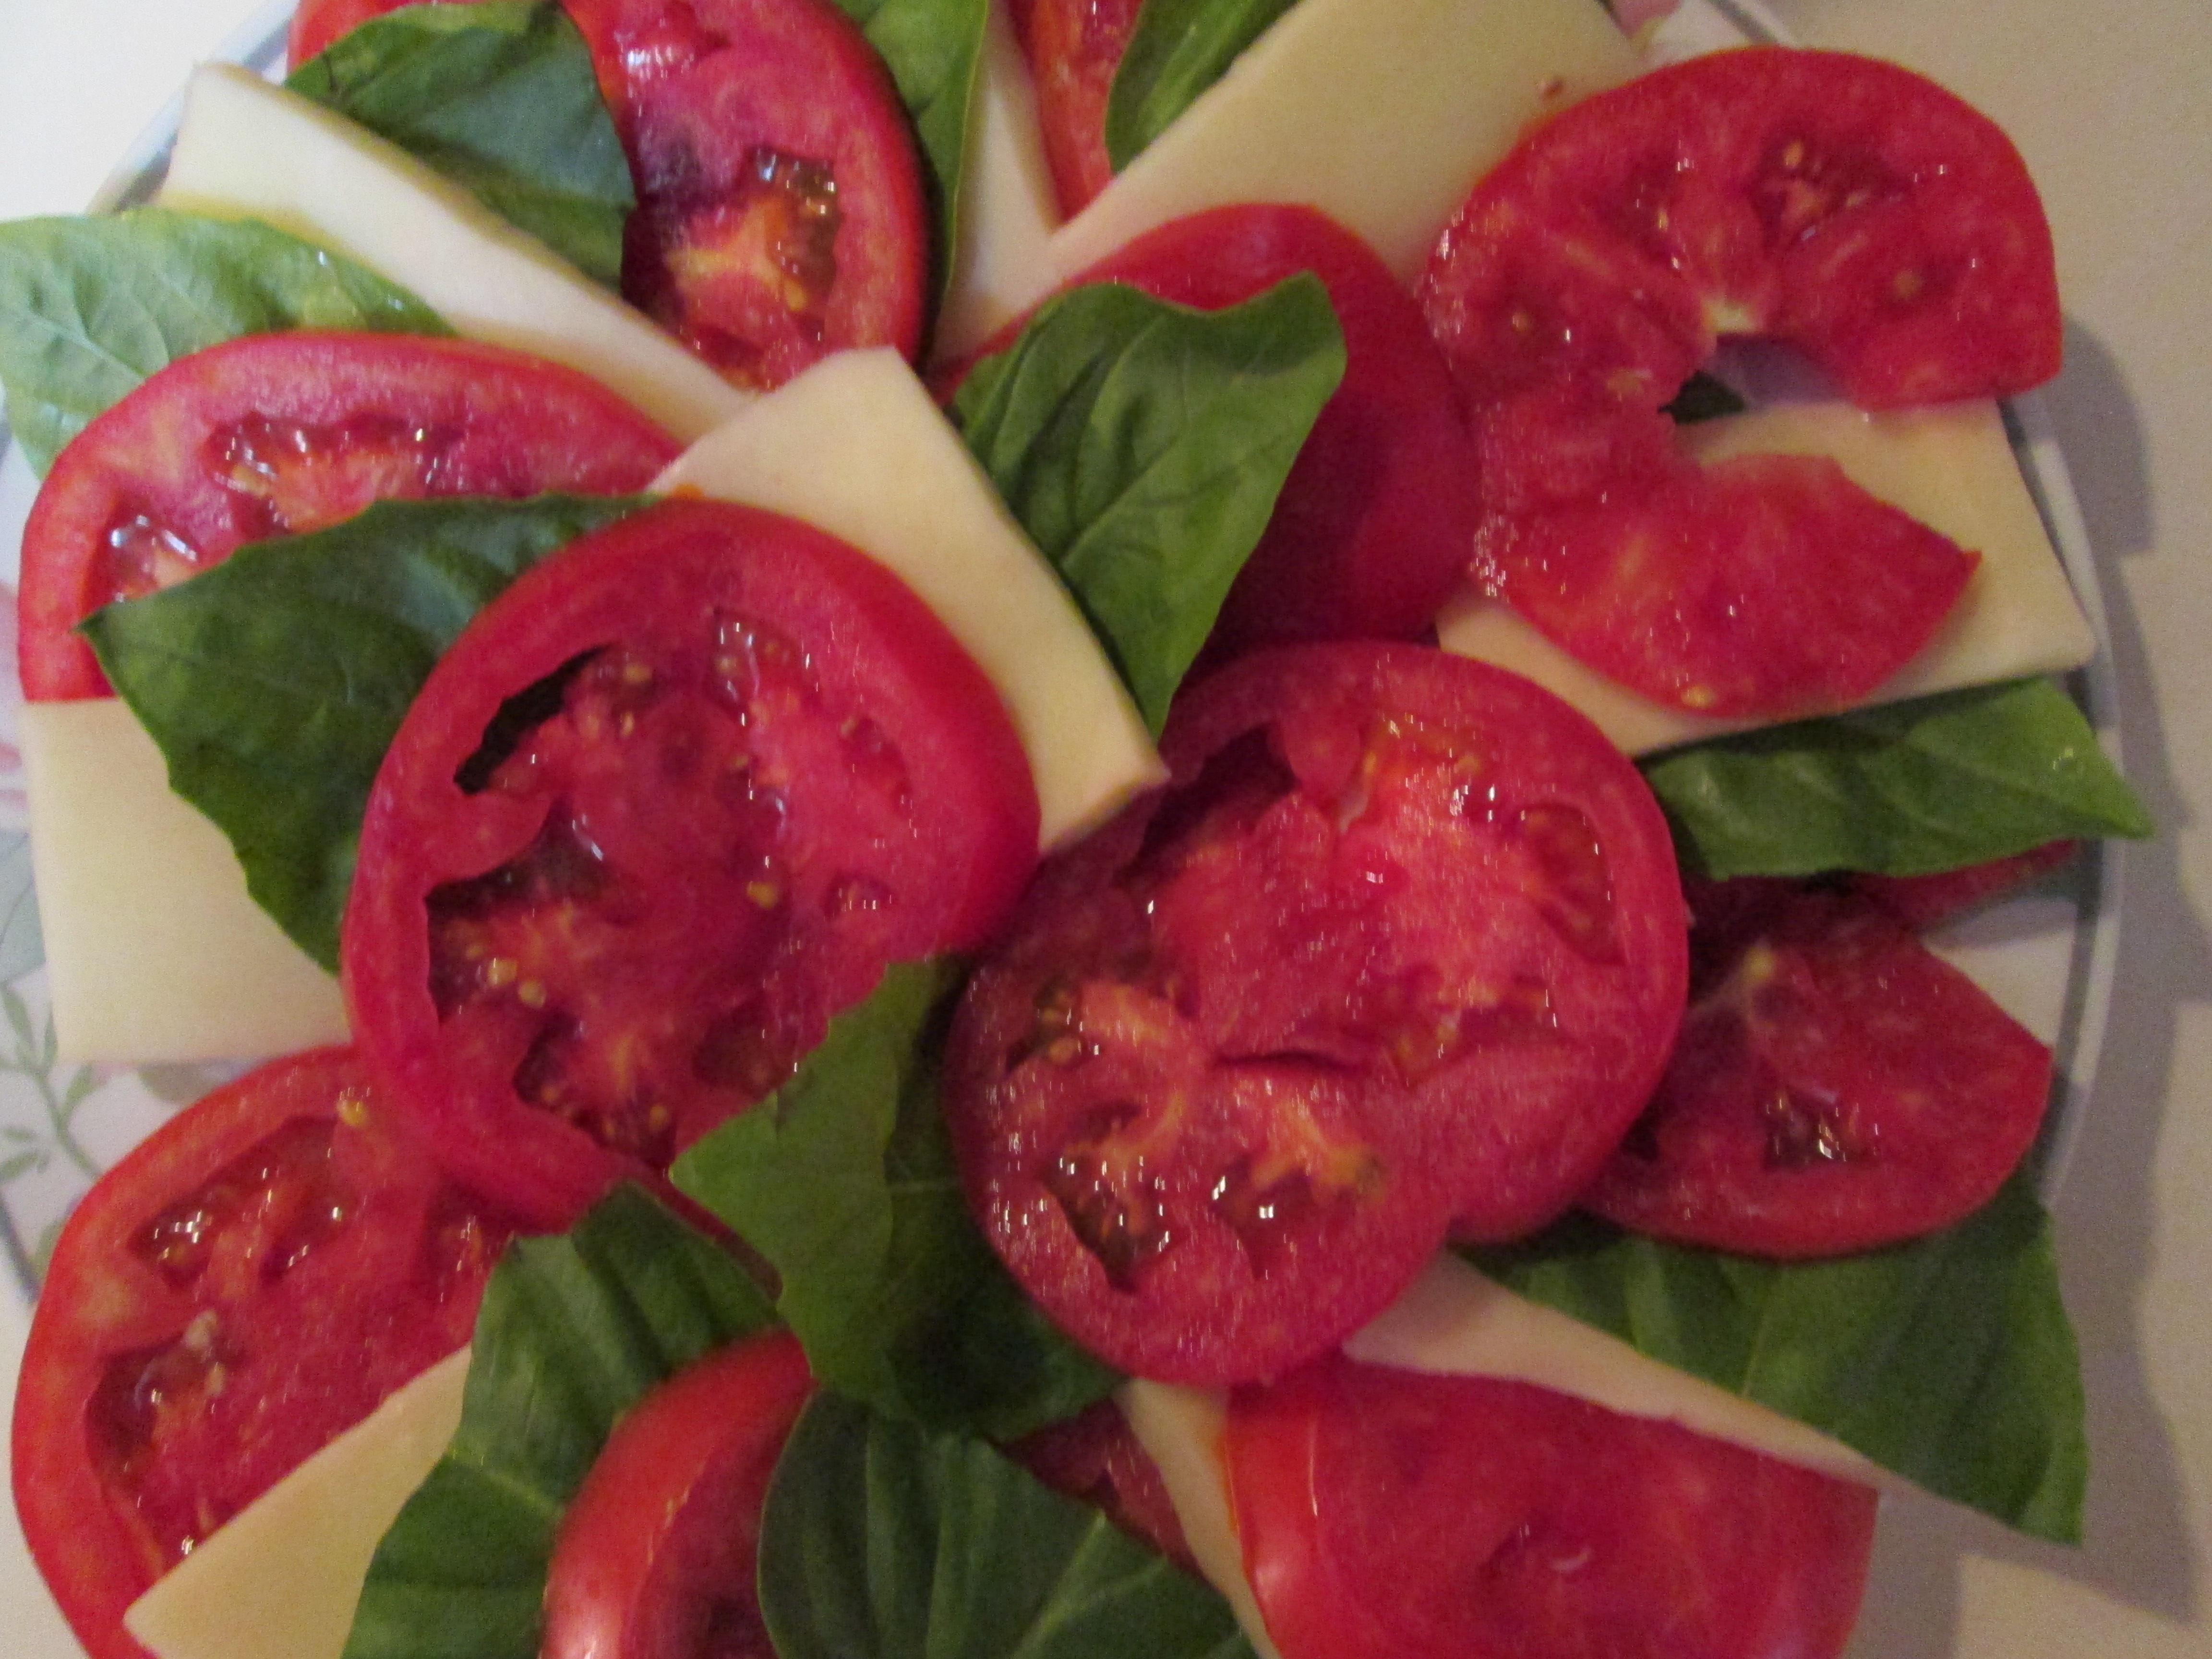
Here’s a photo of a plate of tomato, basil and cheese!
Thought: Here’s an idea I came up with in December. It was based on our tradition of New Year’s resolutions. I’d been thinking about our collective need to eat smarter, so I decided to call this a New Year’s Revolution. Better late than never.
We know so much more about nutrition than we did even ten years ago. The internet, especially the social media, are full of postings about good eating. Now, I’m not talking about those tempting pictures of fattening foods that people post. In my lifelong quest to take better care of myself, two things stand out. (1) I need to eat more vegetables and vegetable-derived foods, and (2) I never felt better in my whole life than when I was a vegetarian and worked as a caddy at a local golf club. That was a LONG time ago!
Project: Once I had students create ceramic food on a plate, influenced by pop artists. This project will celebrate better eating habits by creating a plate of healthy vegetables using self-hardening clay. Ideally, this would be done in conjunction with a grade-level study of nutrition, or a school-wide effort to create greater awareness about good eating. As tempting as it is to say yes, I would tell my kids “no” to creating a package of french fries. (They can do that one on their own.)
NOTE: After perusing some food photos online, you could easily adjust this project to making a healthy pizza. You would need to discuss some possible healthy ingredients / toppings. I think kids would find this a tantalizing idea. This relates well to the JMG activity about how the world of plants contributes to the actual making of a hamburger. The tempera varnish or glaze techniques would lend that nice sheen to the finished pizza!
Age: Grades 1-4. This is written as an idea for a classroom or art teacher, but, as is often the case, it can be easily adapted as a home project.
Materials: Self-hardening clay, a set of sculpting tools (these can be improvised using a plastic knife, an old pencil–or anything with a point on it, and something that will make surfaces smooth if need be). I use a section of PVC pipe to roll out clay.

This is an example of a clay pop-art project done by a child, just to give you an idea of the potential for this activity.
NOTE! If your classroom has normal white clay that you can fire in a kiln, go ahead and use that instead. If you use glazes, rather than tempera paints and tempera varnish, be sure you know how the glazes will look after they’ve been fired. With some glazes it’s very difficult to tell. I created a sample tile with all of my finished glaze colors, so kids could see how they would turn out.
You will also need some tempera paints with enough variety of color that you can mix colors that approximate the colors of your vegetables and / or fruits, a fine paint brush and one with a broader tip to paint larger areas. Tempera varnish will provide a nice, shiny coating for your food items, which tend to be shiny anyway.
For clay projects, I use a mat made of canvas for kids to work on. An old place-mat should work as well. A five gallon bucket with water will help keep your tools clean and will avoid putting any clay sediment down the drain.
Steps:
(1) Work the clay first. Punch it out; roll it; pretend it’s bread dough. You don’t want air bubbles or moisture distributed unevenly.
(2) If you are making a plate rather than using a plastic plate, you can roll out a thin piece of clay and use a circular object, such as a plastic plate, to give you a way of cutting and making a clay plate that you can paint yourself with your own design.
NOTE! Some folks skip making a plate and use a plastic plate instead, focusing on making the clay vegetables and fruits.
(3) While your plate is drying, you can go ahead and make your vegetables and fruits. It helps students to have a collection of these food items to look at…just to get an idea of size and color and shape. Make sure that each object has the right texture (smooth vs. rough). How do you create the kernels on a corn cob? Art is always full of problem-solving opportunities.
NOTE! Food items such as cheese can be included. One student put a piece of cheese on his plate with grapes. How did we know it was cheese? He made it Swiss cheese! Problem-solving at work!
(4) Coloring your items can be a challenge. This is a great opportunity to teach and use color-mixing skills. When you’re finished coloring, let the paints dry and examine your items to see if they need a second coat– or even a slightly different color.
Management: Managing messy projects is always a challenge in a classroom, especially when our art periods were only thirty minutes from beginning to end! I used helpers from each table and a large tub of water on dolly wheels for cleaning. Cleanup needs to be carefully planned. Also, keeping clay projects identified is a necessity. I often used styrofoam meat trays for storing projects. I had kids make their own name cards out of cardstock tags ( 1″ x 3″) with names written with Sharpies.
There it is! A New Year’s Revolution!! I hope you enjoy doing this project. As always, let me know how it goes. Send pictures so I can post them in the blog!! Let’s all pledge to take better care of ourselves.
Recent Comments