DIY: Paper Pots for Planting
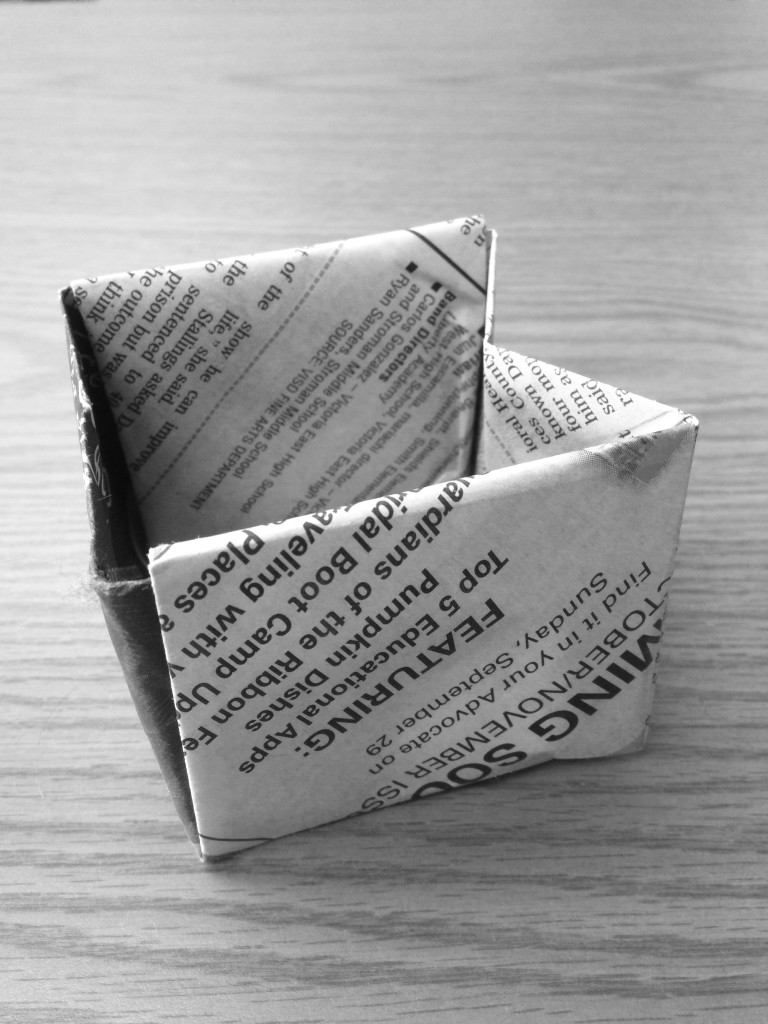
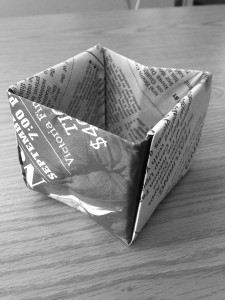
Do you enjoy crafting, recycling, and planting? Use these 10 easy steps to create a paper pot for planting! Newspaper is compostable; be creative and resourceful when you watch your plants grow. Fall is a great time to plant spring bulbs, pansies, trees/shrubs, and cool-season vegetables (examples: broccoli, carrots, chives, cabbage, peas, radish). You may want to check your specific region to ensure best time to plant typical fall crops. Climates and temperatures effect planting times differently around the globe.
Step One: Find a rectangular piece of newspaper.
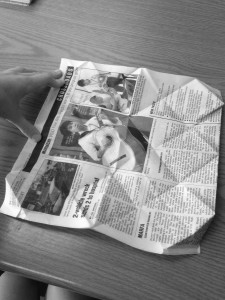
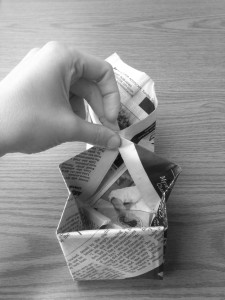
Step Two: Fold corners from opposite sides. Once completed, your folding should look like the second picture below.
Step Three: Fold in each corner that is already folded in half. Note, it will cover the other side’s fold.
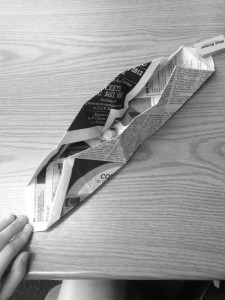
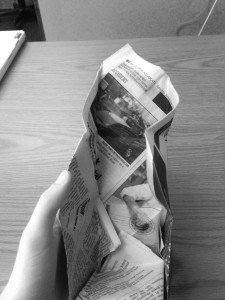
Step Four: Lift double folds up perpendicular to the table, tucking in the top corner inside. Your creation will look like a bridge.
Step Five: Fold the 1 of the corners that have not been folded yet in half. The crease line should make a 90 degree angle with your other sides already folded on the adjacent side.
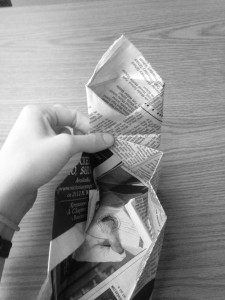
Step Six: Lift up your fold to once again make the bridge. You should have fold lines that form little squares on the ends of your bridge.
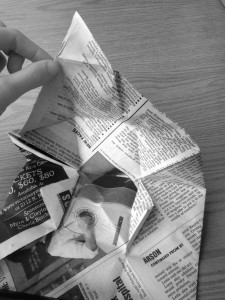
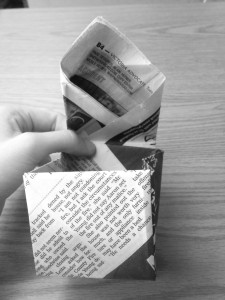
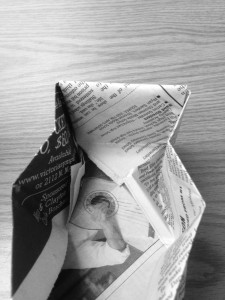
Step Seven: Fold in the two bottom outside squares. It will look like mini triangles. Your creation will appear to make a flap that is perpendicular to the bridge, like the pictures below.
Step Eight: Fold the flap over the bottom square, tucking the top corner inside.
Step Nine: Repeat Steps Five-Eight to the final corner. Then, make sure top creases are pressed firmly and done well.
Step Ten: Fill your pot with soil and seed!
Happy planting!

